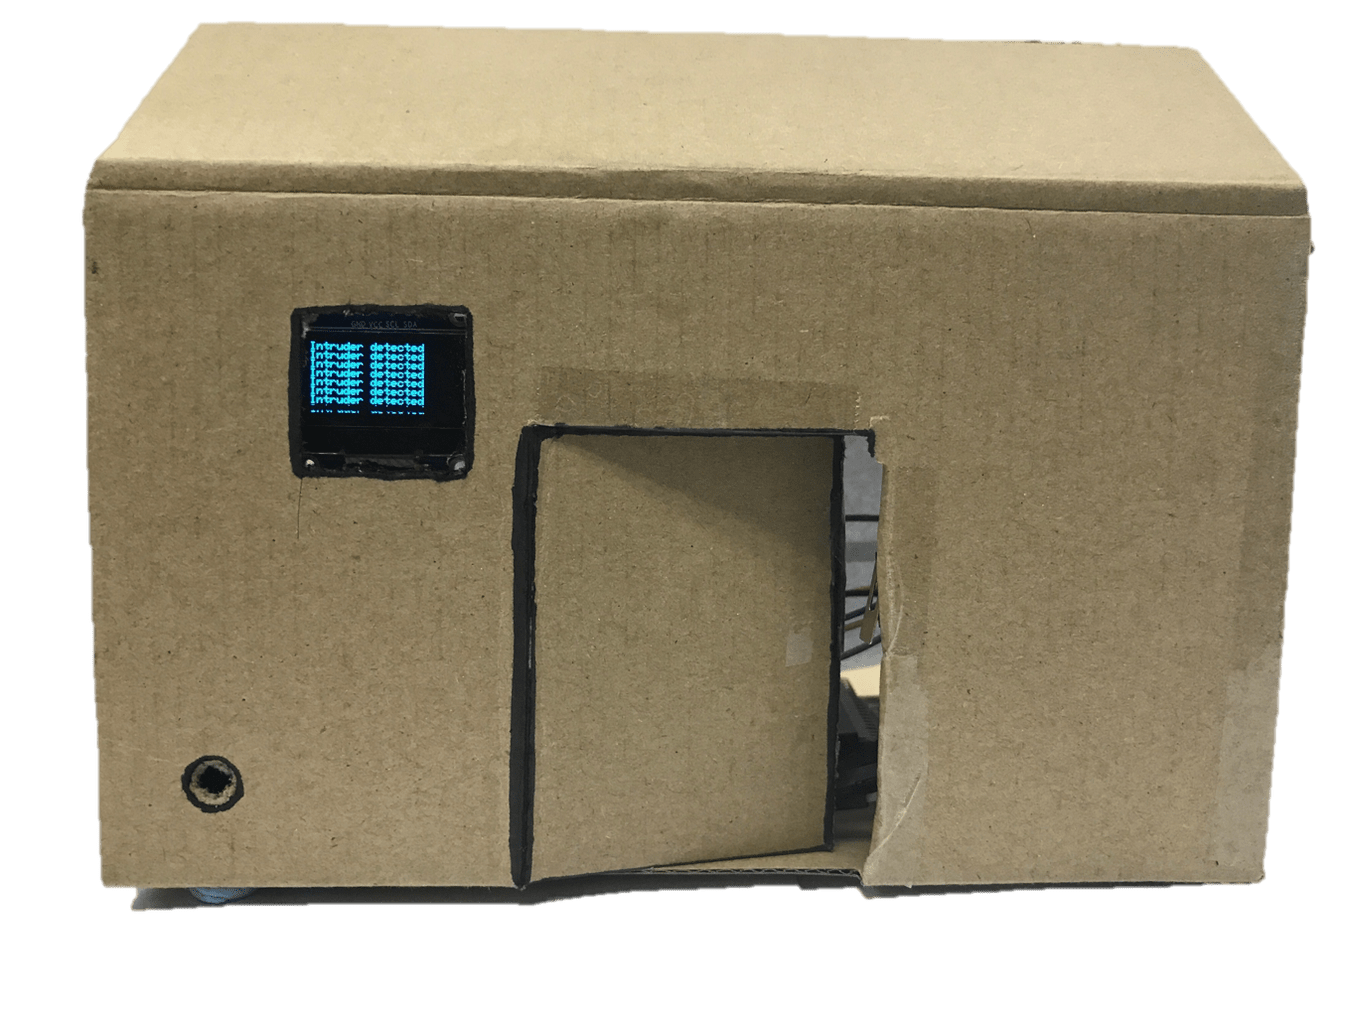
Intruder Detector
Create an Intruder Detection system with the Micro:bit which will sound when someone opens the door. The status of the house will be displayed on the OLED.
YOU WILL NEED
- 1 x Micro:bit
- 1 x Micro USB Cable
- 1 x Breakout Board
- 1 x Crash Sensor
- 1 x OLED
- 1 x Buzzer
- 2 x F-F Jumper Wires
STEP 1
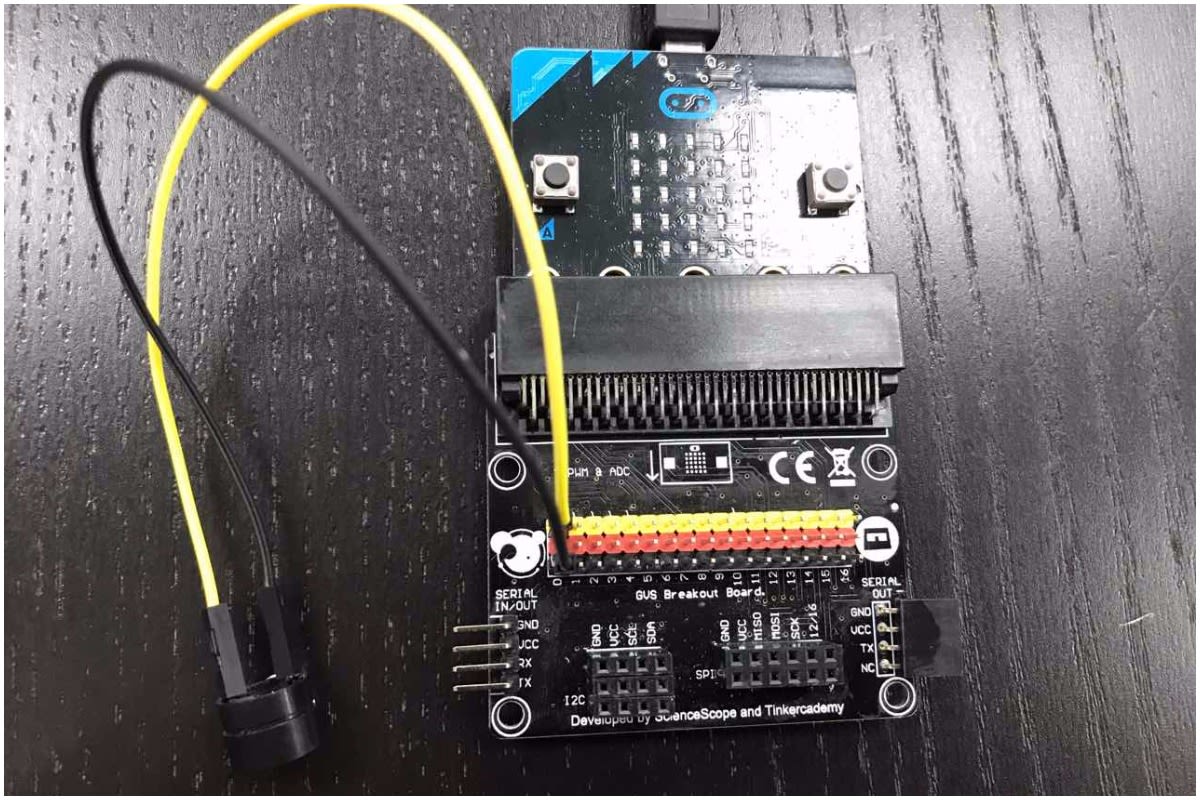
Insert the Micro:bit into the Breakout Board and then plug in the Micro USB Cable. Connect the Buzzer to pin 0 on the Breakout Board, connecting the positive leg of the Buzzer (usually longer) to the yellow pin on the Breakout Board and the negative leg of the Buzzer (usually shorter) to the black pin on the Breakout Board.
STEP 2
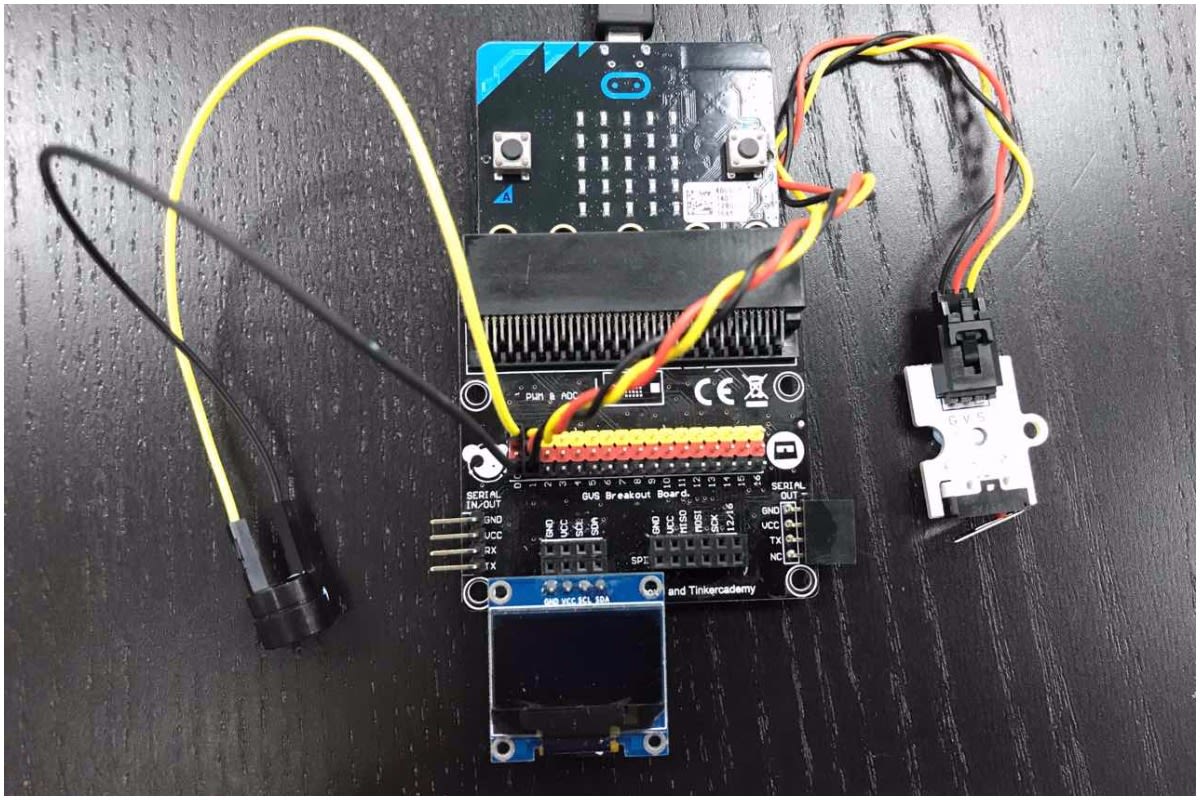
Plug in the OLED into the place on the Breakout Board as shown in the picture. Then connect the Crash Sensor to pin 1 of the Breakout Board, making sure the colours of the wires match the pins.
STEP 3
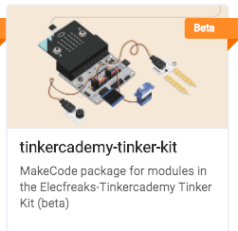
Go to makecode.microbit.org, open the advanced tab and click on Add Package. Type "Tinker kit" into the search bar and click on the package to add it. The Tinkercademy and OLED tabs should now be added.
STEP 4
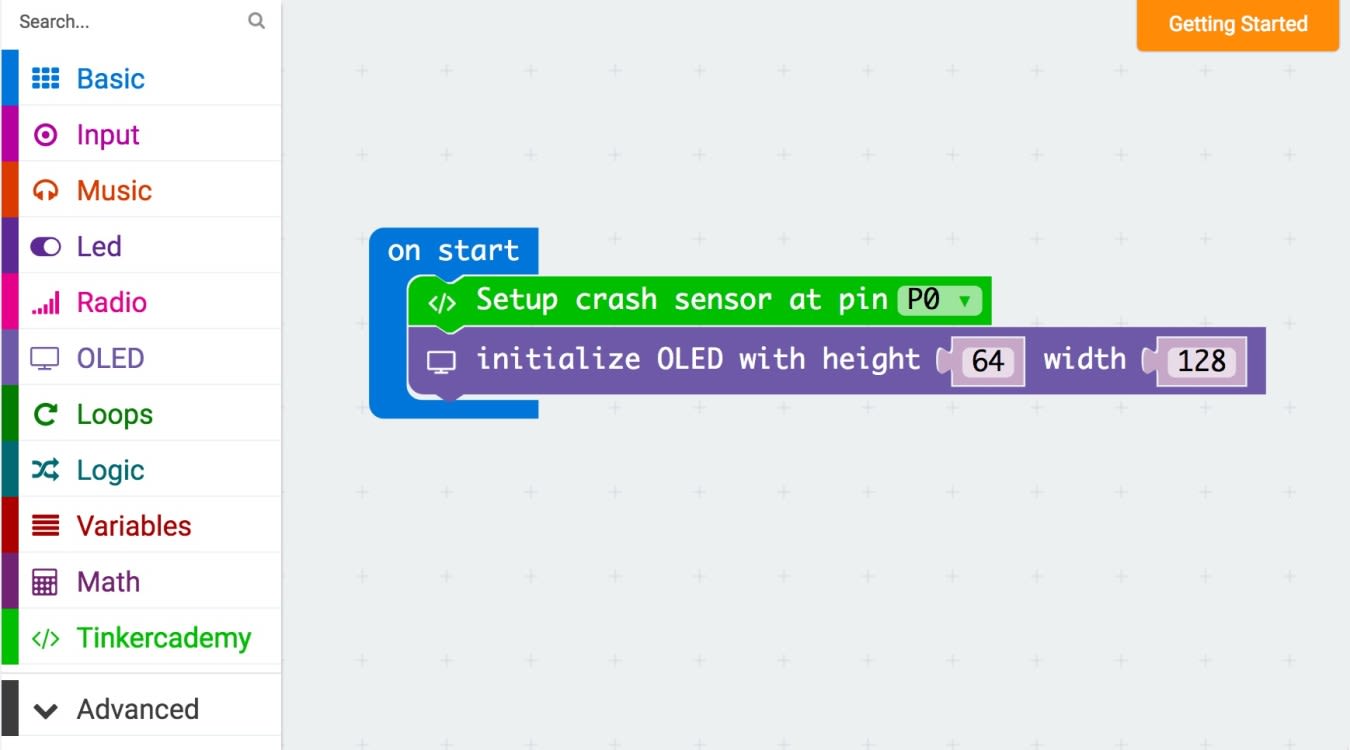
Follow the code in the picture. The code is to initialize the Crash Sensor and OLED for use later.
STEP 5
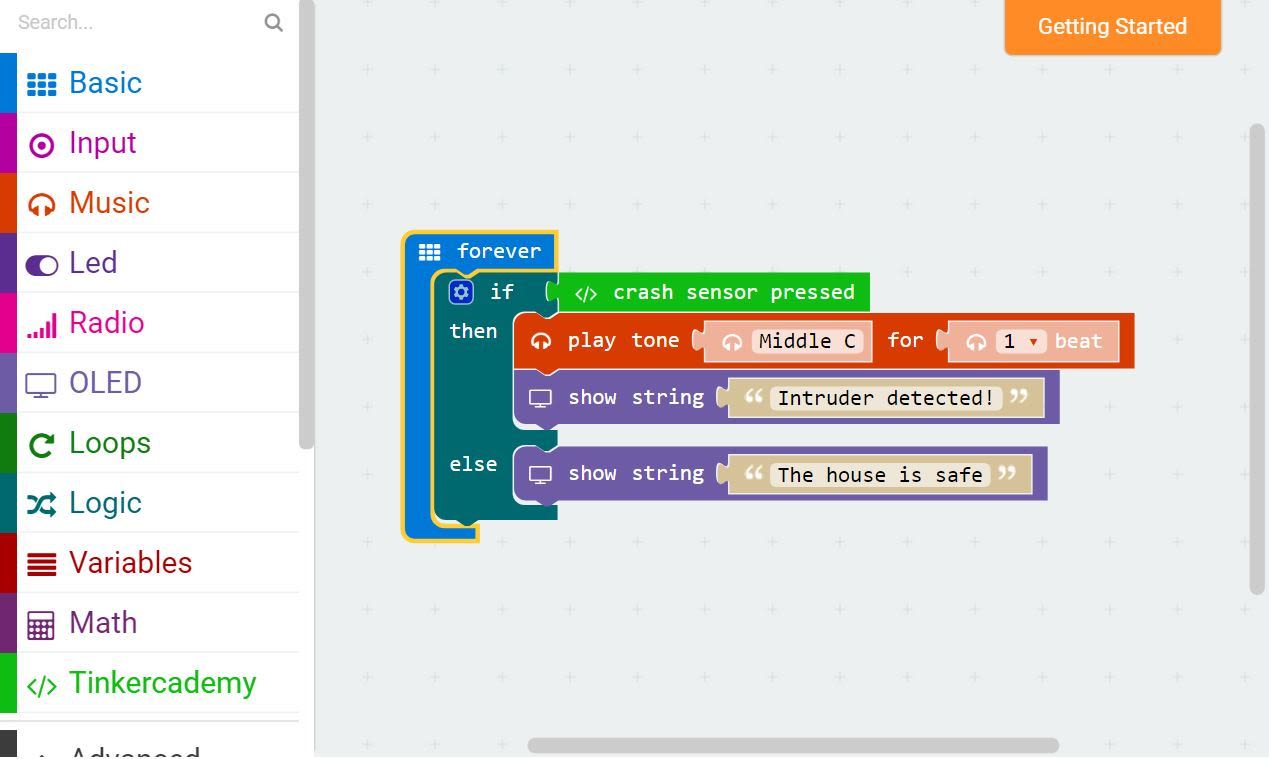
Follow the code in the picture. Basically, when the Crash Sensor is pressed, the Buzzer will sound and the OLED will show "Intruder detected". When the Crash Sensor is released, or in it's normal state, the OLED will display "The house is safe" and the Buzzer will be silent.
STEP 6
Congratulations! You have successfully made a Intruder Detector. Now just attach the Crash Sensor to where the door will press it when opened.
Made this activity? Good Job! Now spread the word. Share a photo of your creation on social media with #letsgethacking #IntruderDetector