LCD display on a micro:bit
Show text with an LCD display

YOU WILL NEED
- 1 x BBC micro:bit
- 1 x Tinkercademy breakout board
- 1 x LCD
- 4 x M-F jumper wires
STEP 1
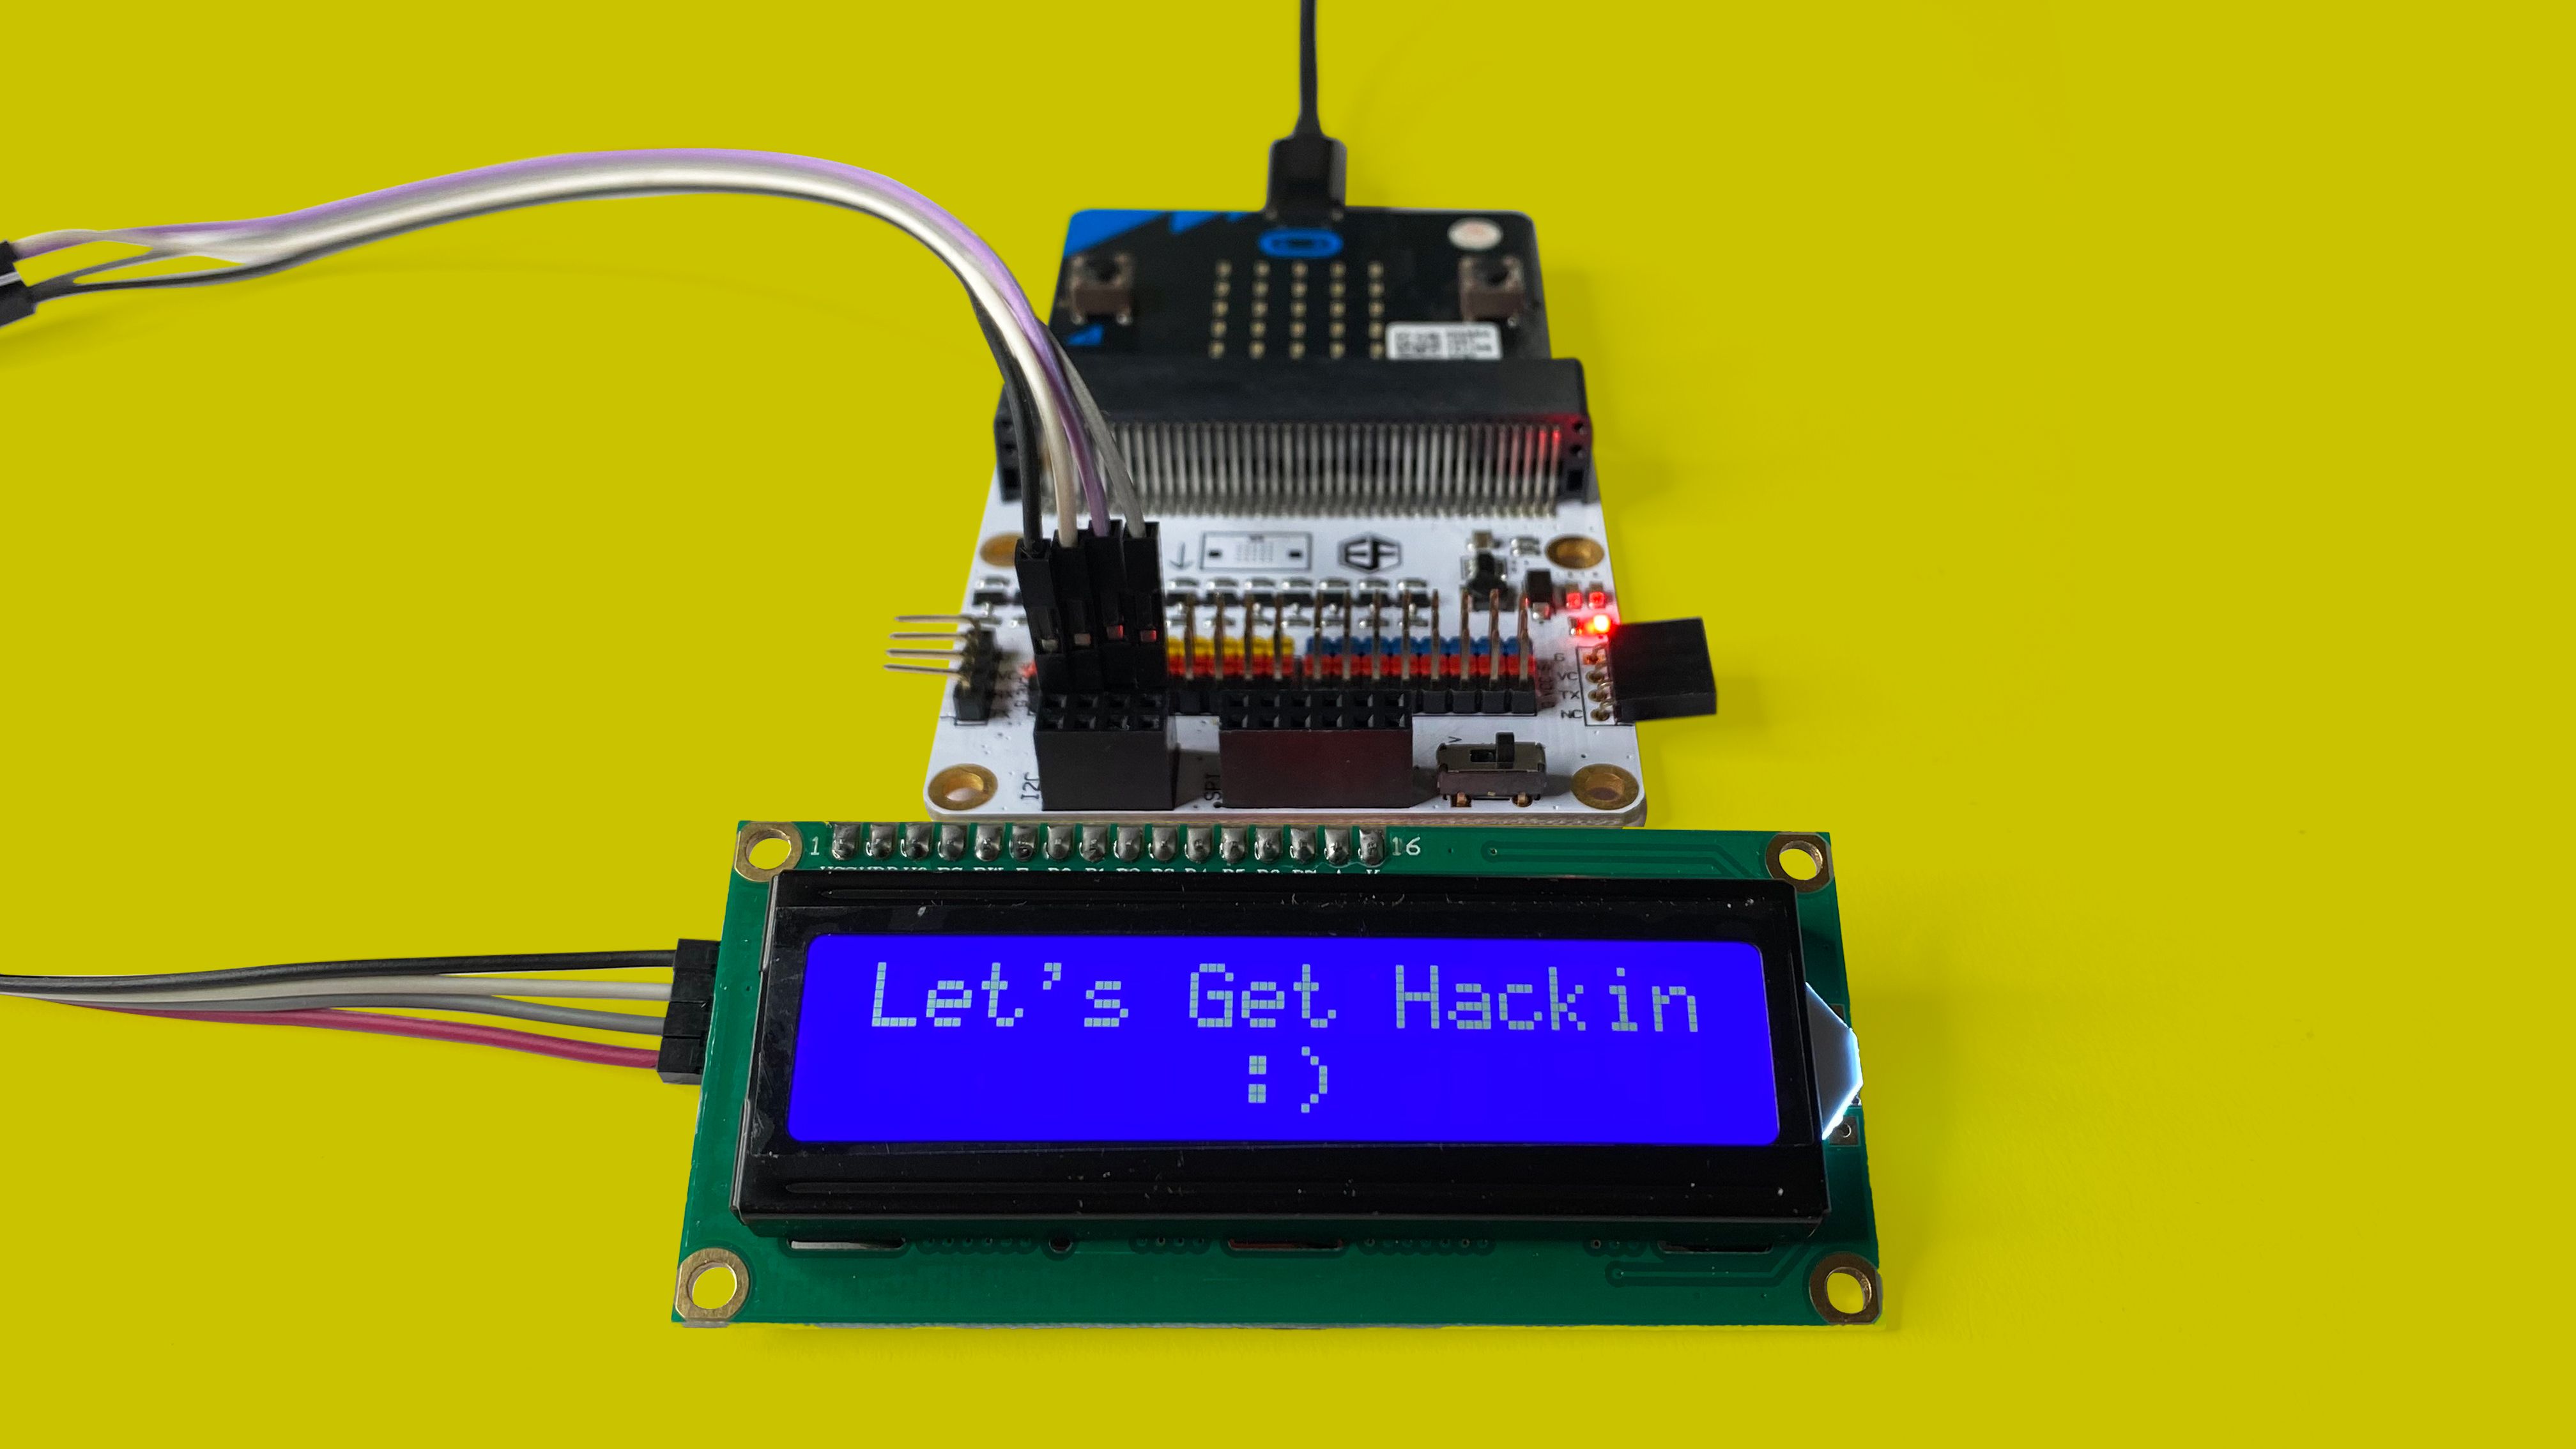
In this tutorial, we're going to display some text on an LCD display.
(b) You’ll learn how to…
• Connect an LCD display to the Tinkercademy breakout board, to use with a micro:bit
• Show text on the LCD display
STEP 2

Connecting the Components
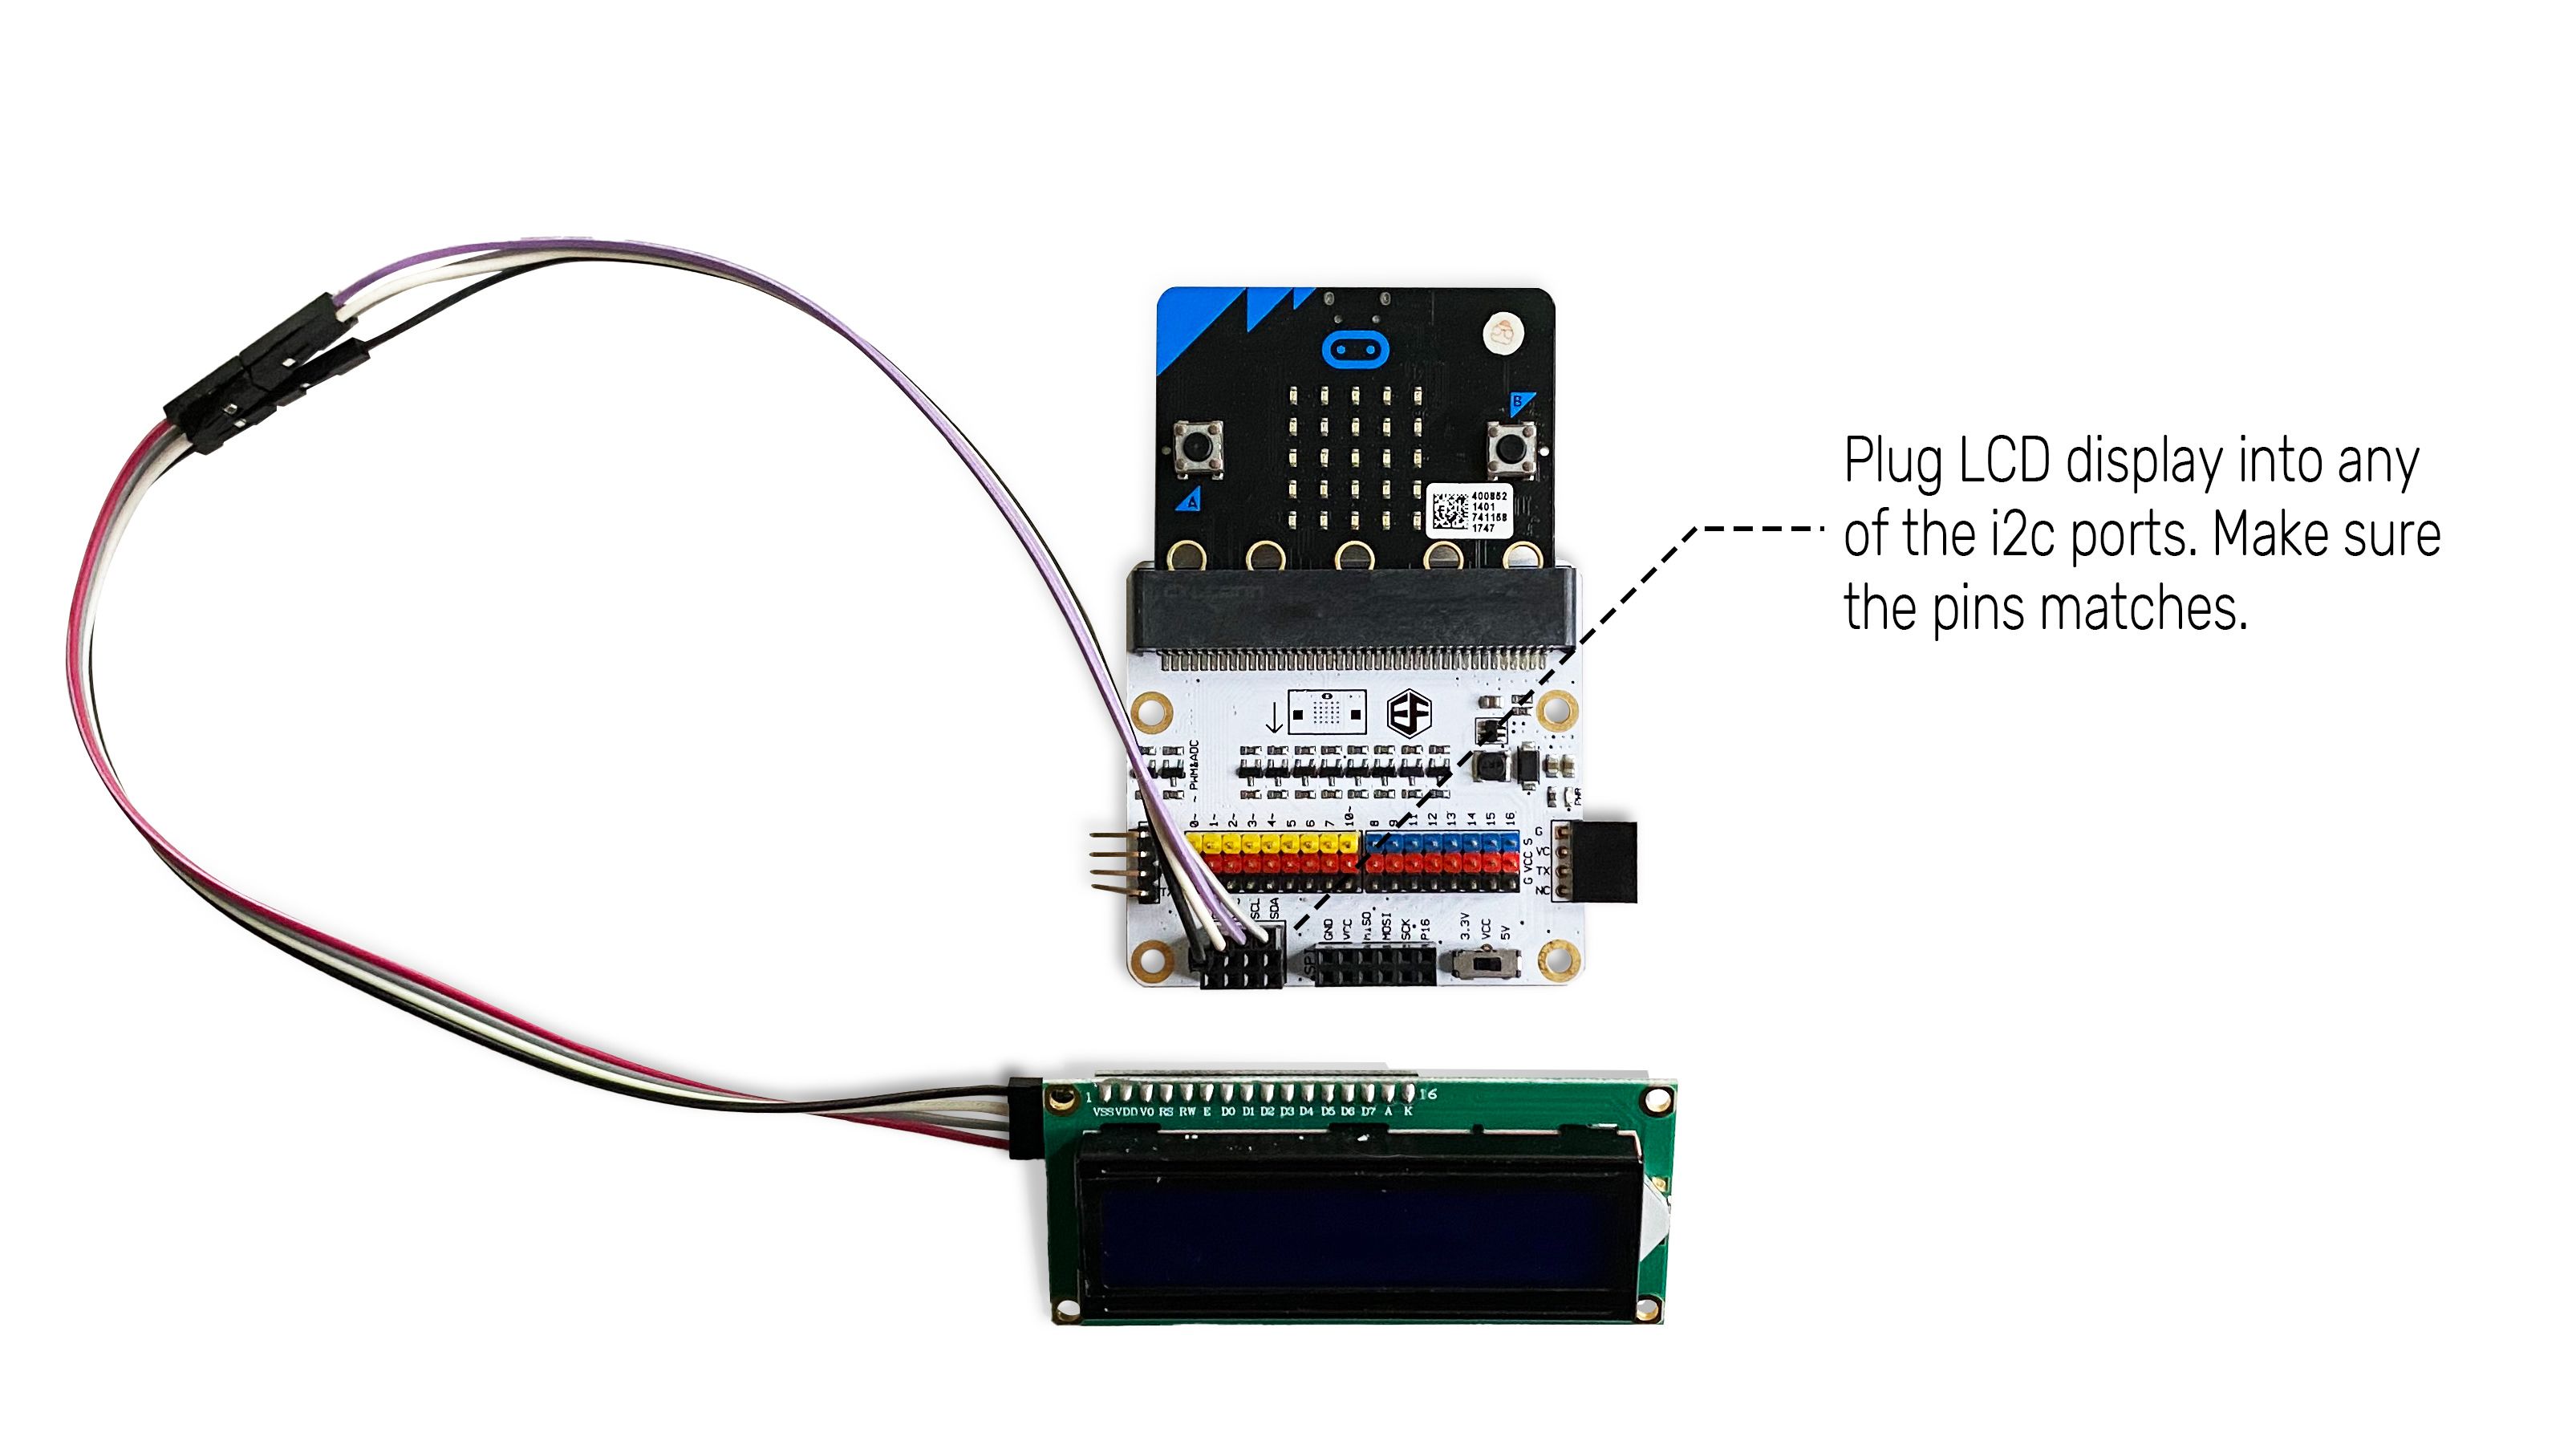
(a) Slot the micro:bit into the Tinkercademy breakout board.
(b) Using M-F jumper wires, connect the LCD display to any of the I2C ports. Make sure that the pin matches.
(c) Make sure that there is a black jumper on the board on the LED pins. Without this, the backlight will aways be off.
Materials
- 1 x BBC micro:bit
- 1 x Tinkercademy breakout board
- 1 x LCD display
- 4 x M-F jumper wires
STEP 3
Download extension
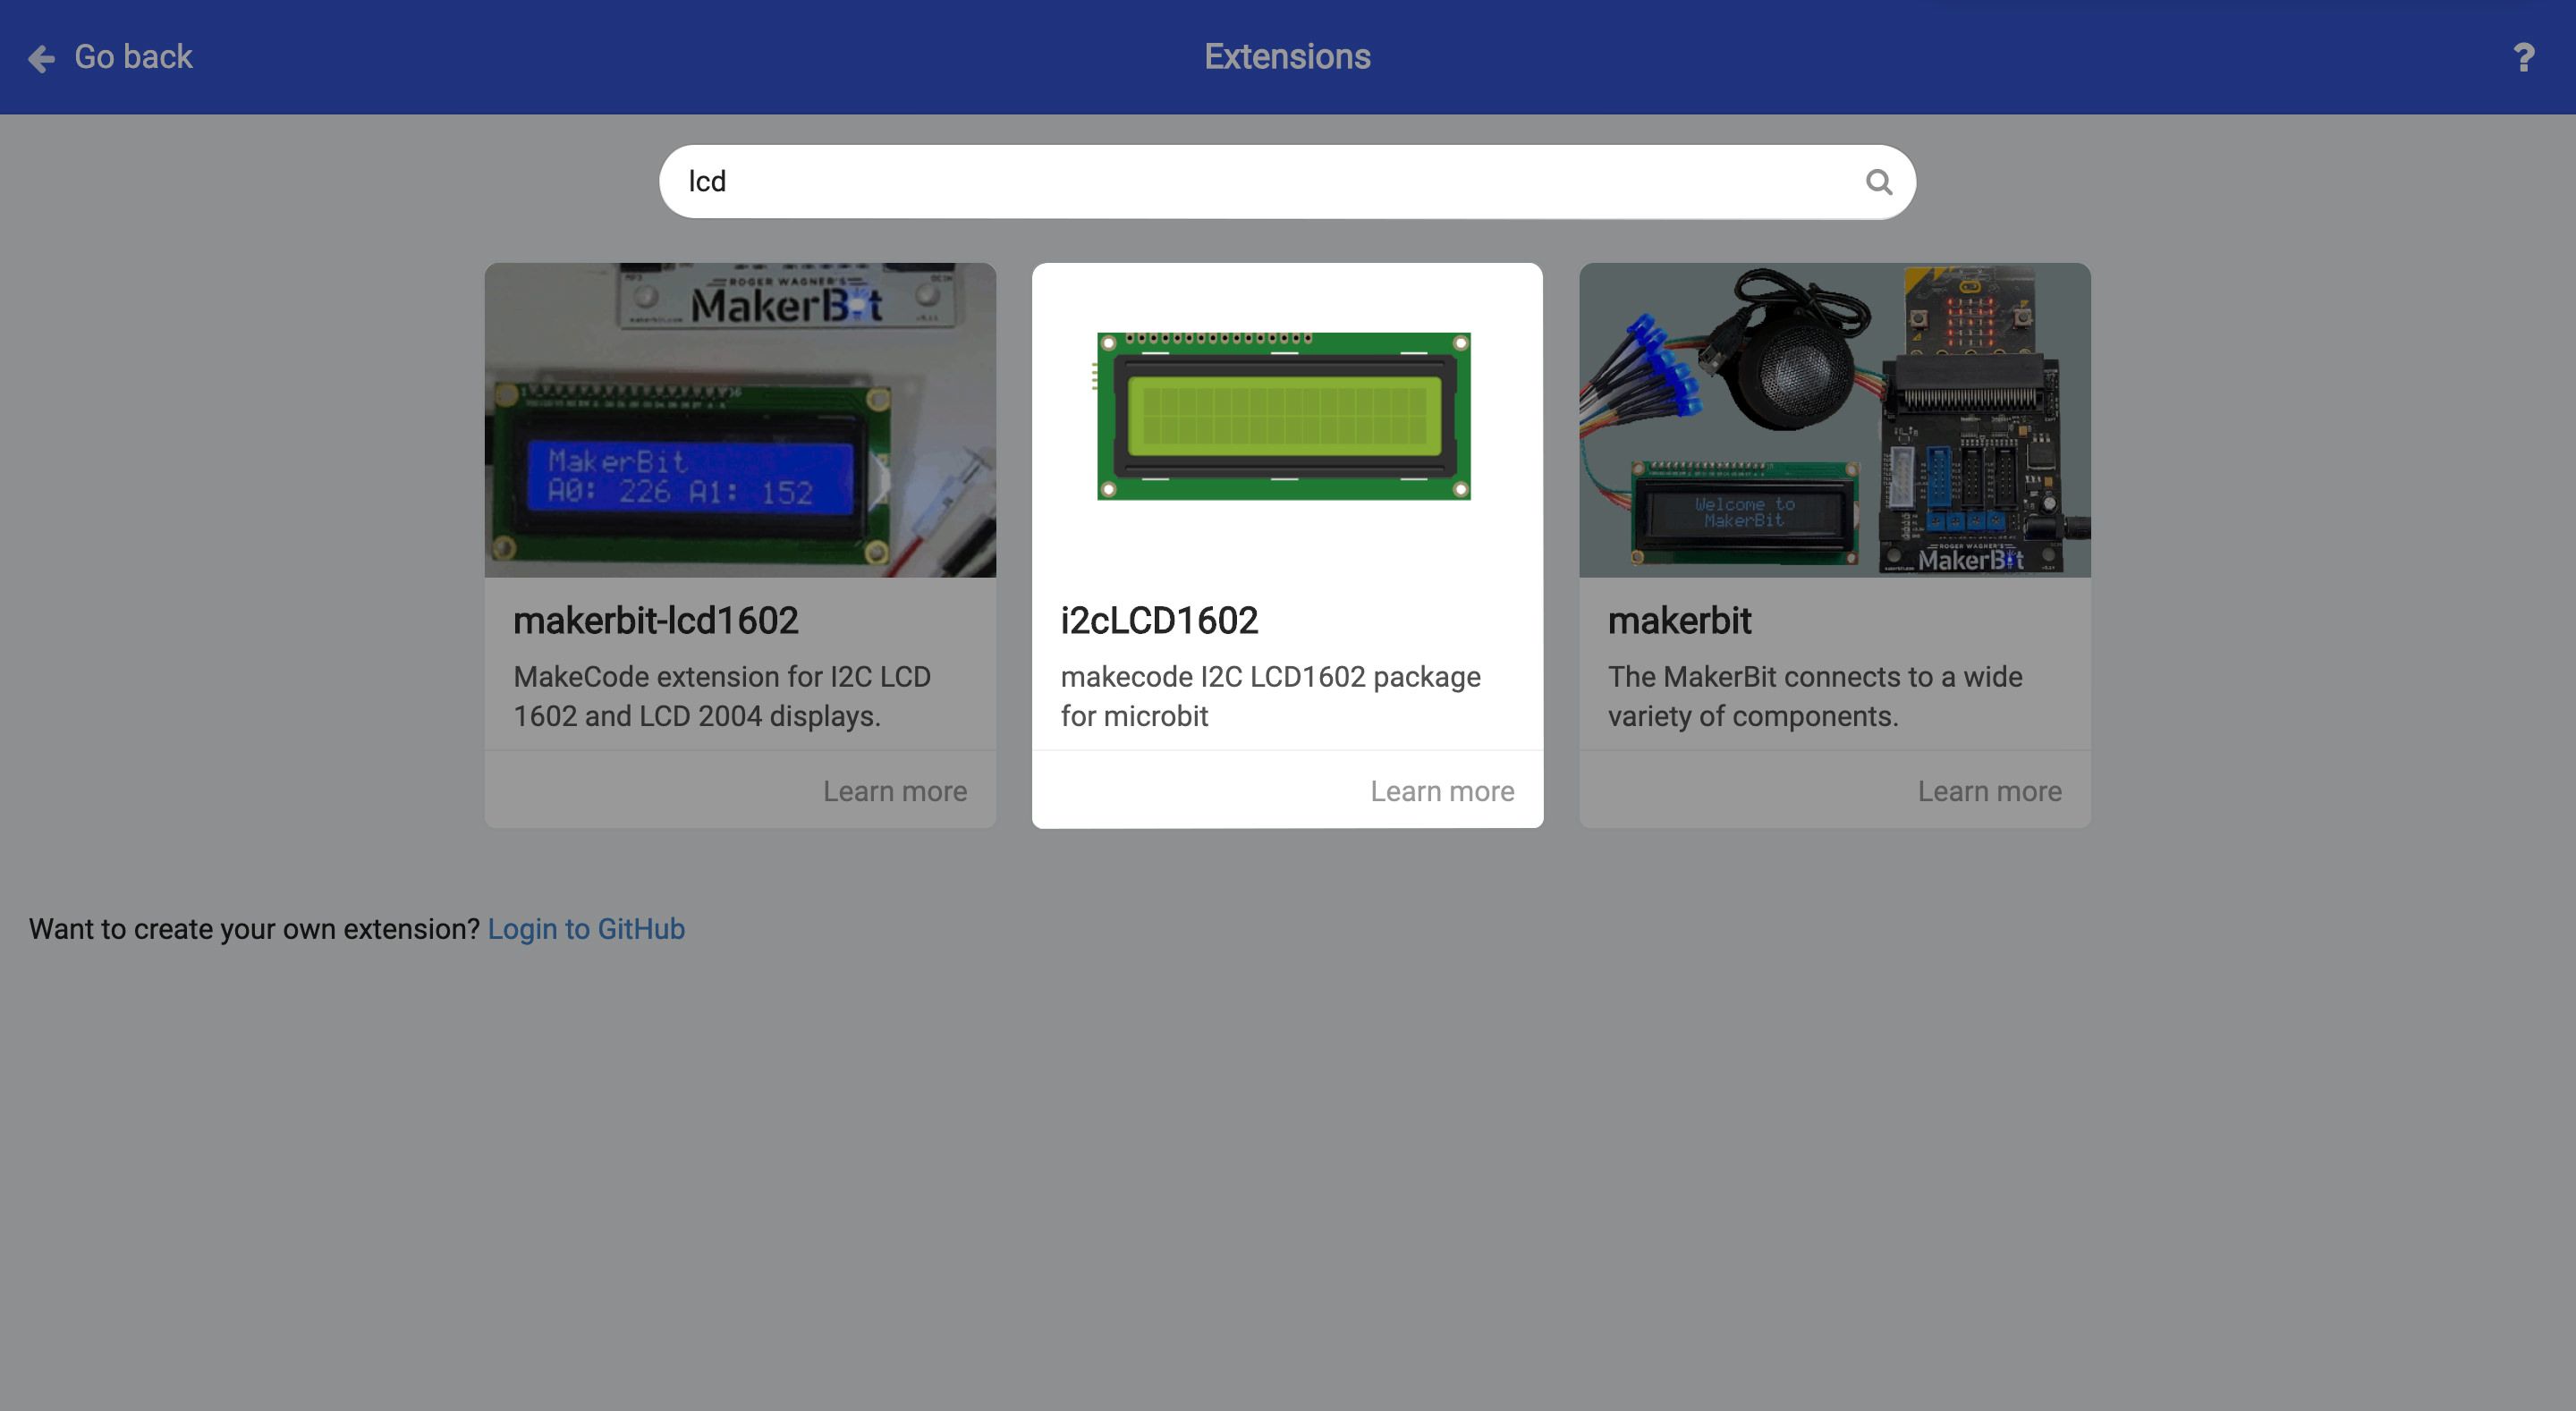
To use the blocks in order to display text on LCD display, we need to download extensions.
(a) Click on the ‘Advanced’ drawer, select 'Extensions'.
(b) Search ‘LCD’ and click 'on i2cLCD1602' to import the required extension.
(c) Note that importing this package only happens for the current project. For new projects, you’ll need to re-import it.
STEP 4
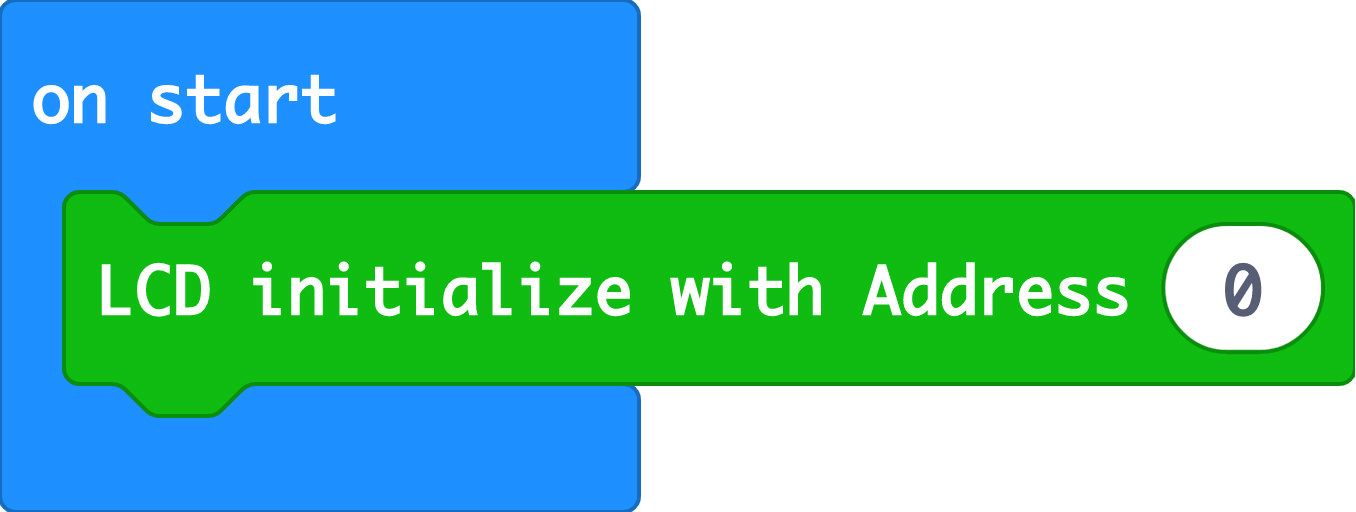

Initialize LCD display
From the i2c_LCD1602 drawer, drag an 'LCD initialize...' block to initialise the LCD display
STEP 5
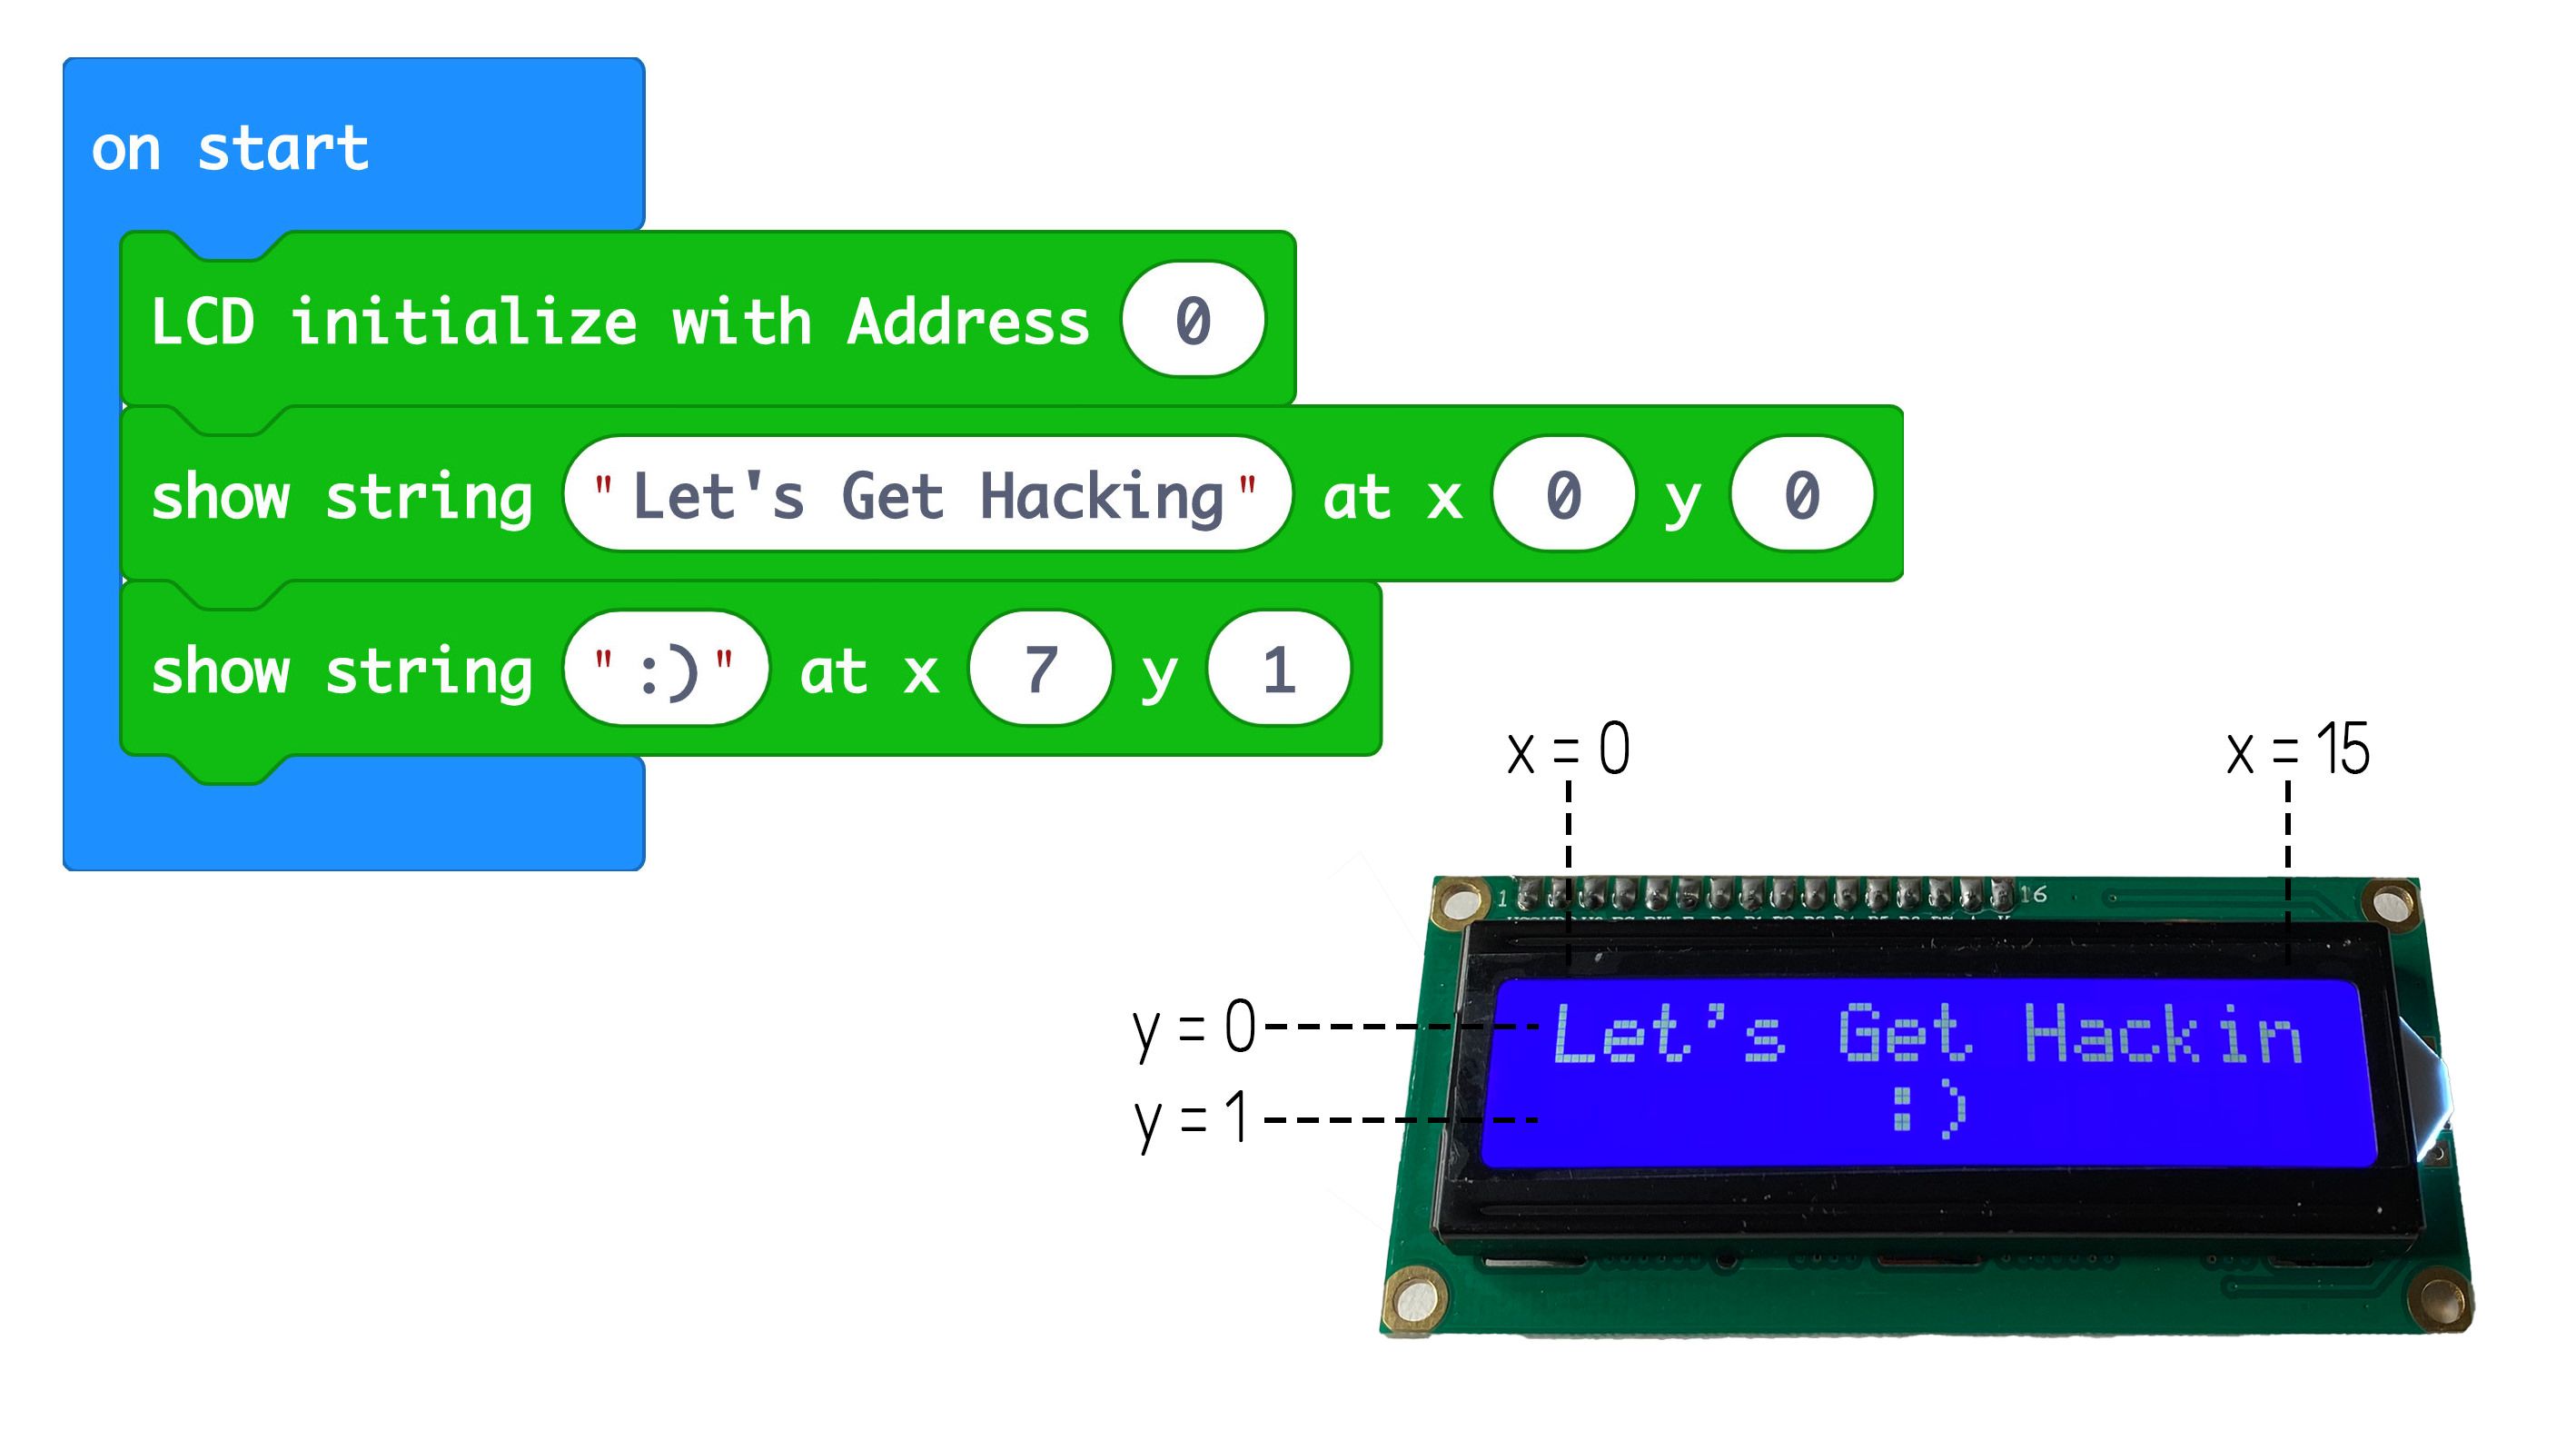
Show text
(a) From the i2c_LCD1602 drawer, drag a 'show string...' block to display text.
(b) x-value represents the column number while y-value represents the row number.
(c) Do note that, if the number of characters exceeds 15, the excess characters will be cut off.
STEP 6

Complete!
(a) Congratulations, you've successfully coded your LCD screen!
(b) Don't forget to connect the top of your micro:bit to your laptop using a microUSB cable, and click 'Download' on MakeCode.
Code and References
Made this activity? Good Job! Now spread the word. Share a photo of your creation on social media with #letsgethacking #LCDdisplayonamicro:bit