Lightbox
LED lights look great from behind light-diffusing materials. Make a simple lightbox, powered by a micro:bit and an LED strip.

YOU WILL NEED
Electronics
• BBC Micro:bit
• Tinkercademy GVS Breakout Board
• Battery pack
• LED strip or Ring
Craft Materials
• Cardboard / small box
• Aluminium foil
• Tracing paper
Stationery
• Sticky tape / glue stick
• Penknife
• Ruler
STEP 1
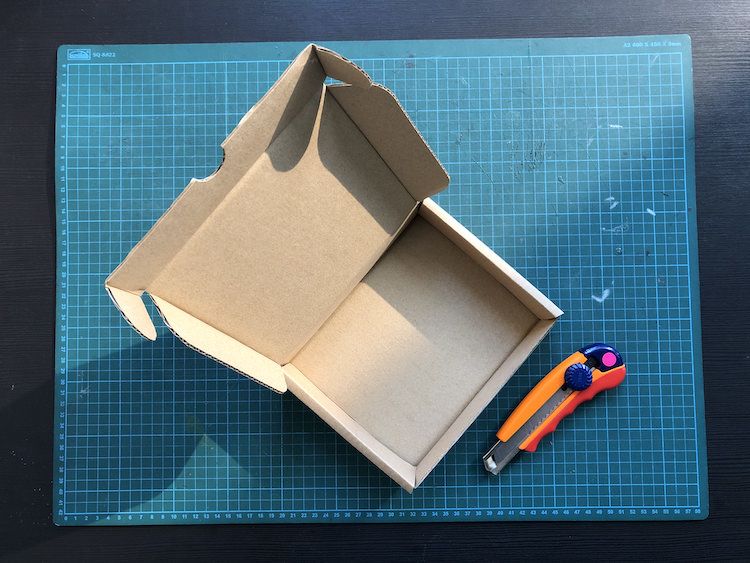
Preparing the box
Make sure your box has an open face to let the light shine out. Here, we cut out the flap on our box. Also check that your box can stand on its side!
STEP 2
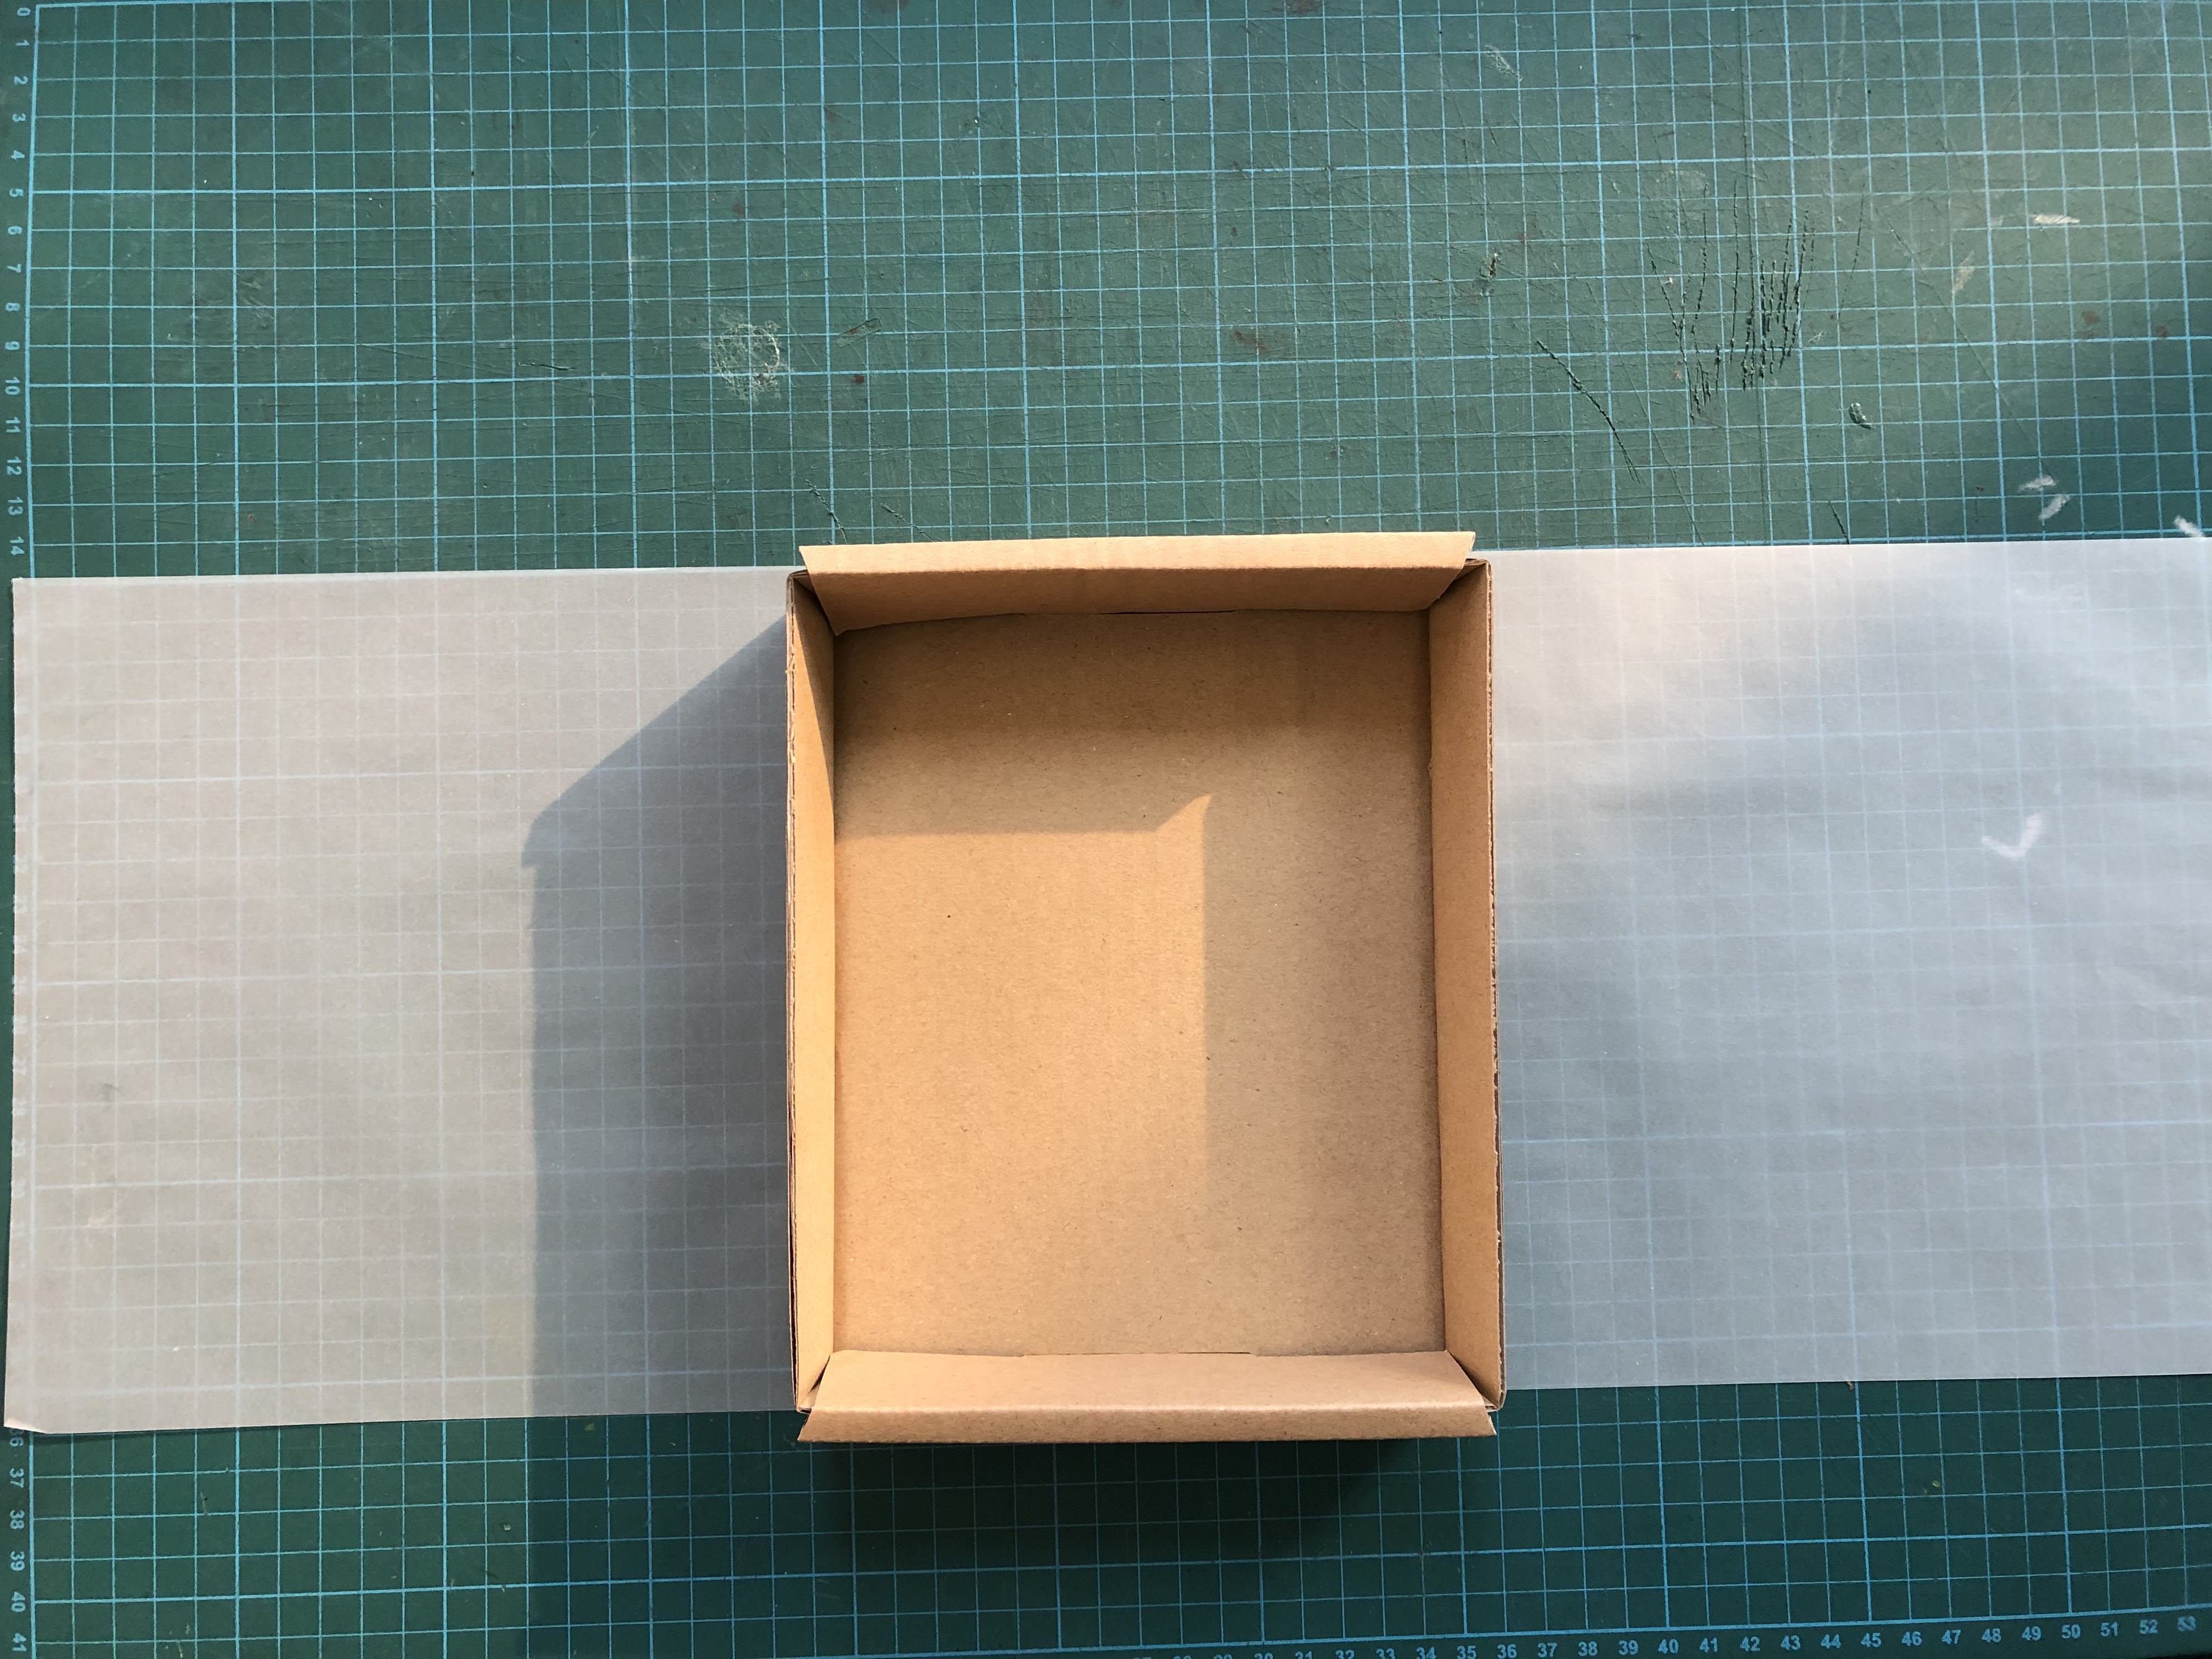
Preparing the sleeve
We then cut a strip of tracing paper long enough to wrap completely around the box to form a translucent sleeve.
STEP 3
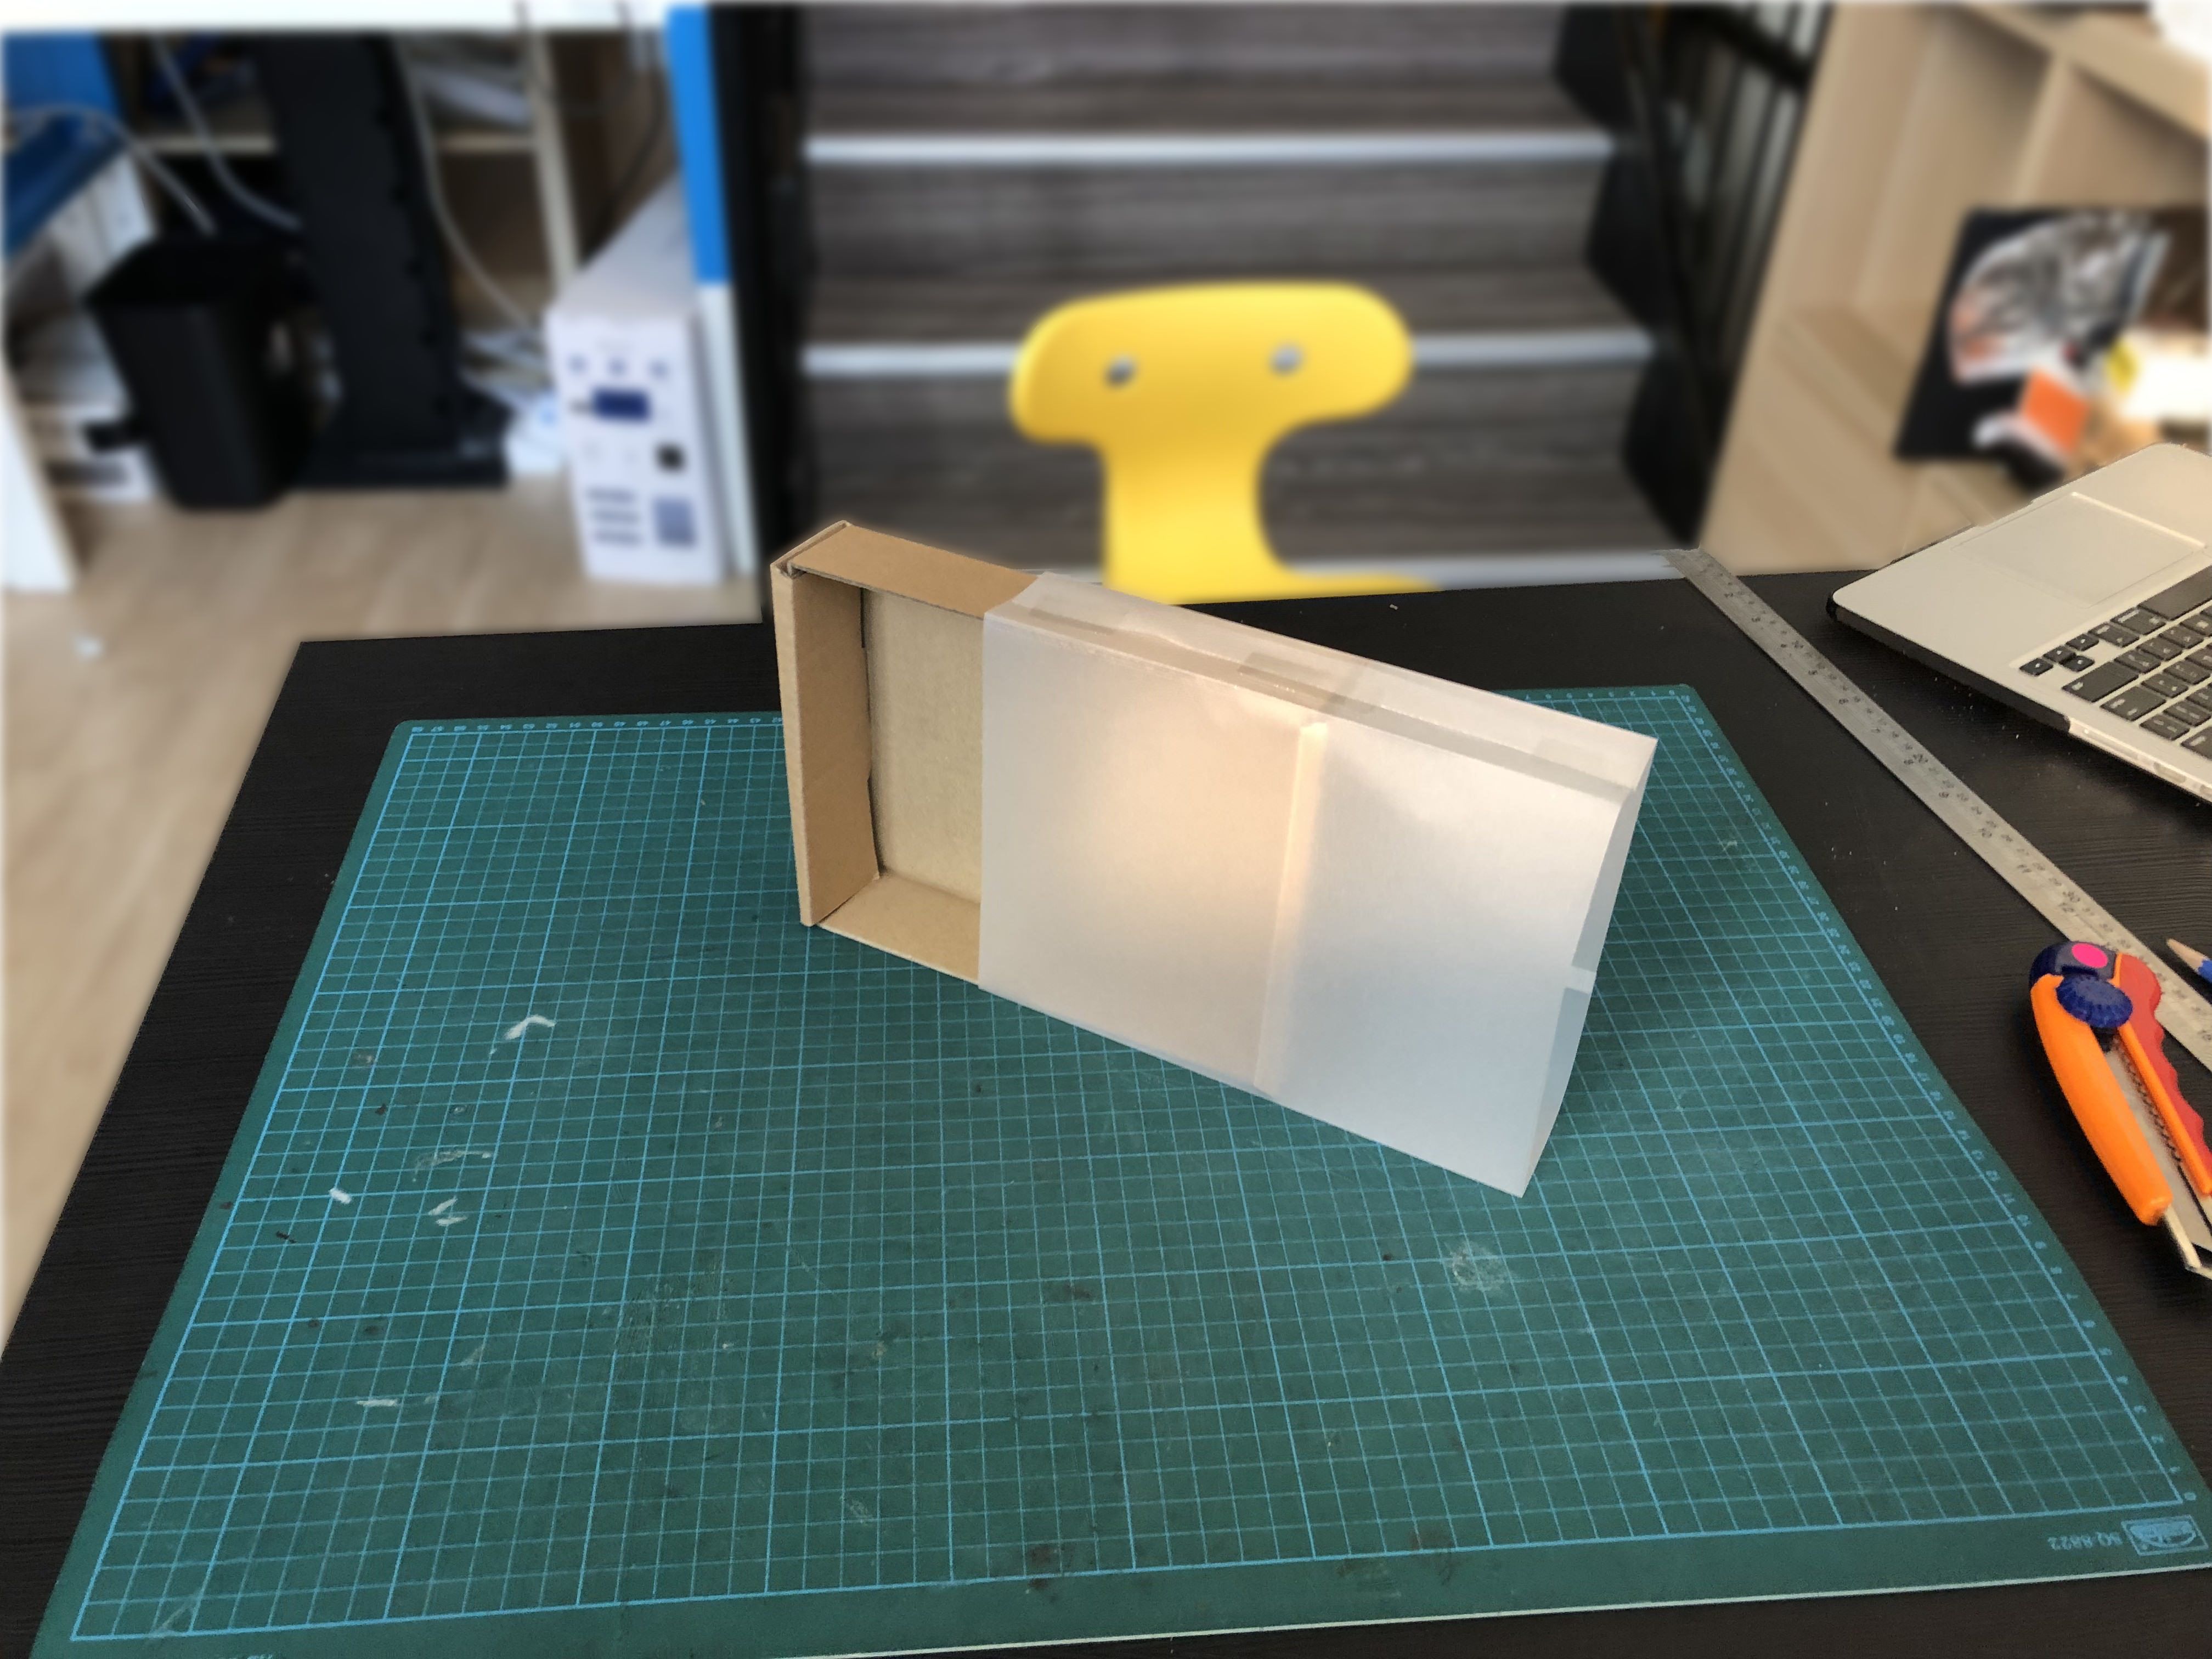
Making the sleeve
By folding the tracing paper crisply at the corners, we get a sleeve, which we can complete by gluing or taping the overlapping ends together.
STEP 4
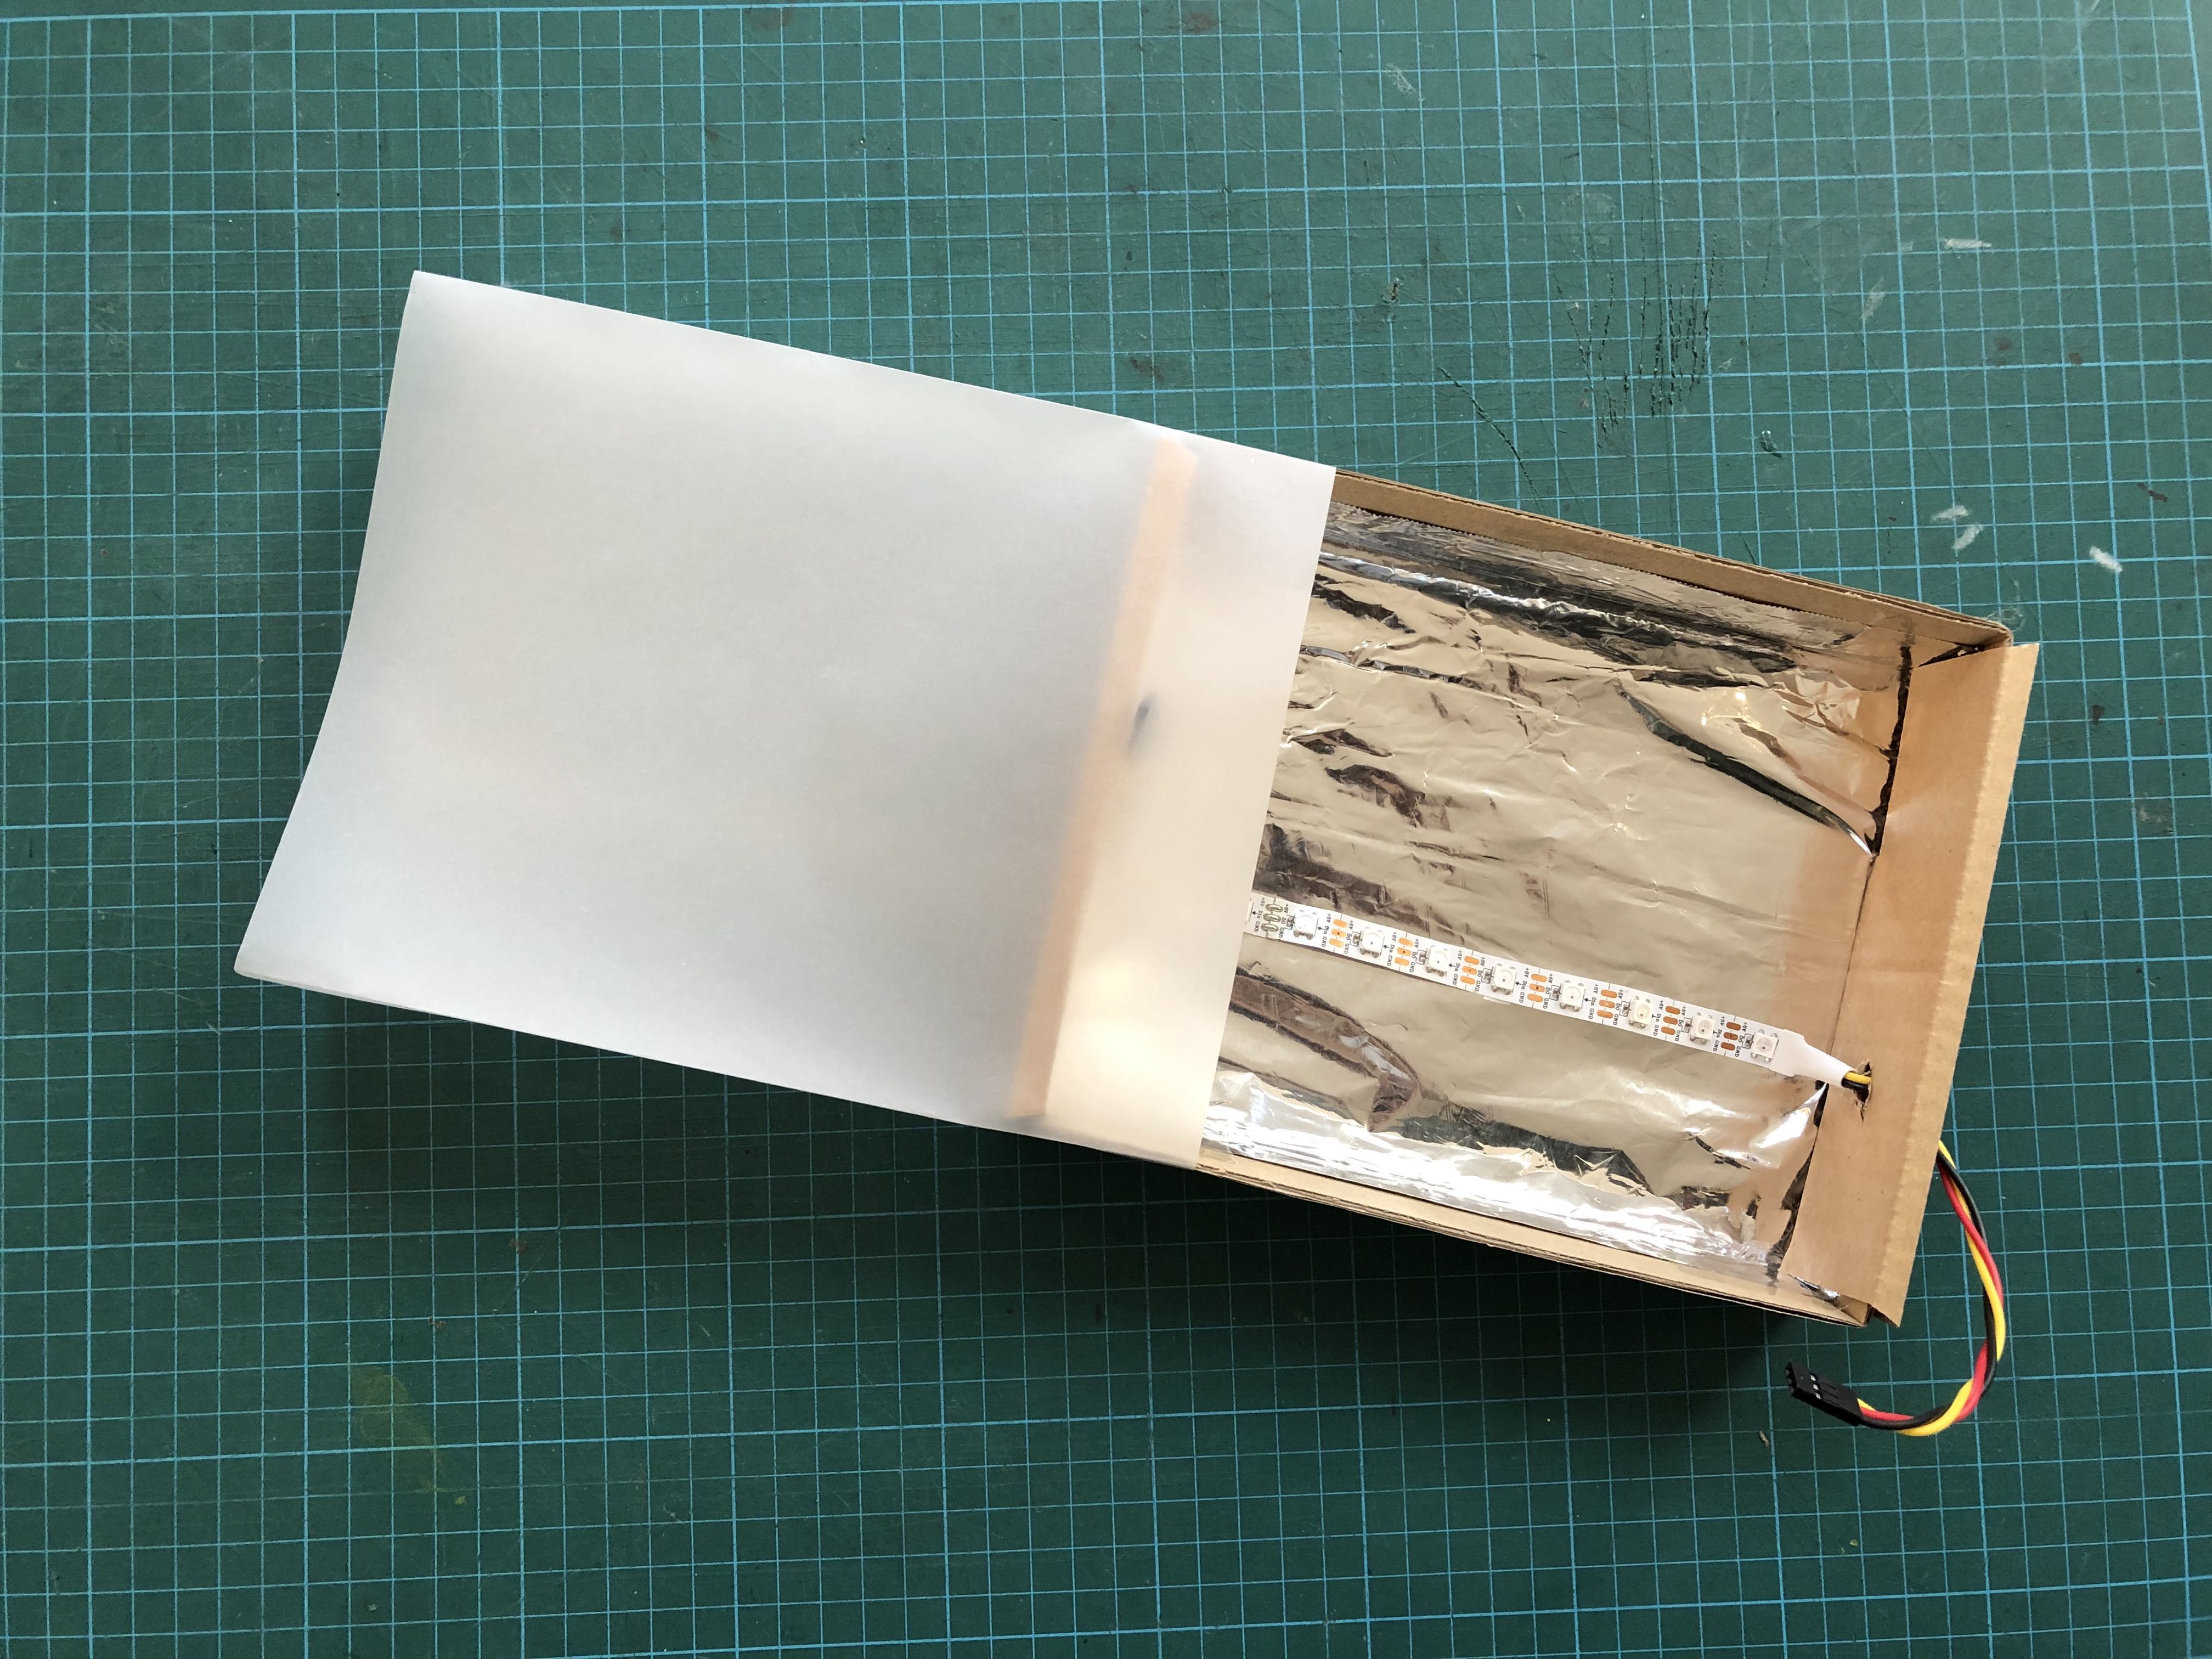
Make it shine
We line the inside of the box with aluminium foil, so the LED light reflects off the back for greater effect. After that, we poke a hole on one side of the box, big enough for the LED strip, and thread it through, letting the female leads dangle outside the box, so we can later attach them to the breakout board.
STEP 5
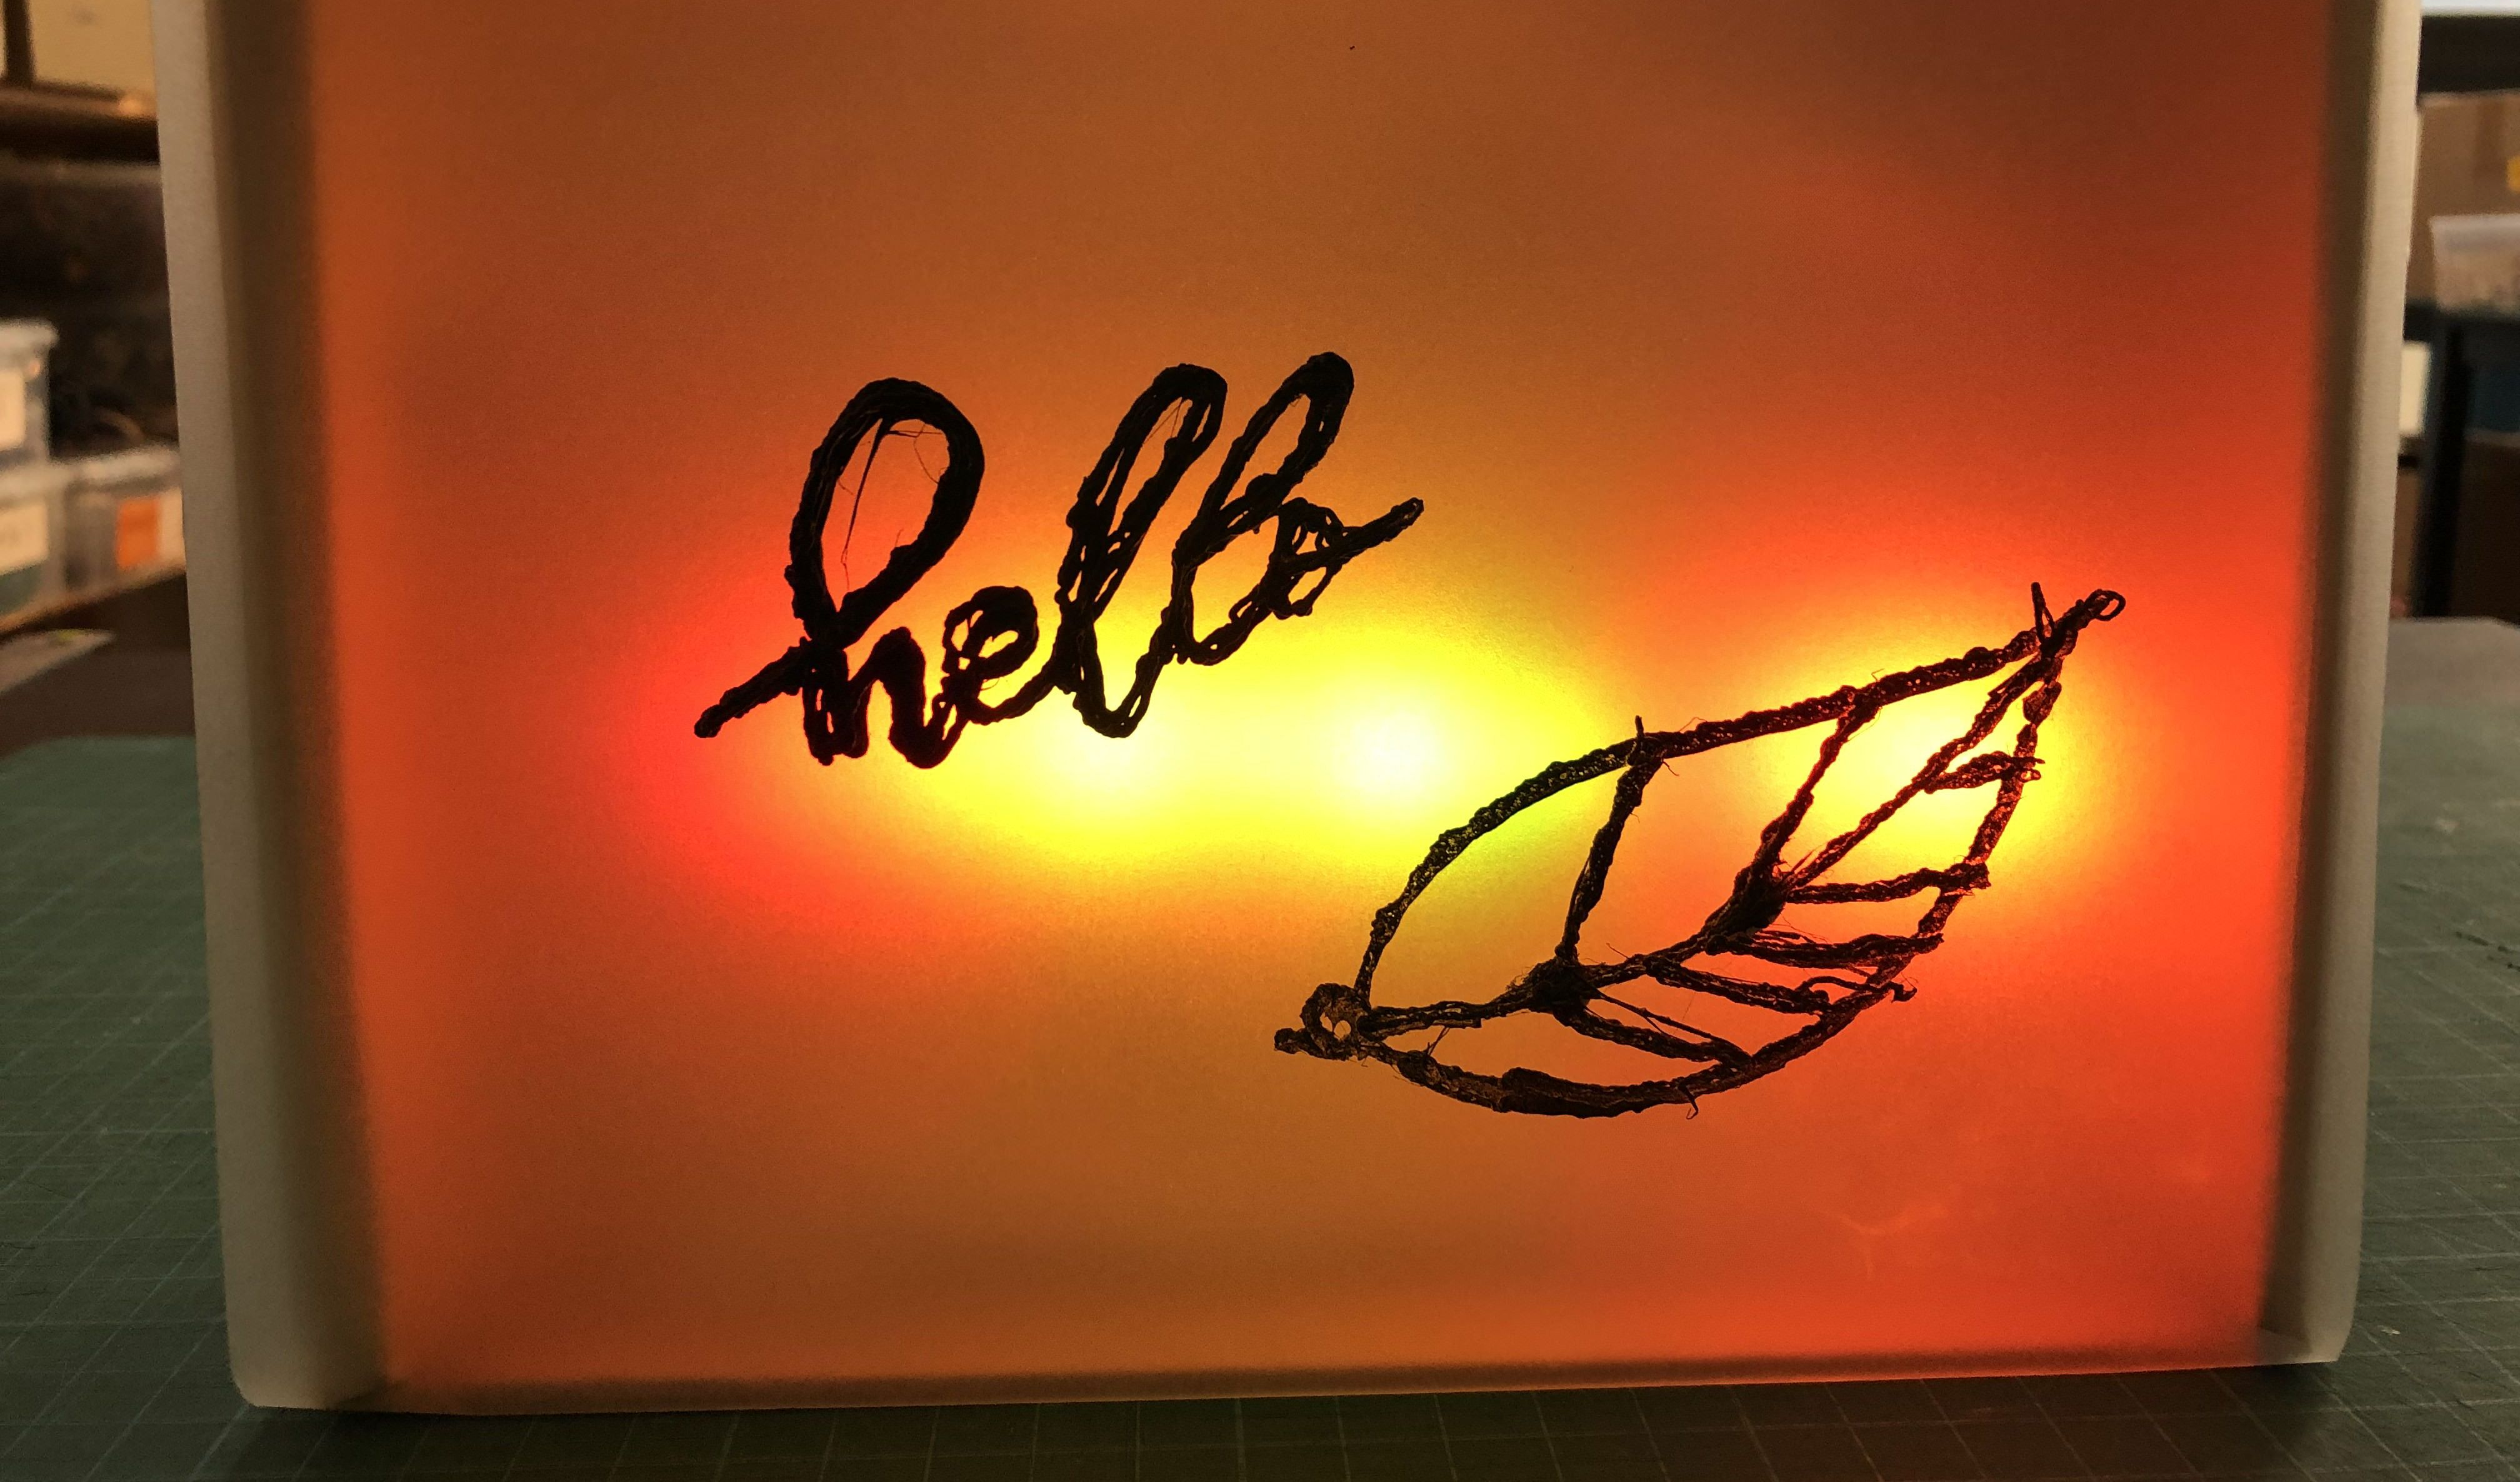
Test it out! Our code will run the lights through a spectrum of colours. So shiny! Decorate!
Code and References
Made this activity? Good Job! Now spread the word. Share a photo of your creation on social media with #letsgethacking #Lightbox