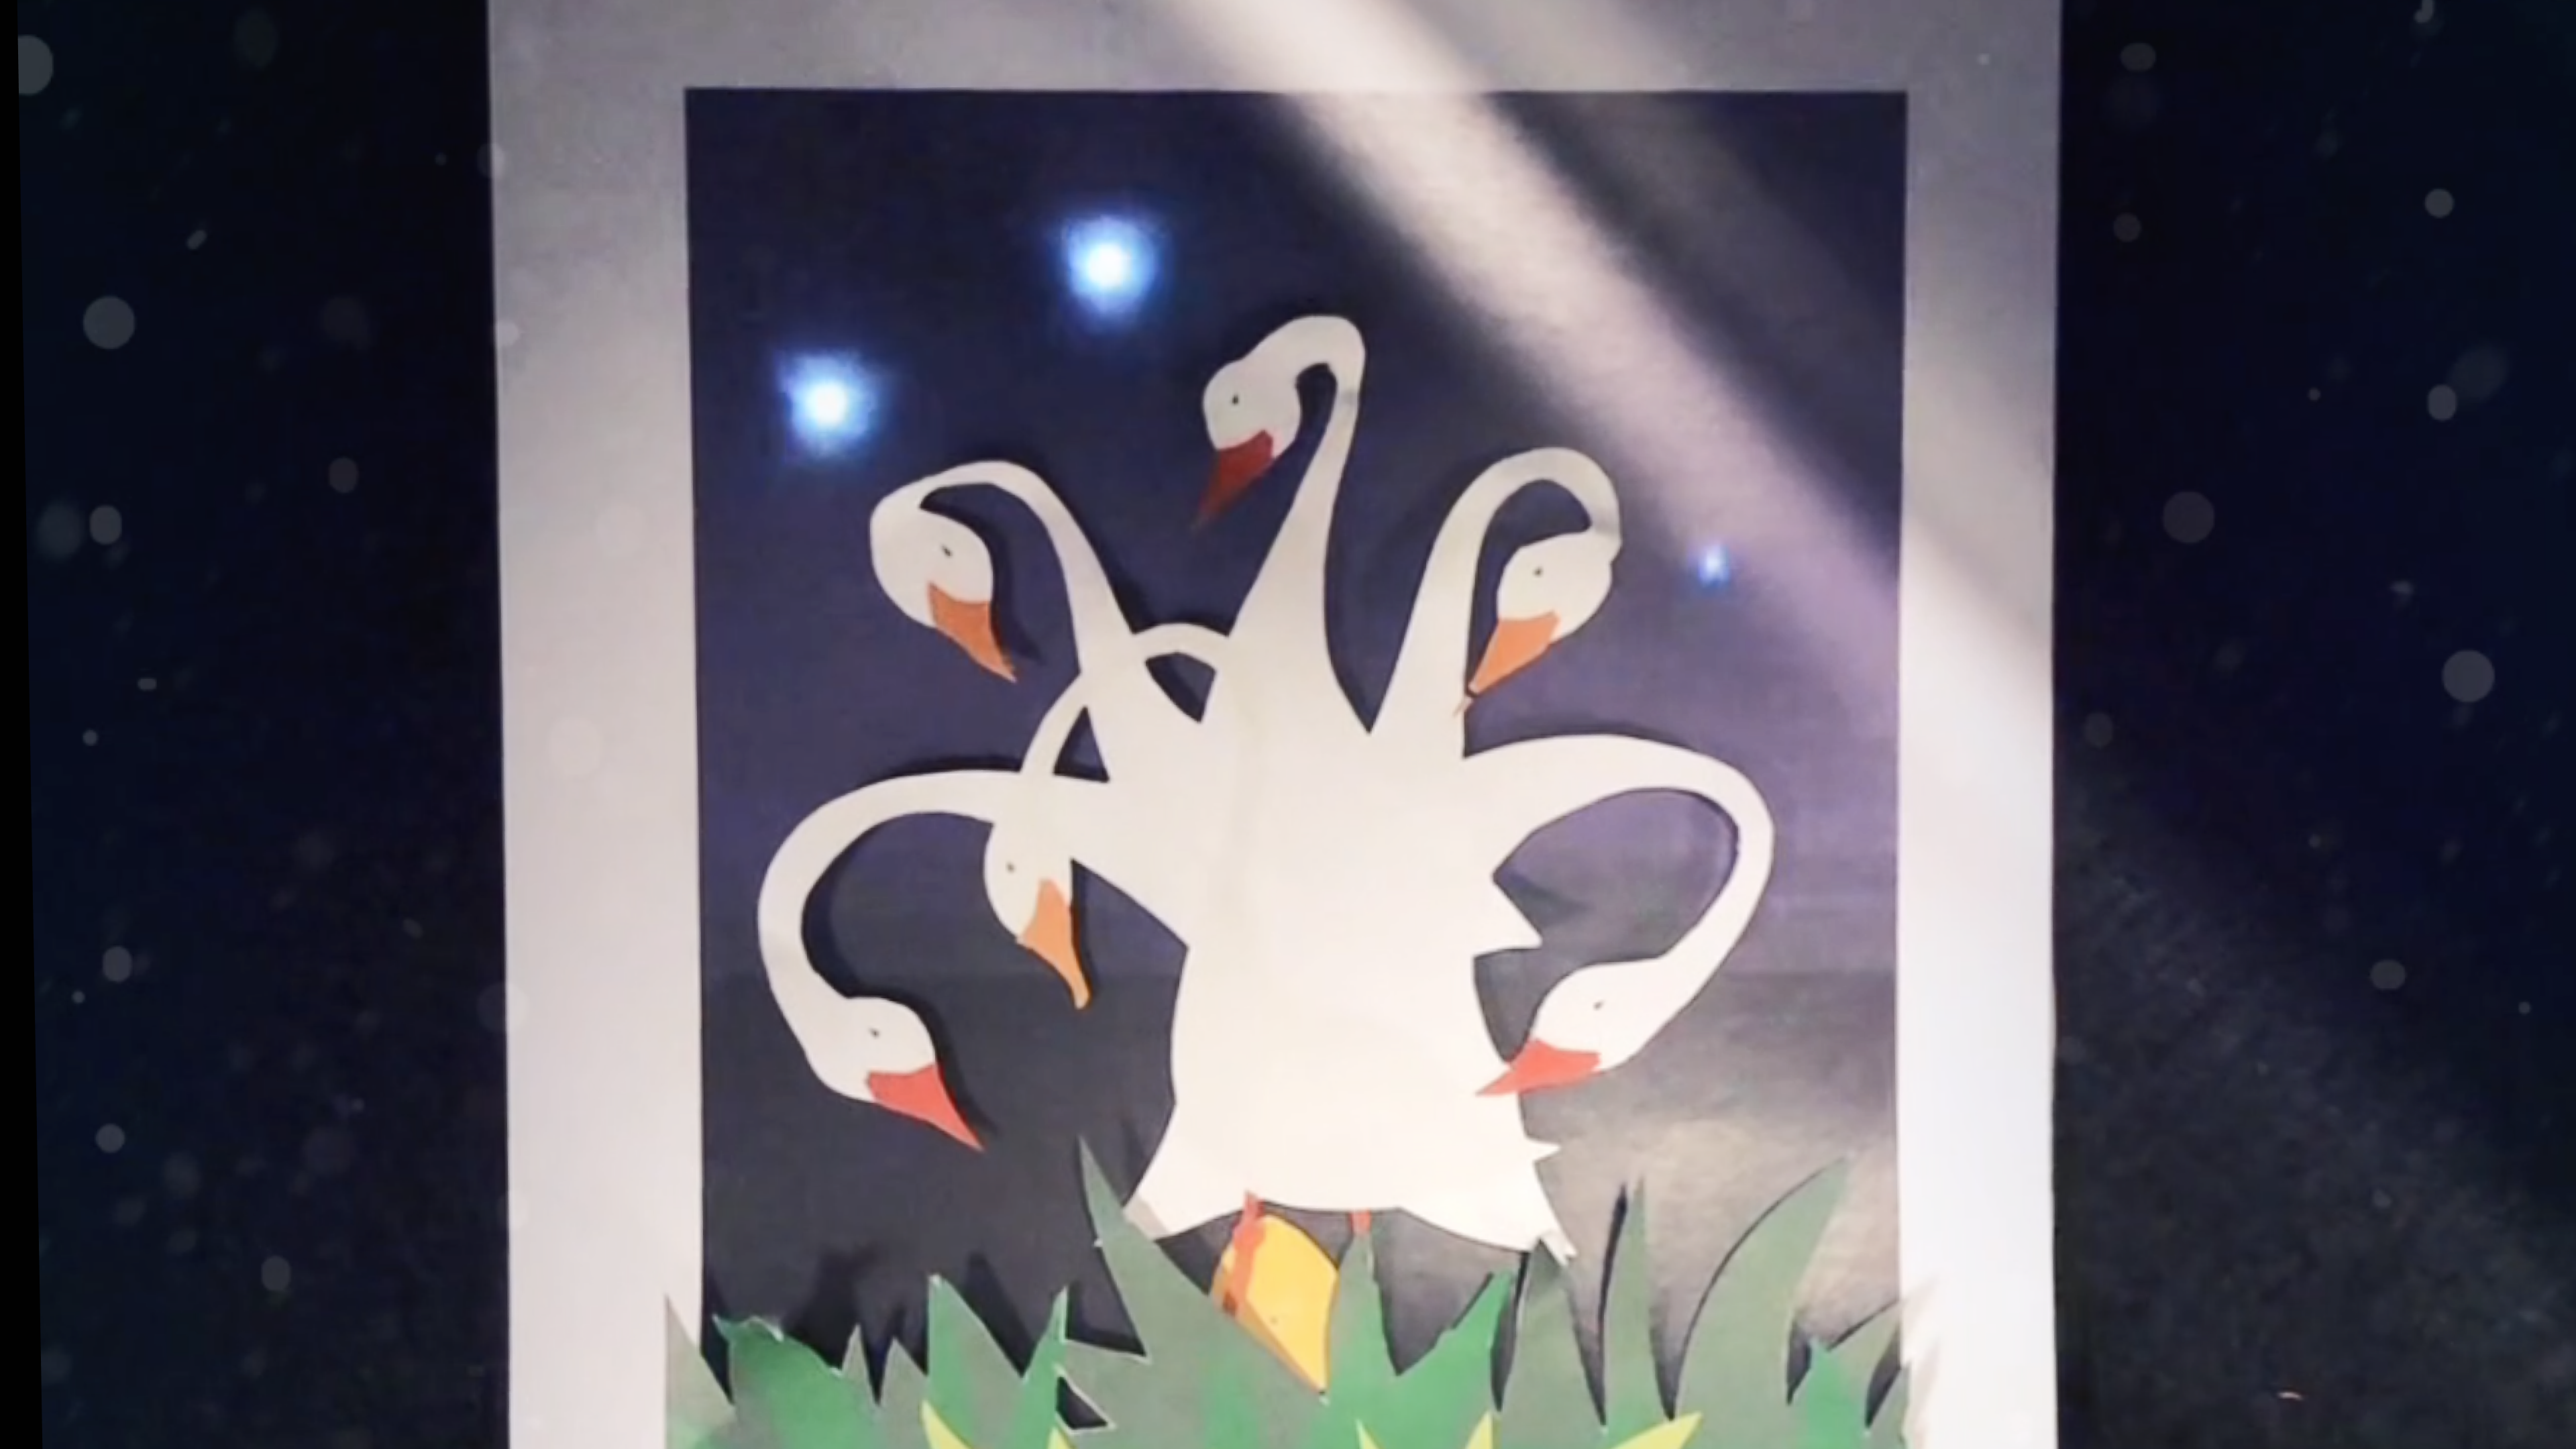
Six geese a-laying
Bedazzle your greeting card using LED stickers! Create an interactive carding card with a basic understanding of how a circuit works.
YOU WILL NEED
- Design for greeting card
- Paper (preferably 100gsm or higher)
- Cutting material (scissors, penknife & cutting mat)
- Double-sided tape
- Foam
- Yellow and white Chibitronic LED stickers
- Copper tape
- Coin cell battery
STEP 1
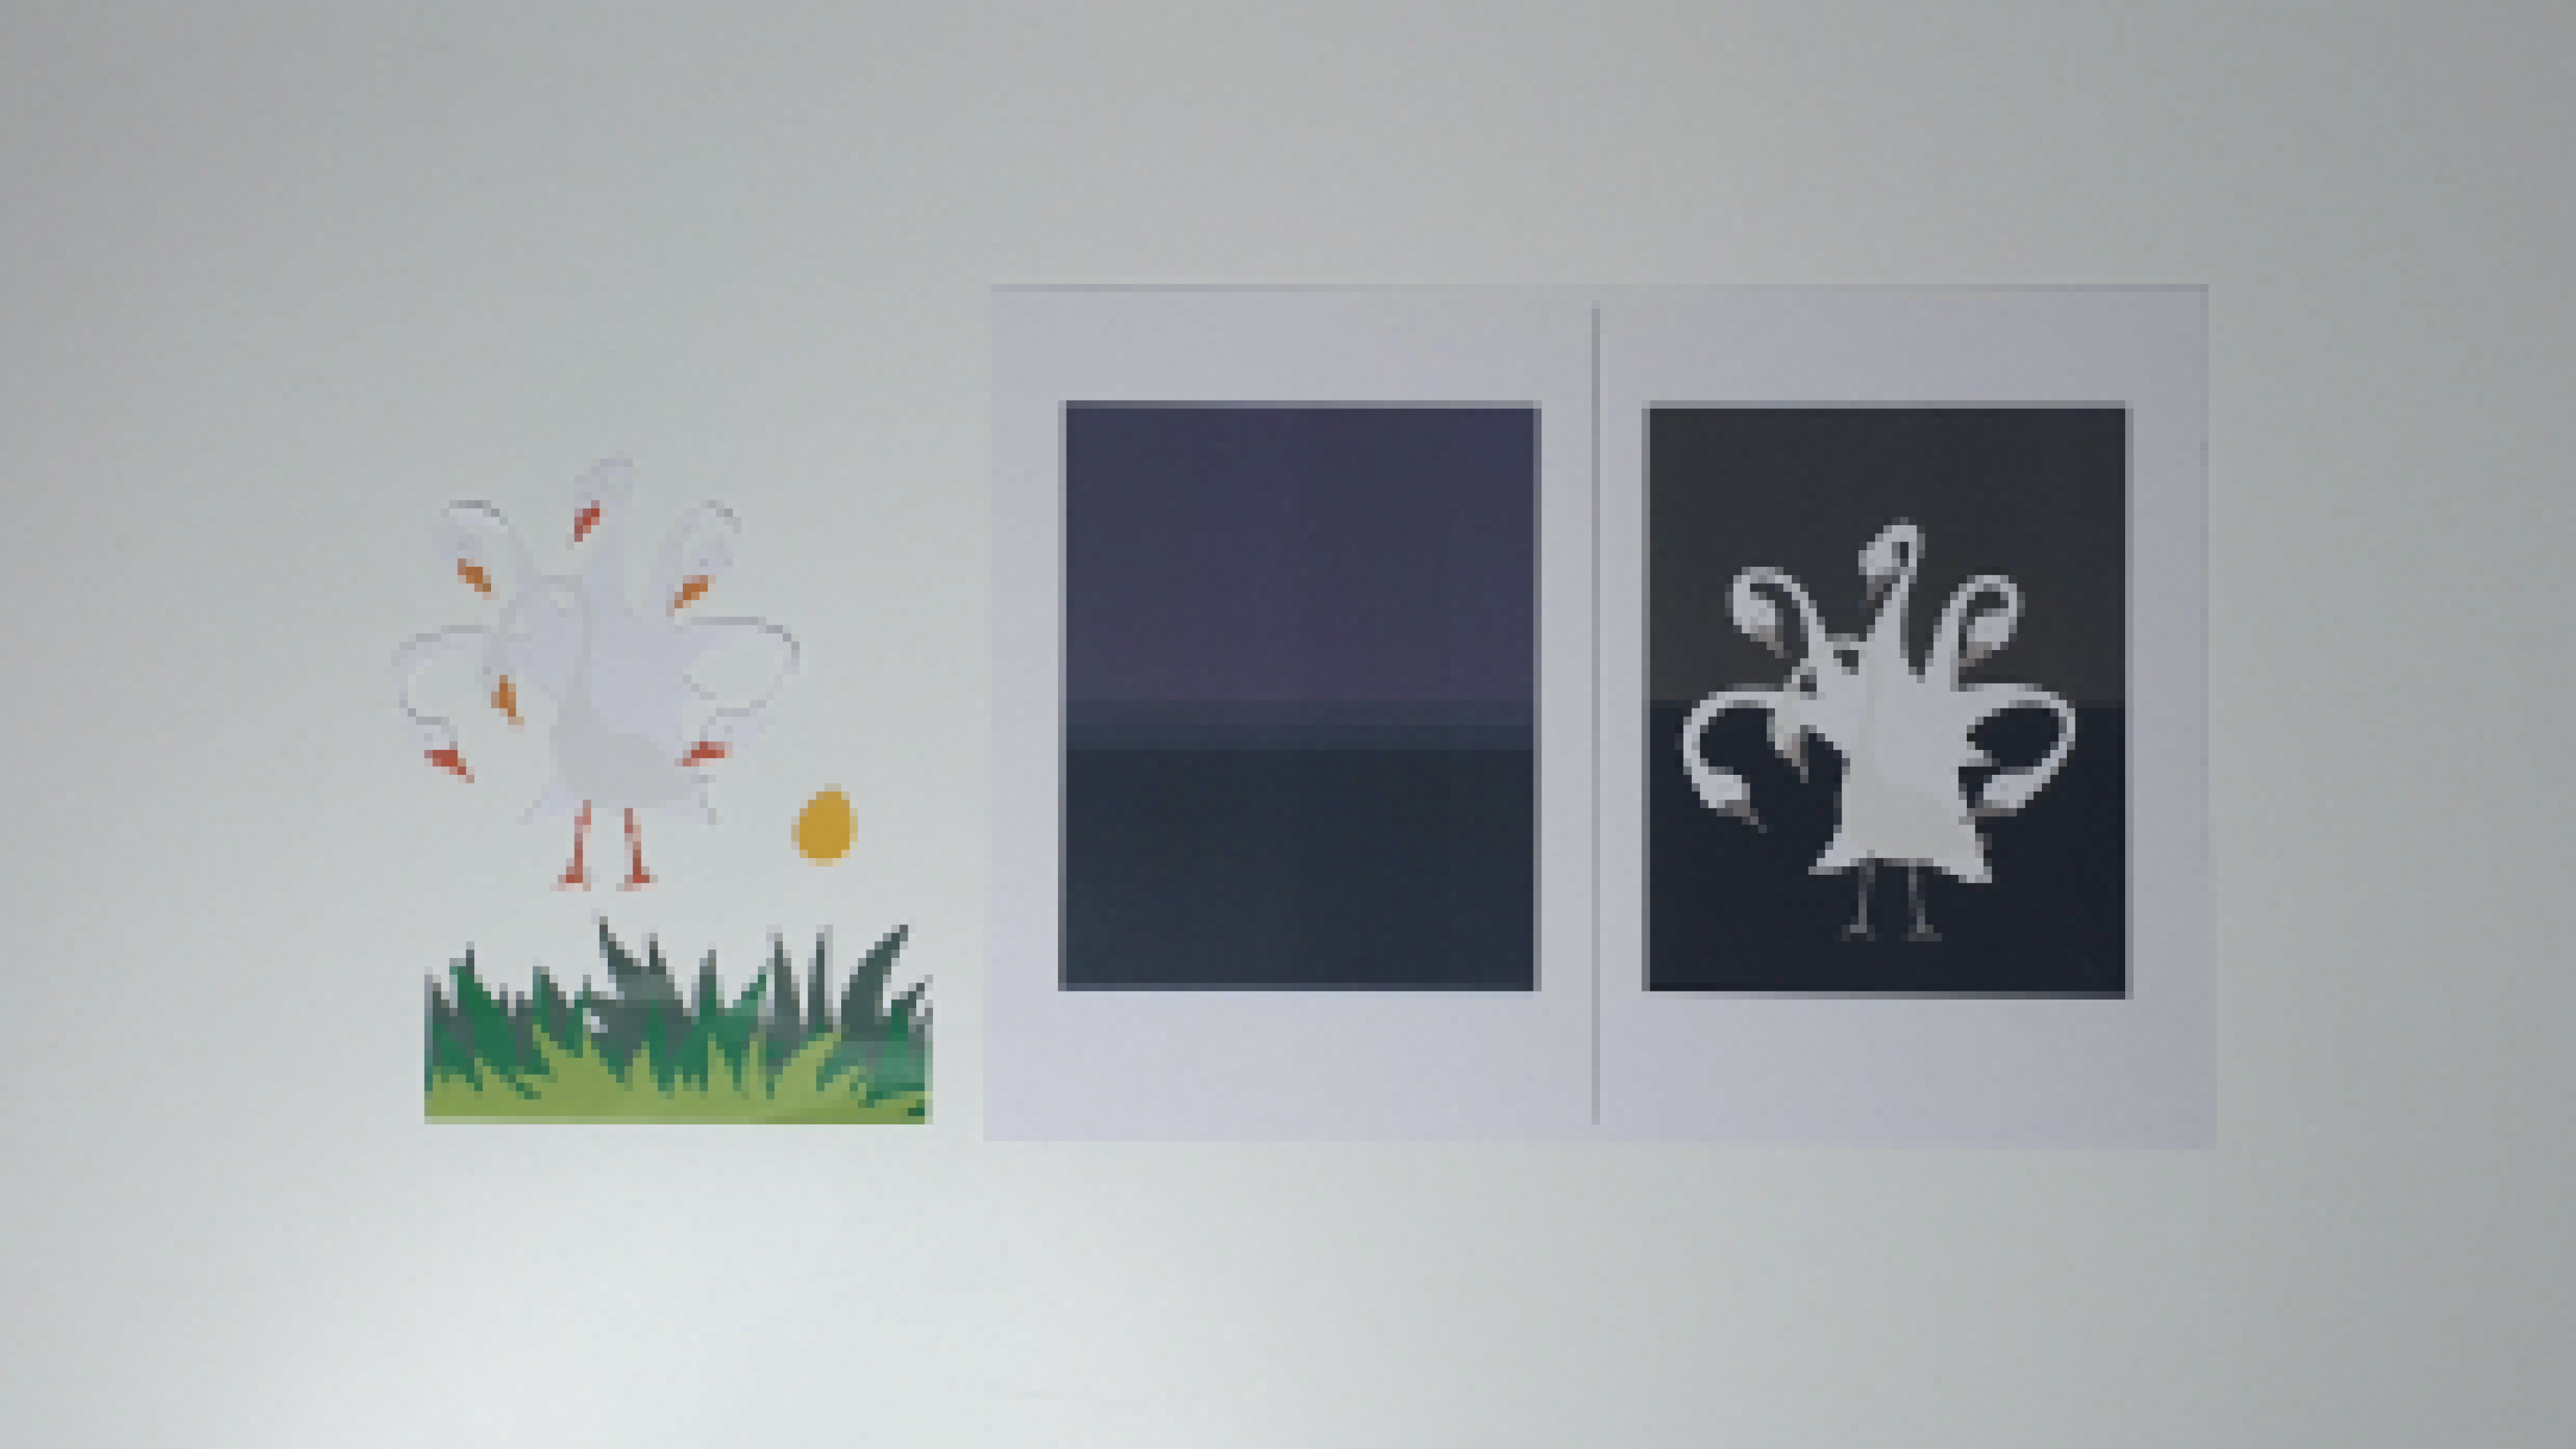
Design your greeting cut and print them out onto paper as shown. You can choose to give your greeting card depth by cutting out different layers.
The black-and-white image will act as a reference for the placements of lights later.
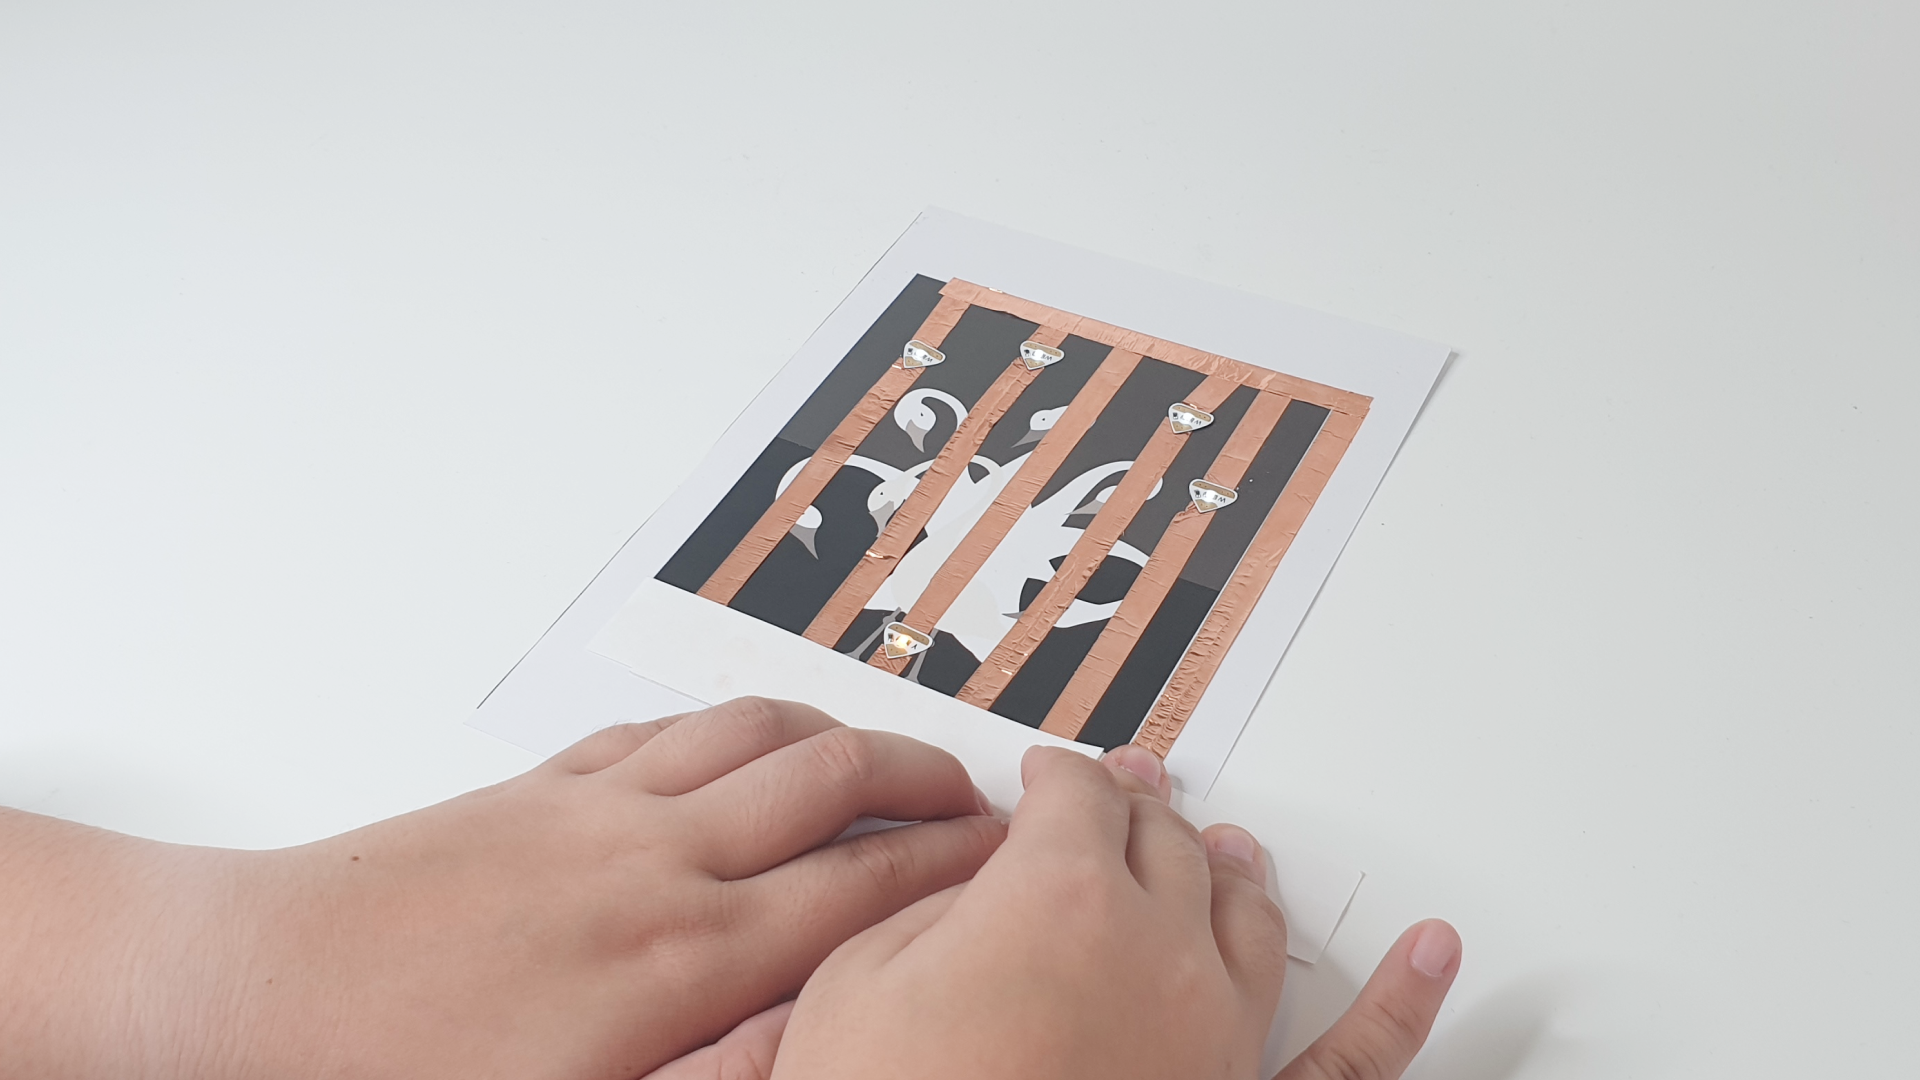
STEP 2
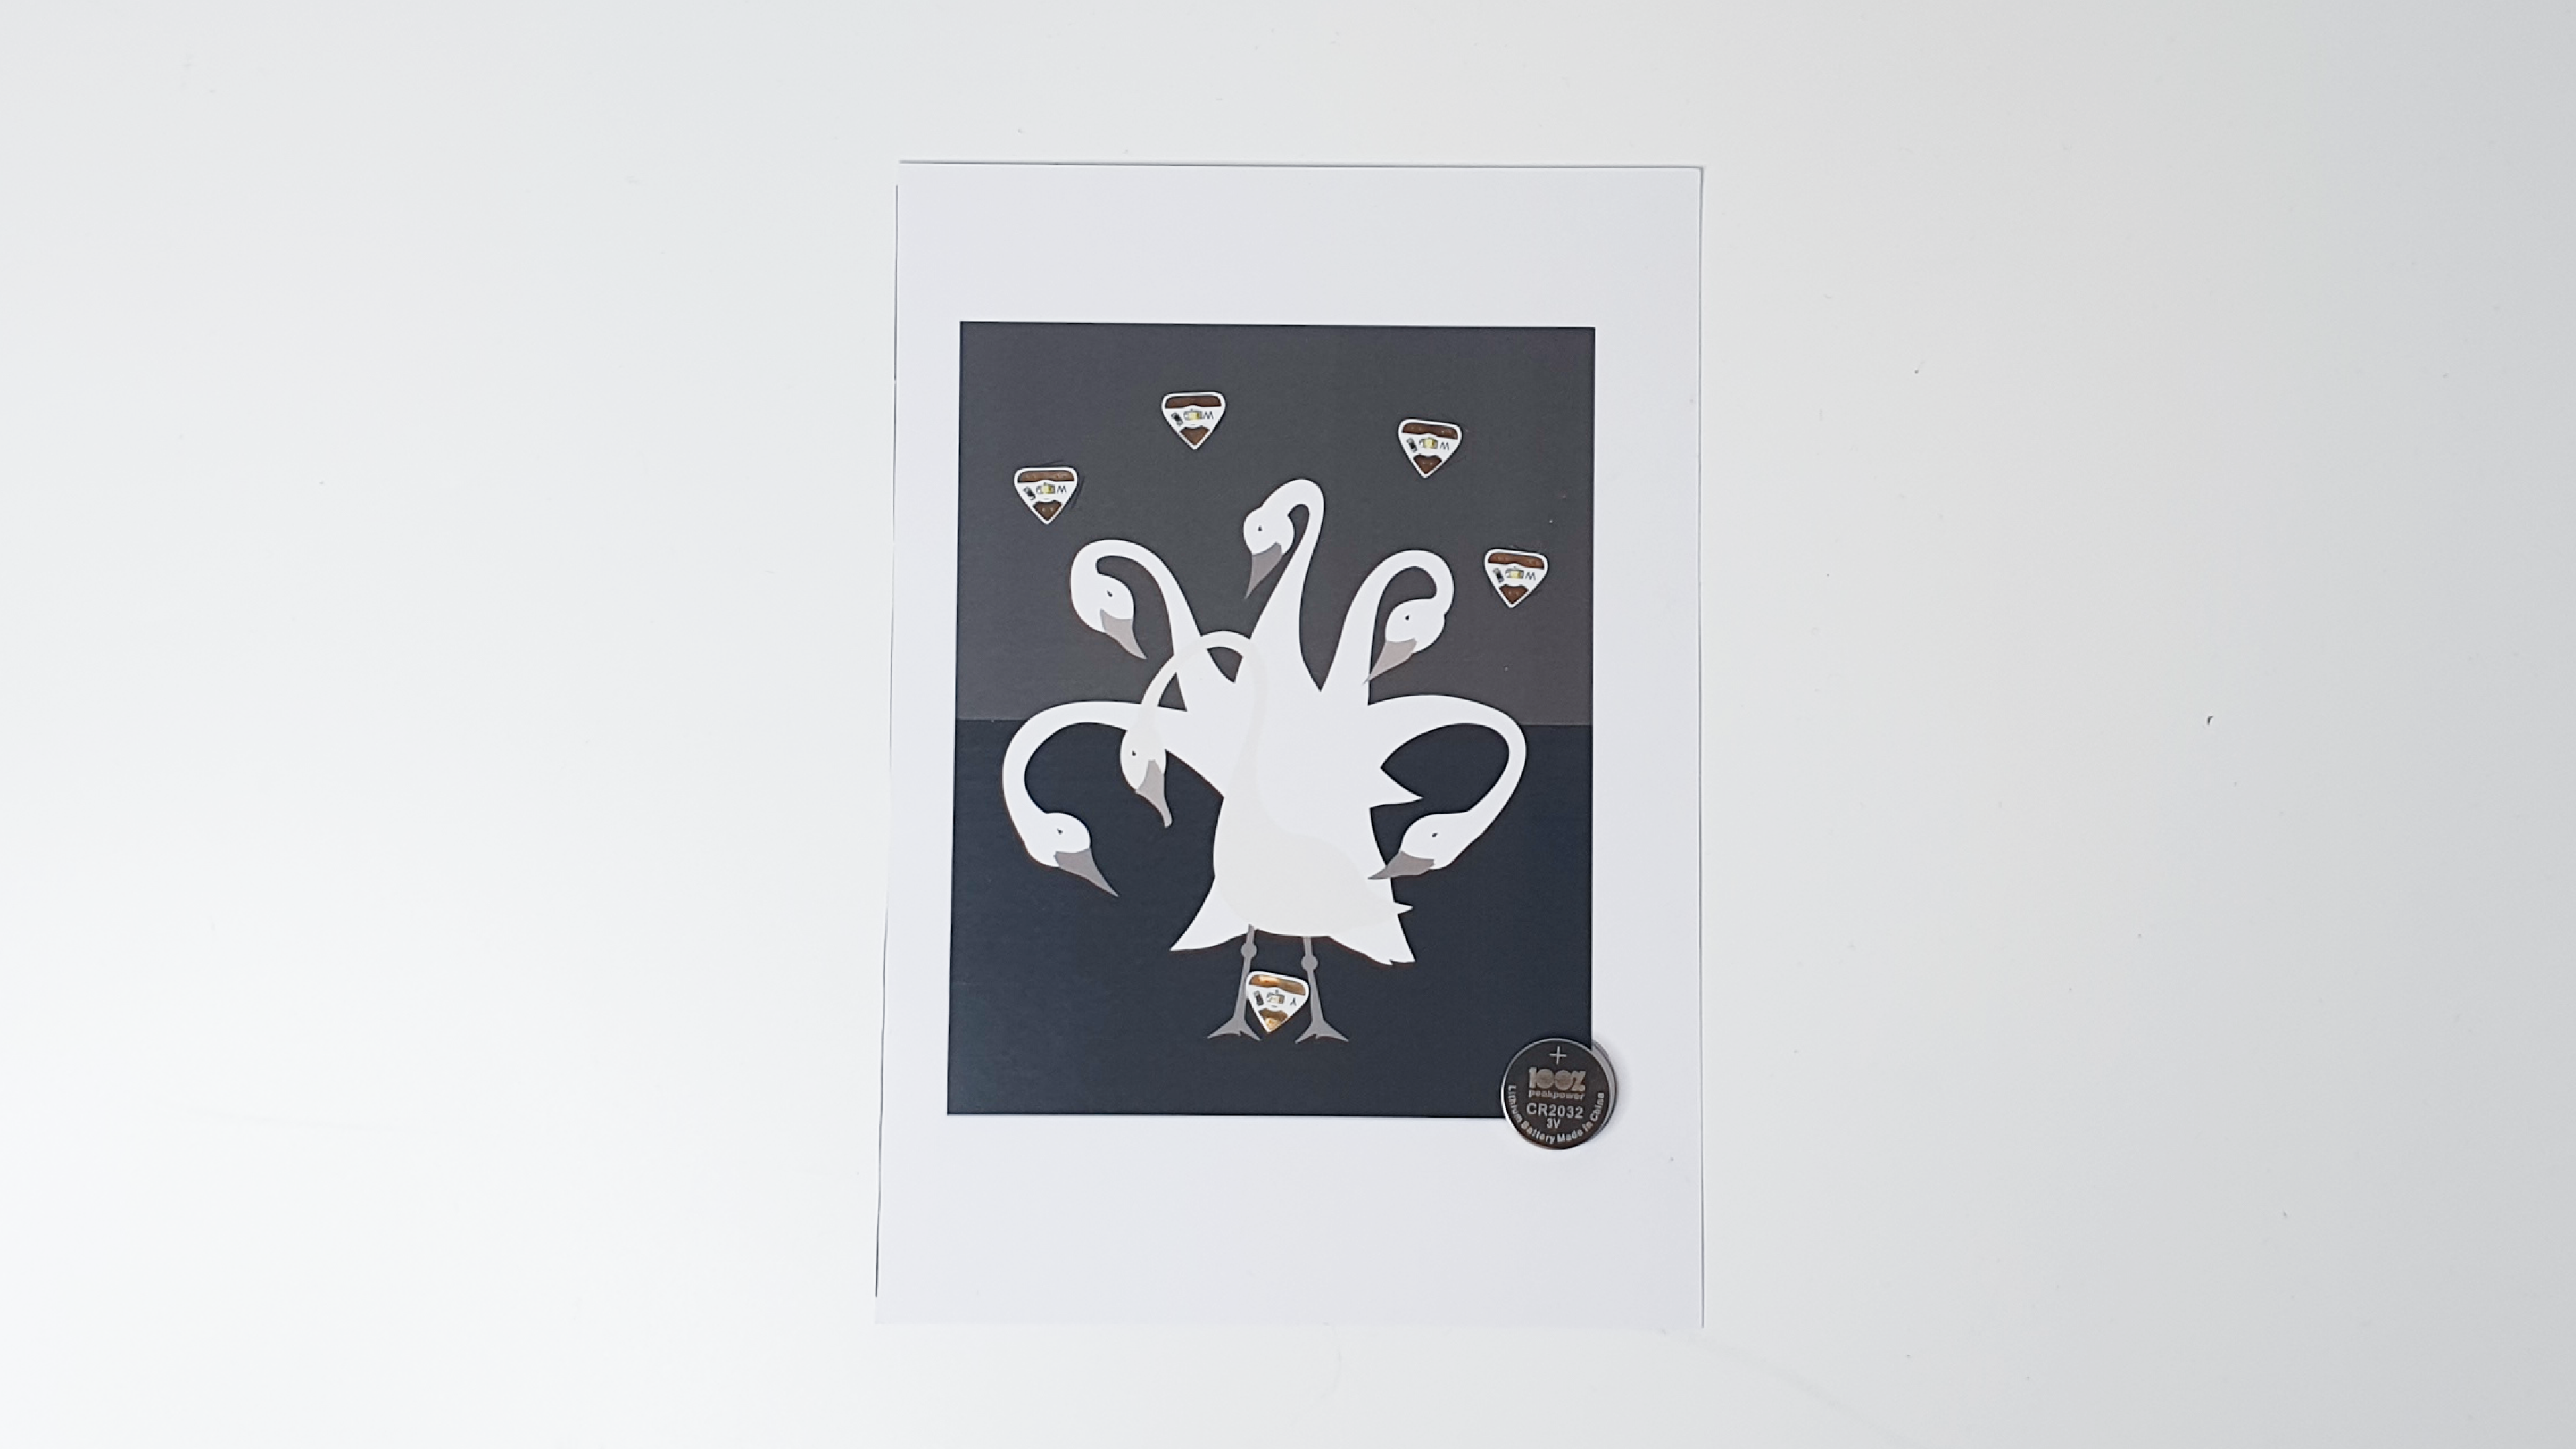
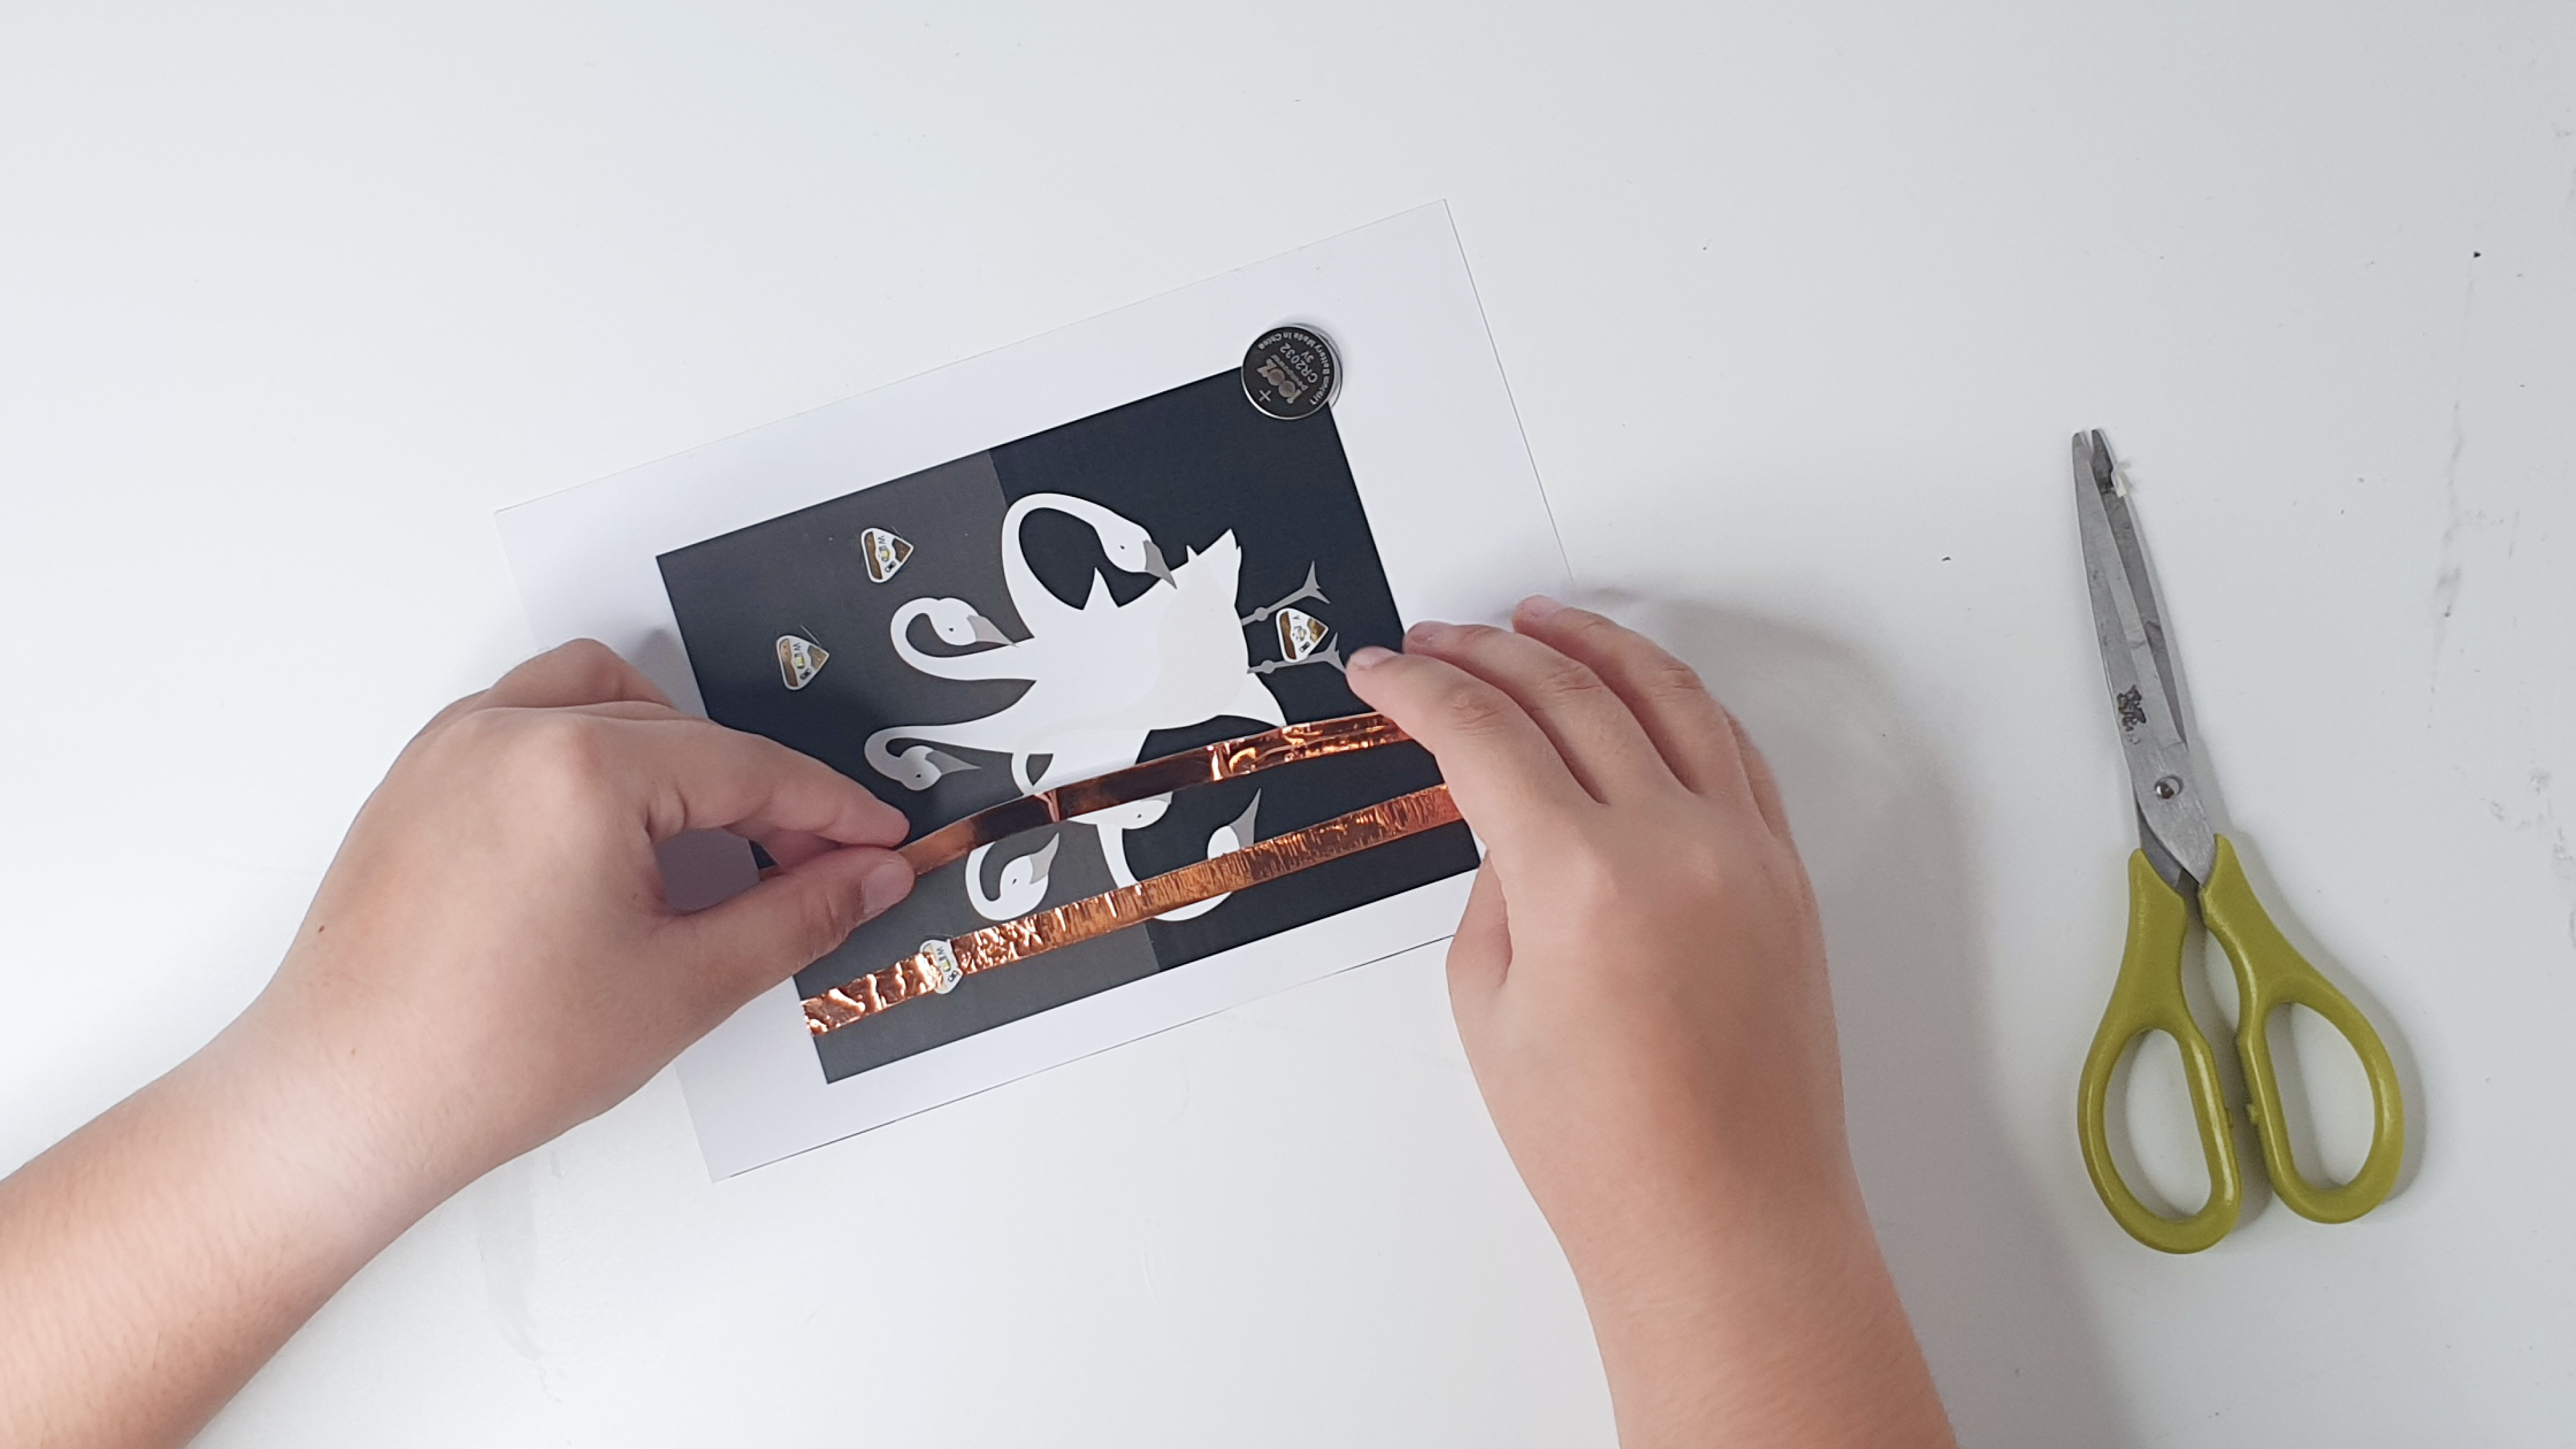
(a)Mark out the placement of the LEDs and the coin cell on the black-and-white side.
(b)The yellow LED should be where the egg is, and the white ones should be the stars in the sky.
(c)Ensure that all the components are spaced out enough so that a vertical line can pass through each one without intersecting another.
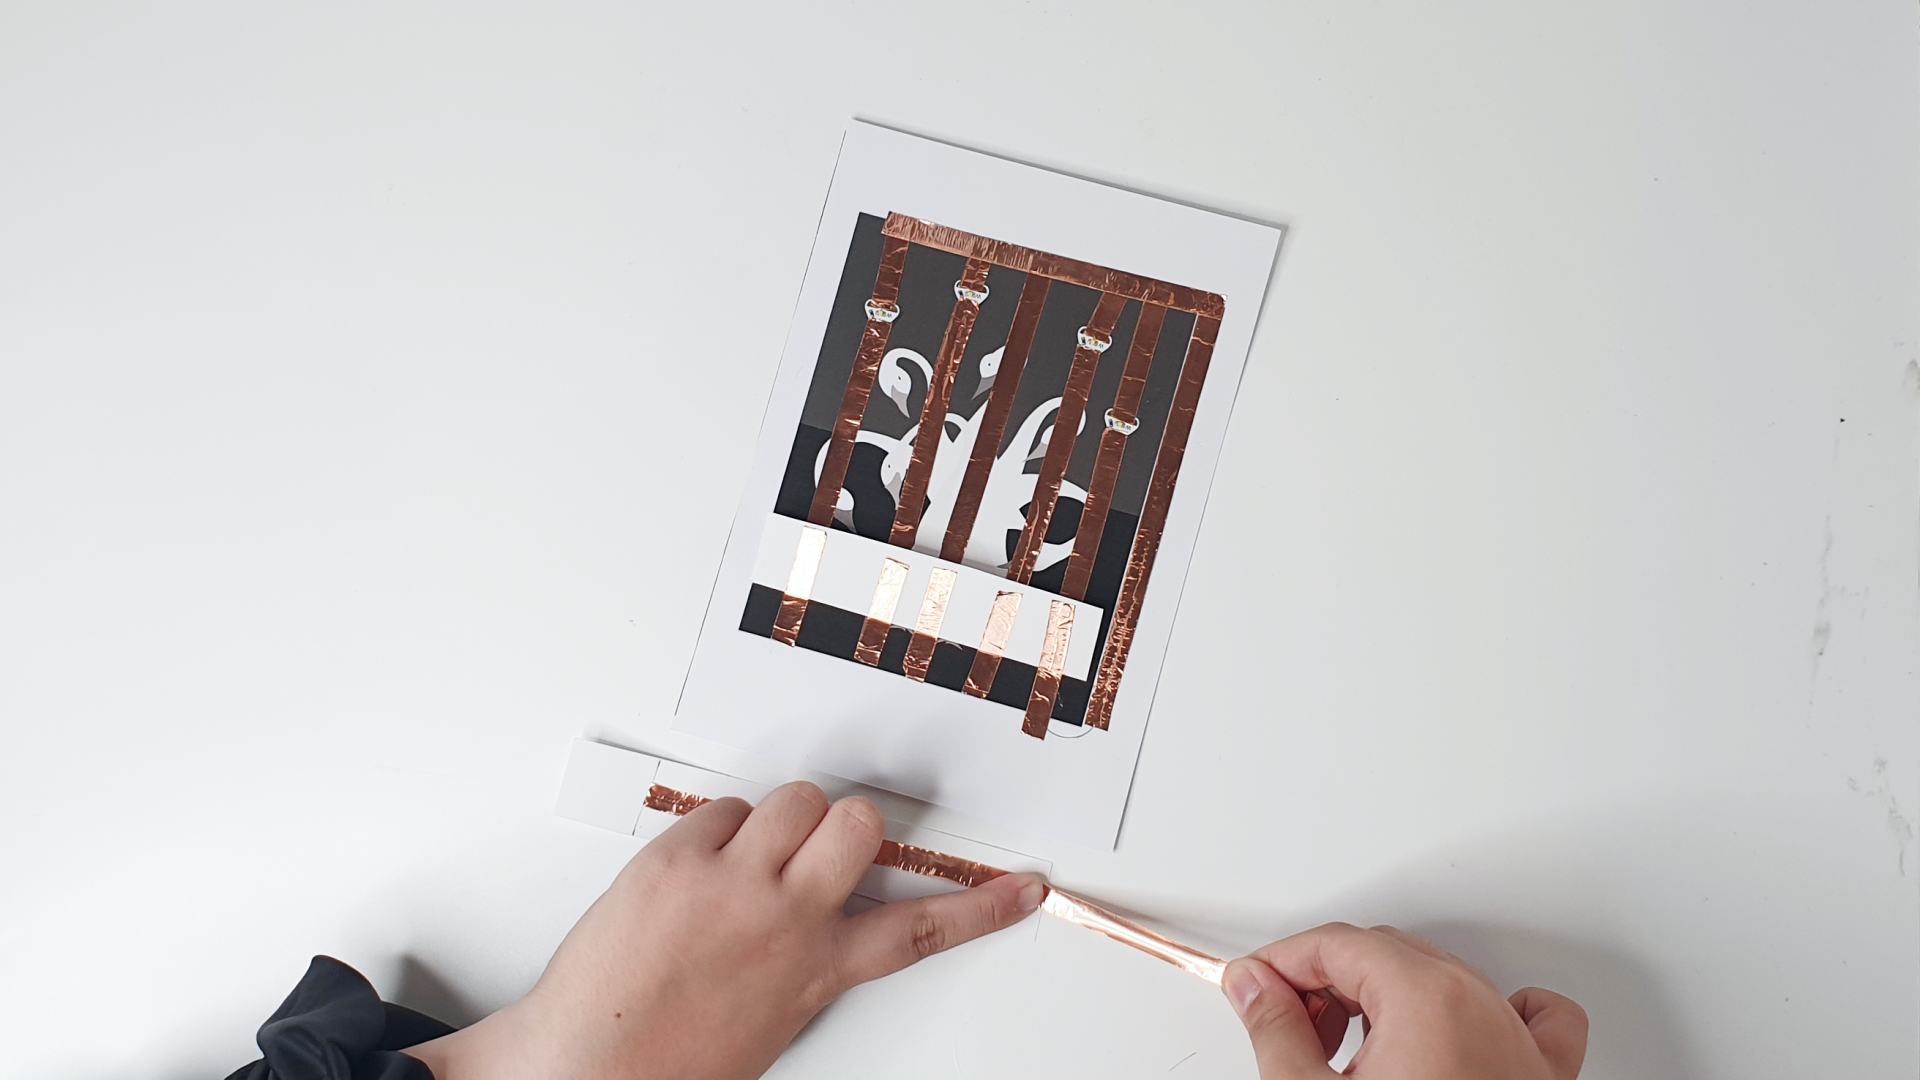
STEP 3
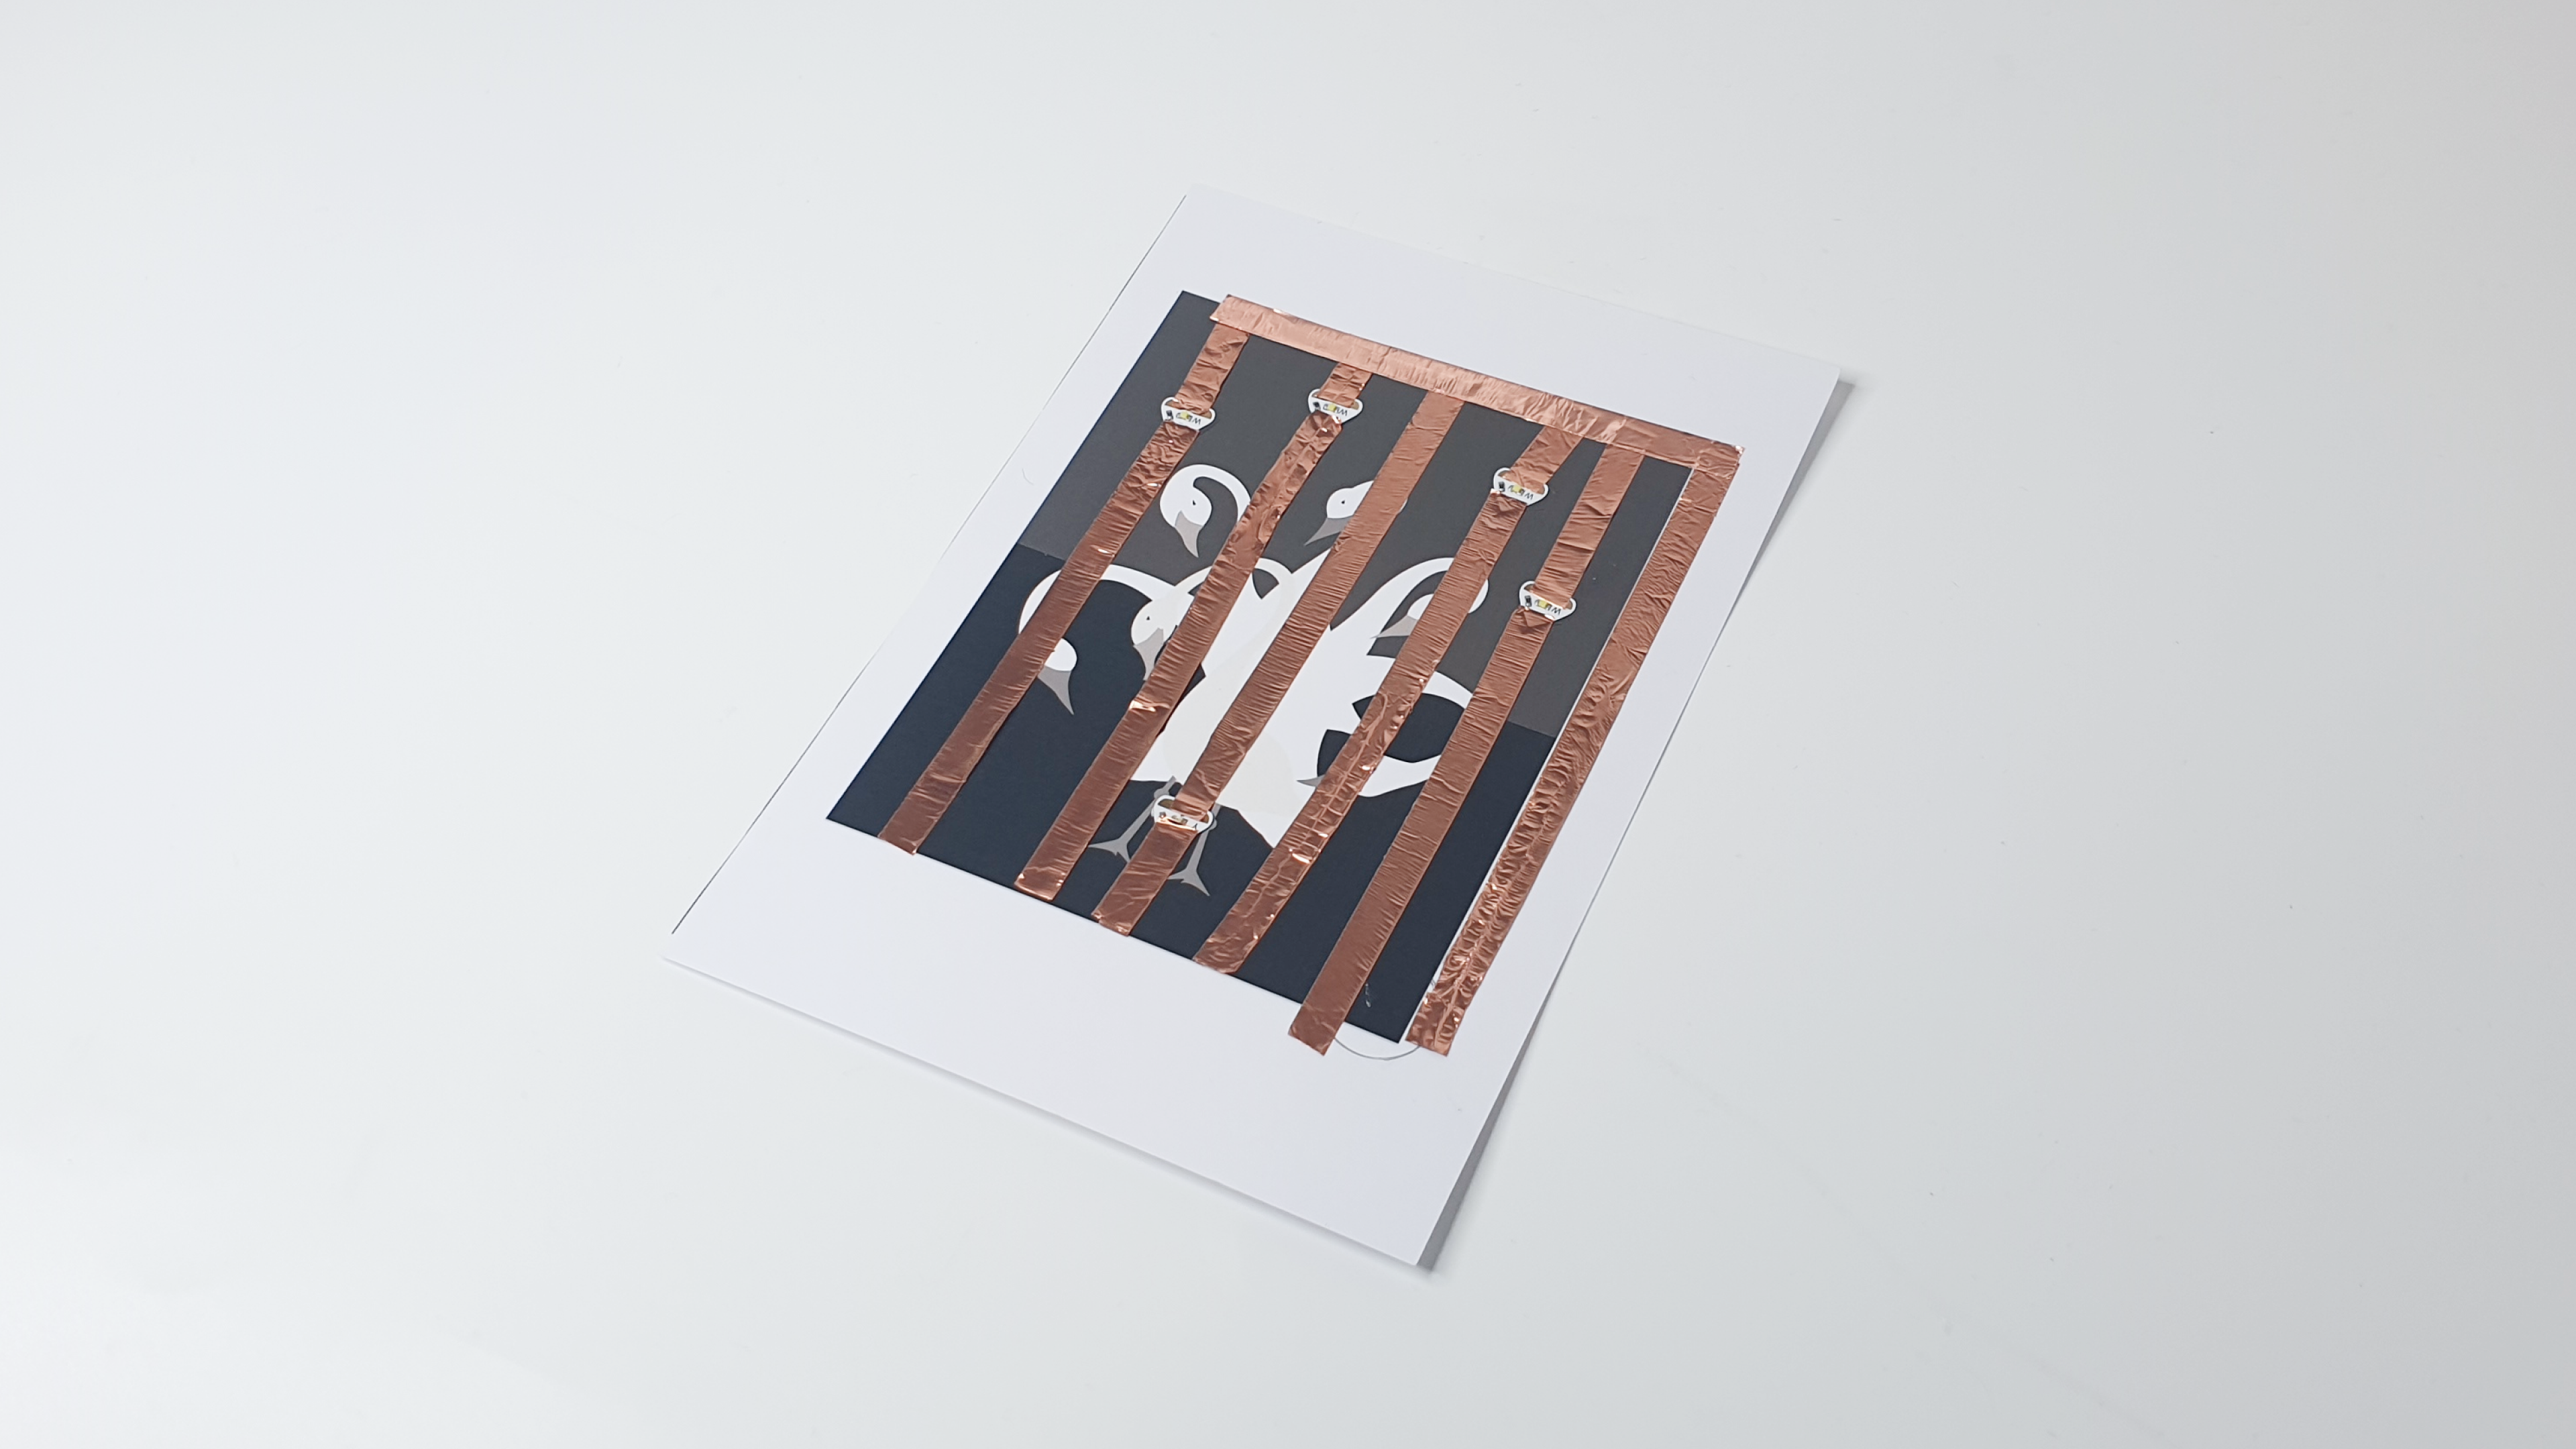
Cut strips of copper tape and stick them onto the card as such. There should be one vertical line for each component. Note that for the LED pieces, we need to use two separate pieces, one for above and one for below.
STEP 4
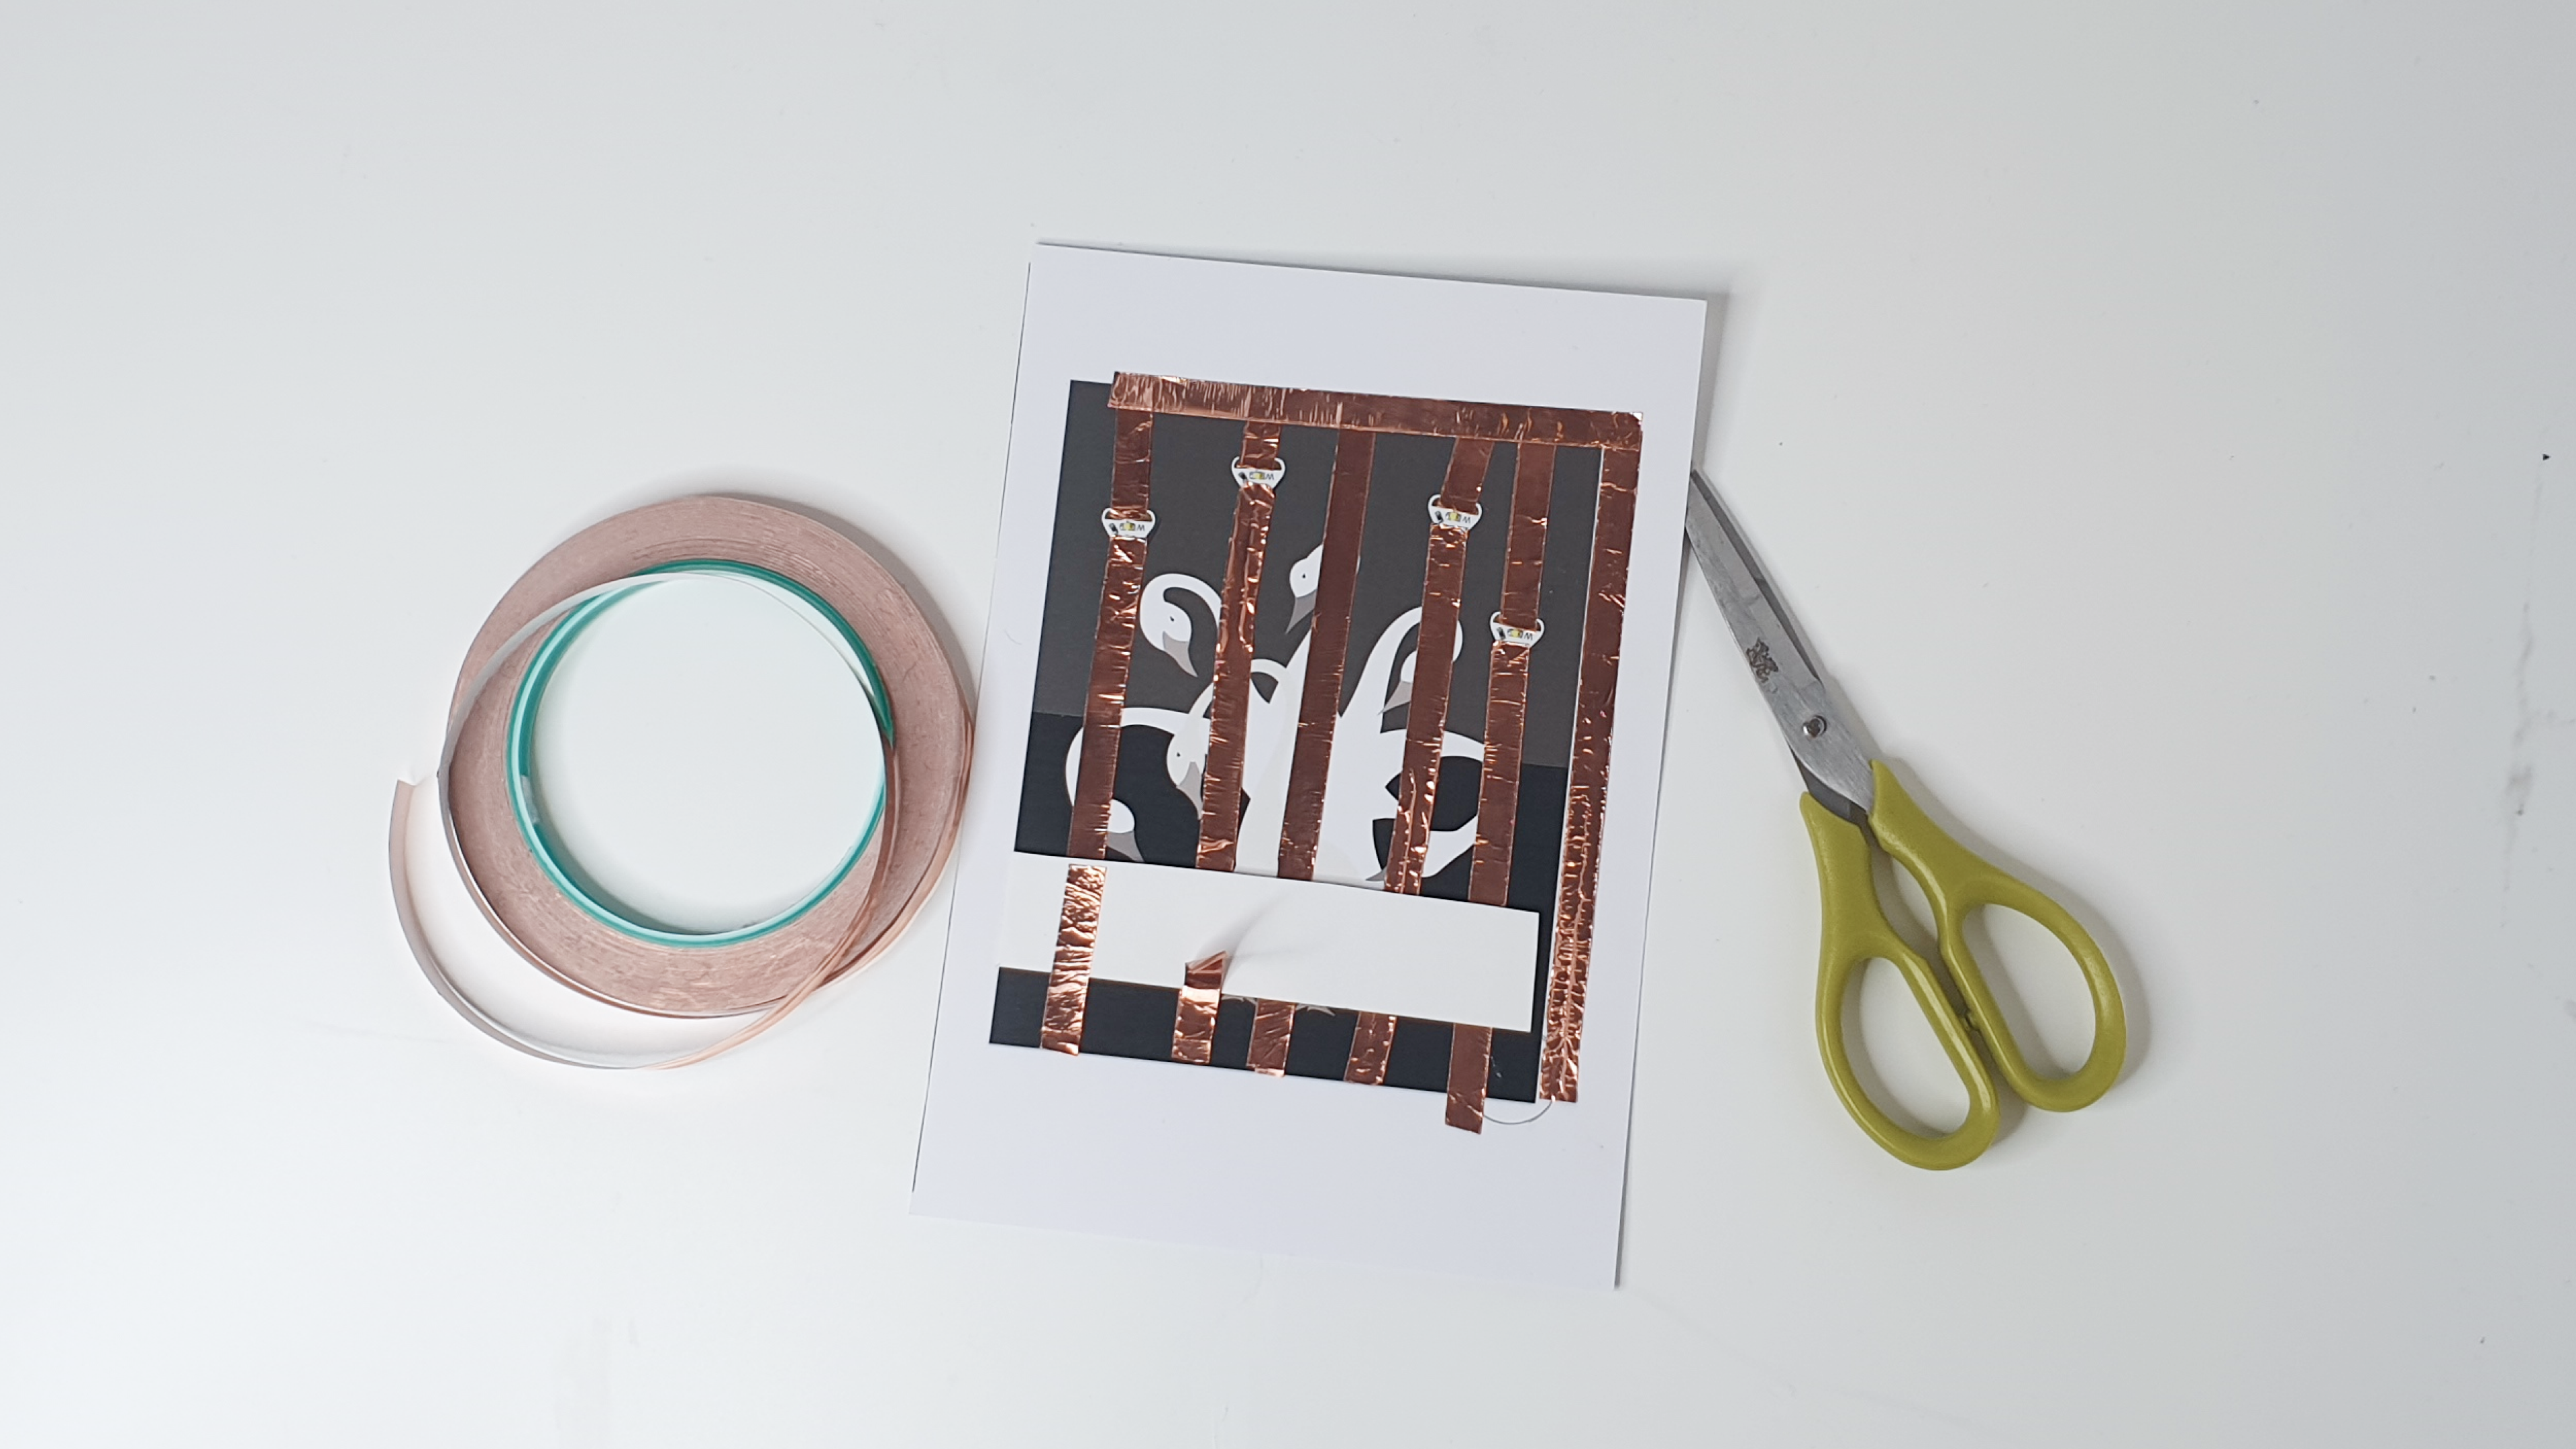
Now we will make a flap, this will act as our contact point to close the circuit later on. Cut out a piece of cardstock and use copper tape to secure it to the vertical lines as shown.
STEP 5
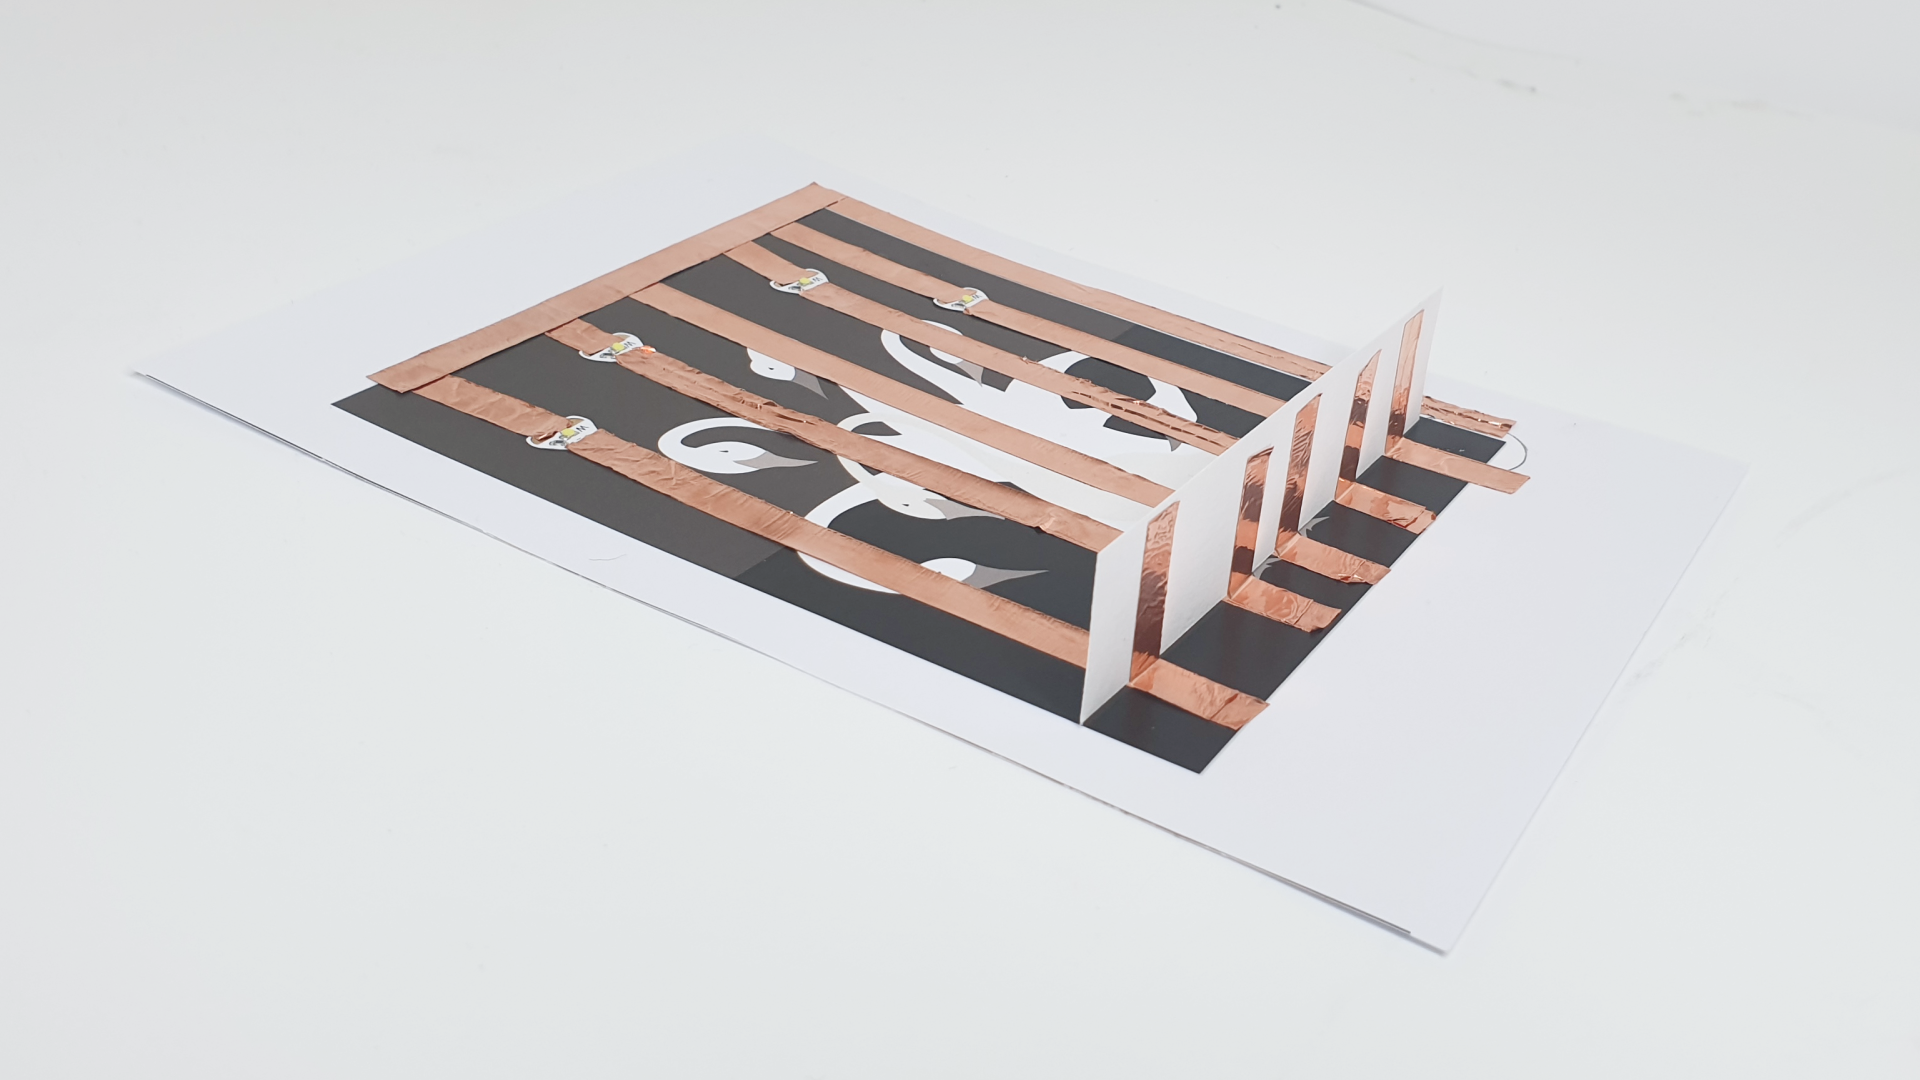
We will now make the slider.
(a) On a cut piece of paper, mark out the battery location on one side, and the location of the rightmost LED on the other side.
(b) Wrap a long piece of copper tape from one marking to the other side as shown.
STEP 6
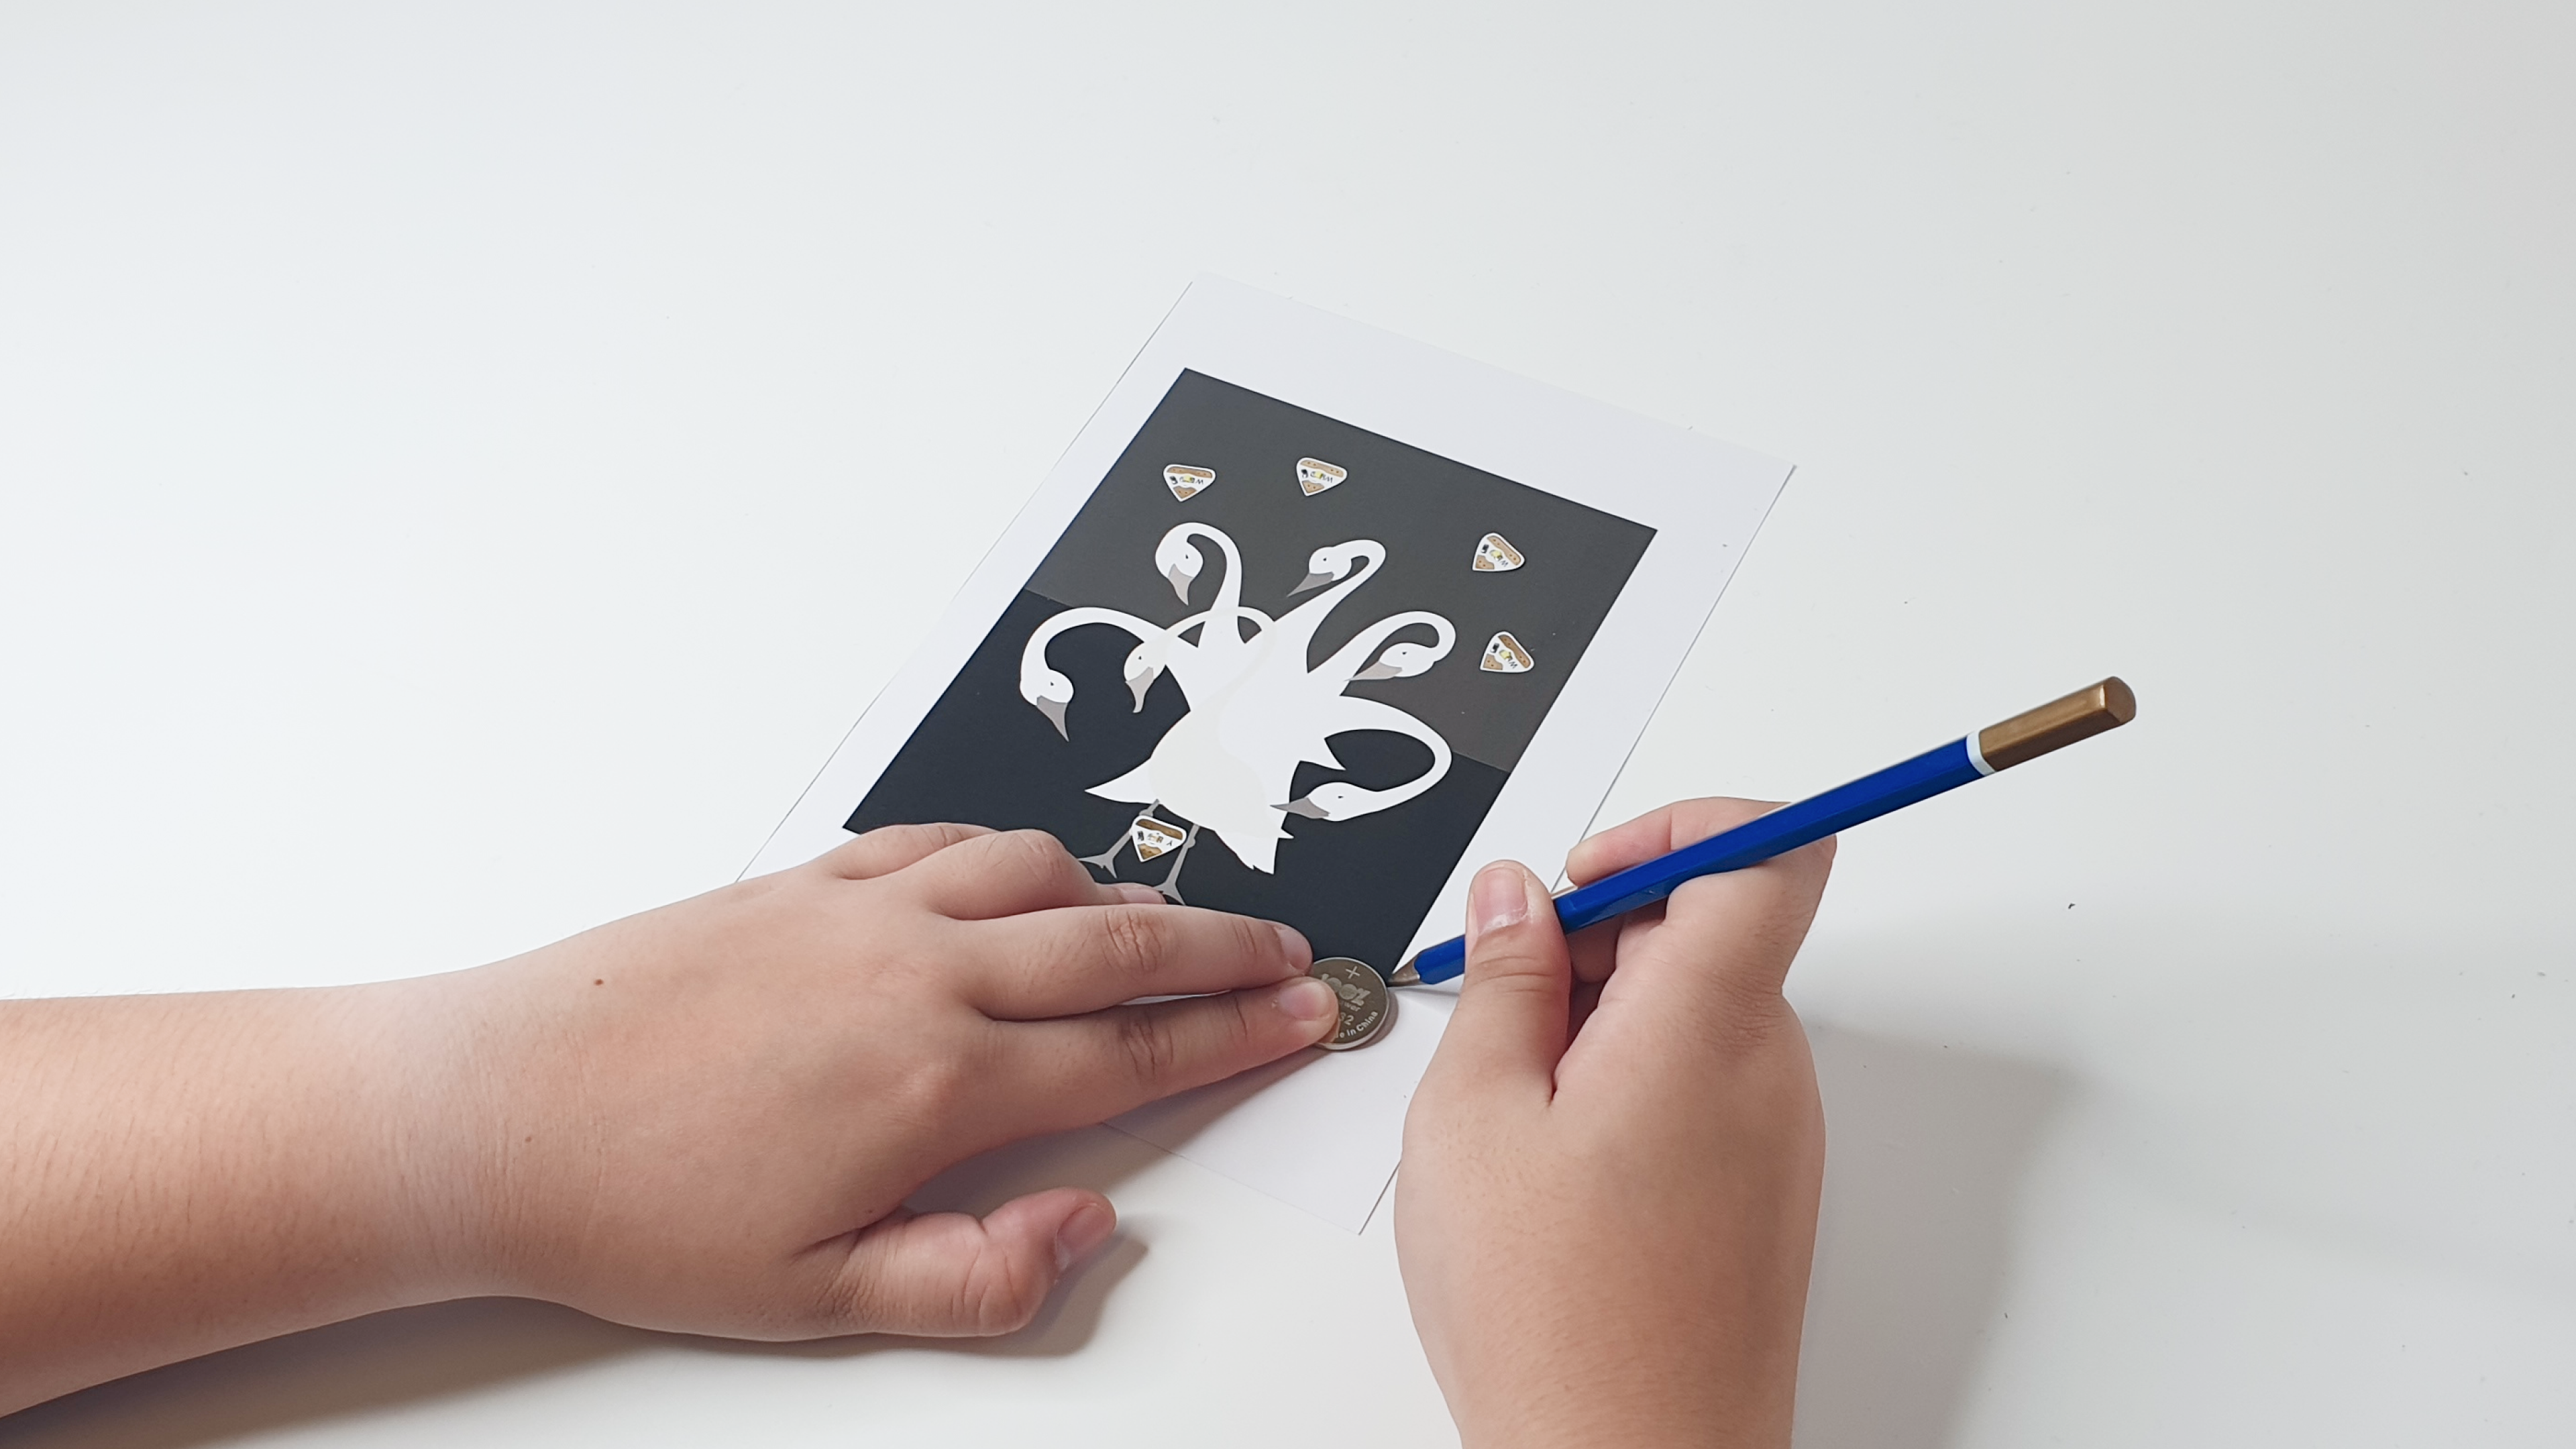
Test your device by sticking down the coin cell with double-sided tape and pressing down on the flap and slider (the side where the copper tape touches the battery should be facing down). If all the LEDs light up, then congratulations, you can move on to the next step!
Troubleshooting tips:
- If the LEDs do not light up, try sticking them above the tape instead of under.
STEP 7
Add two layers of foam tape under the flap so that the slider is level to the battery. Ensure that you do not peel off the non-adhesive backing so that the slider can still move freely.
STEP 8
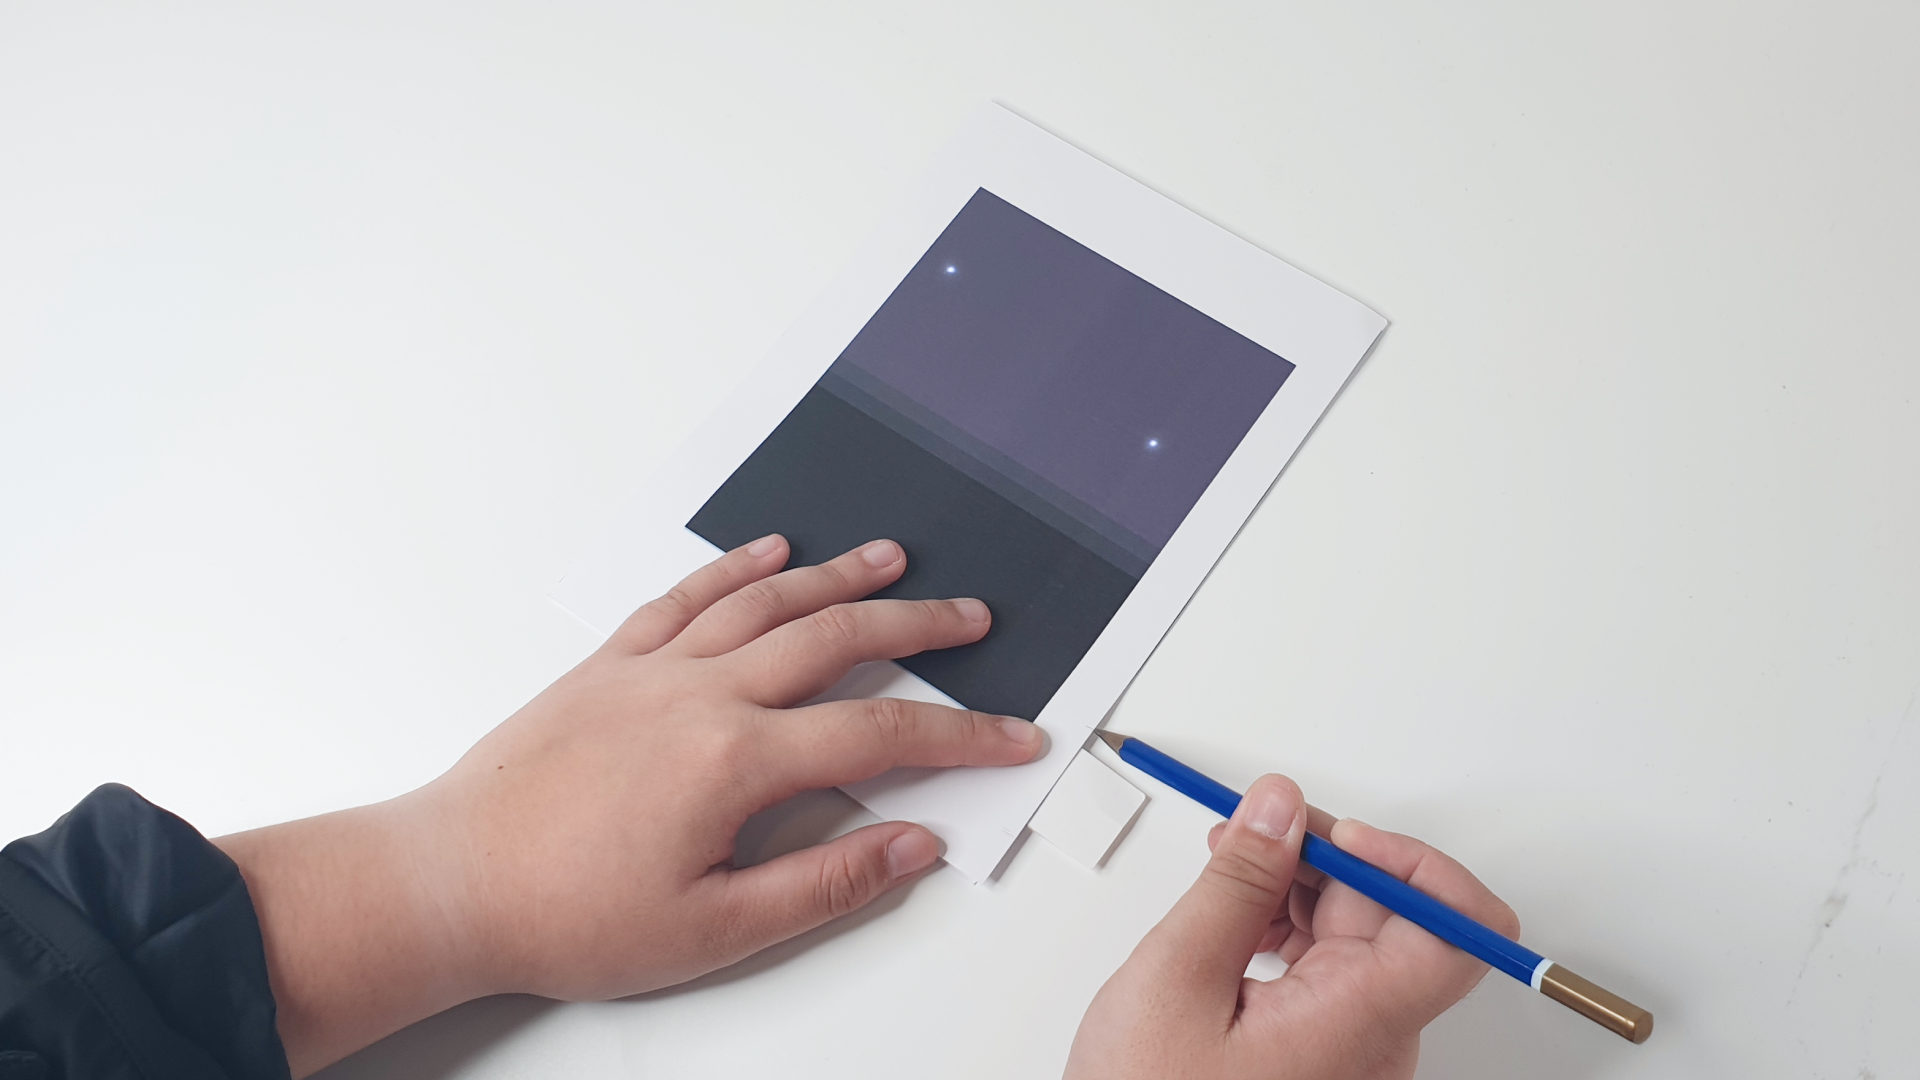
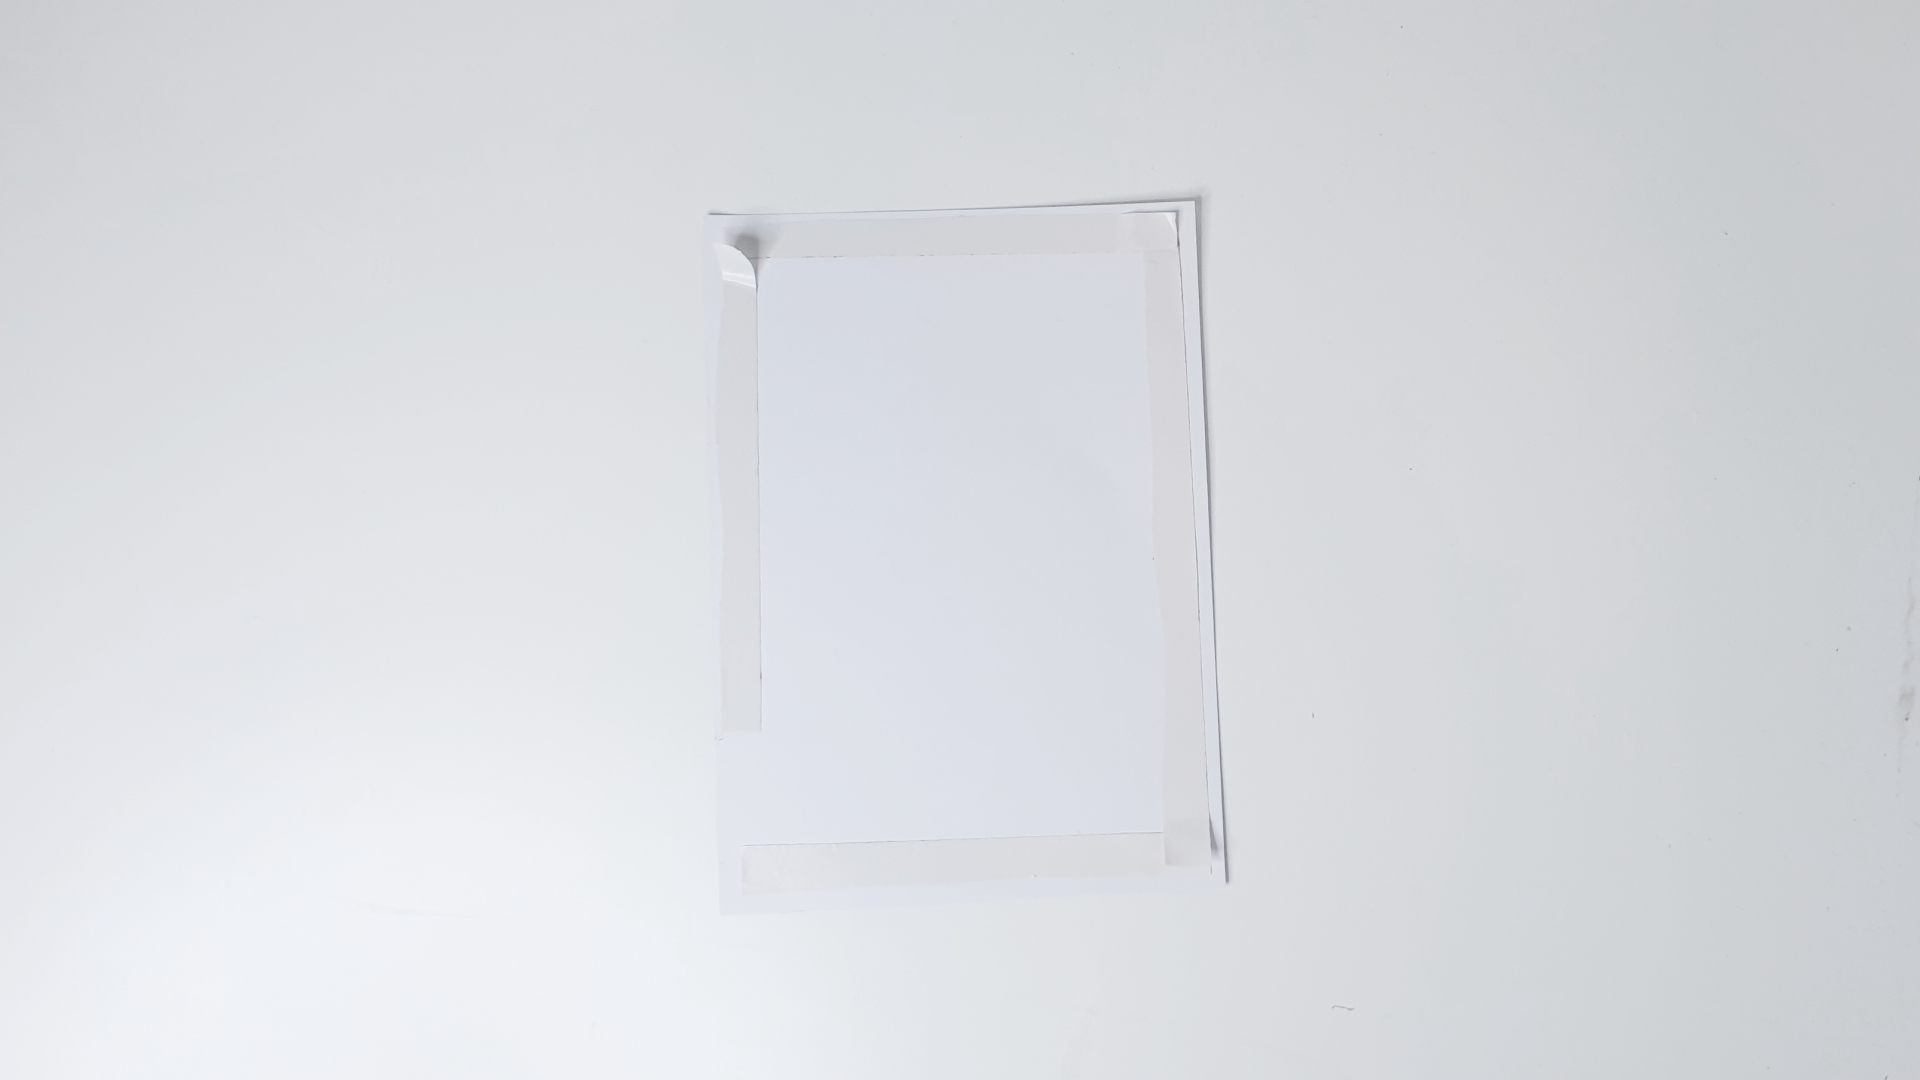
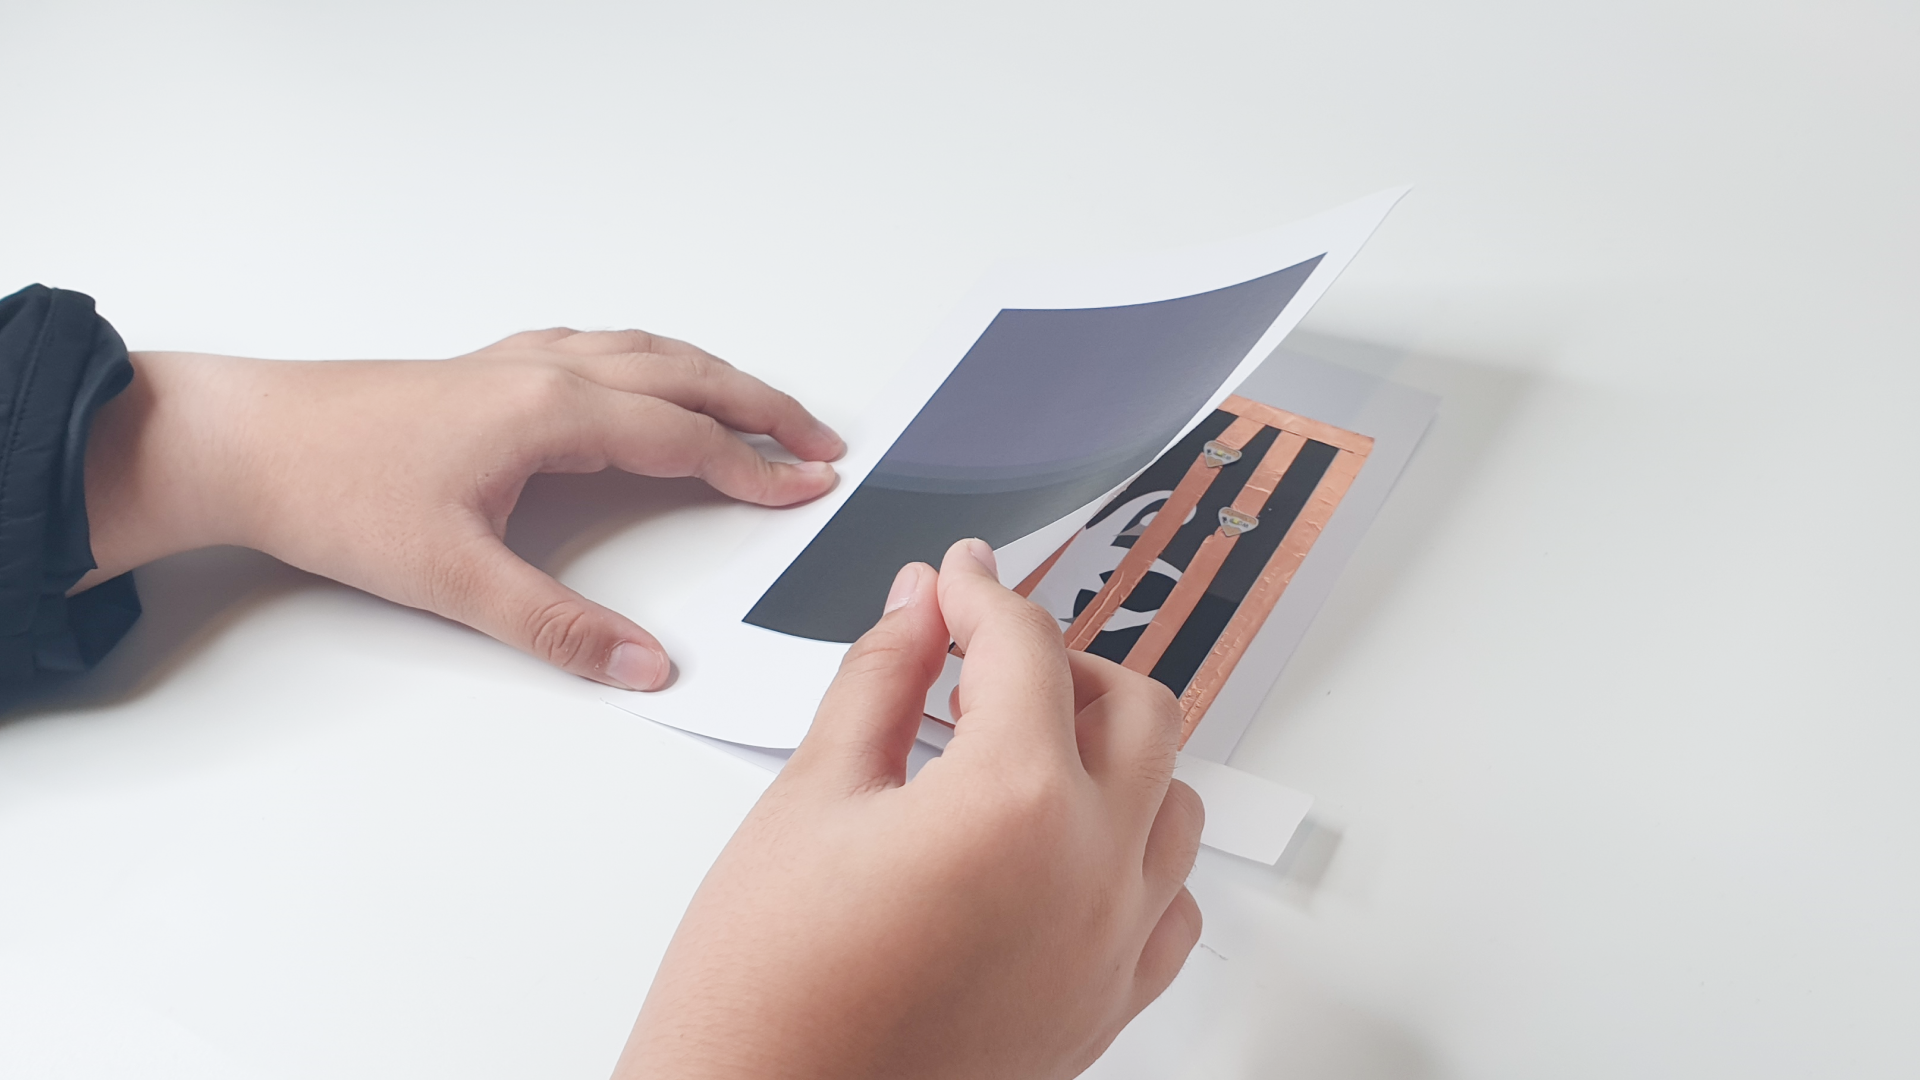
(a) On the coloured side of paper, mark out the position of the slider.
(b) Flip to the other side and stick double-sided tape along the perimeter excluding the marked area.
(c) Stick the coloured side of paper to the black-and-white side to cover the circuit
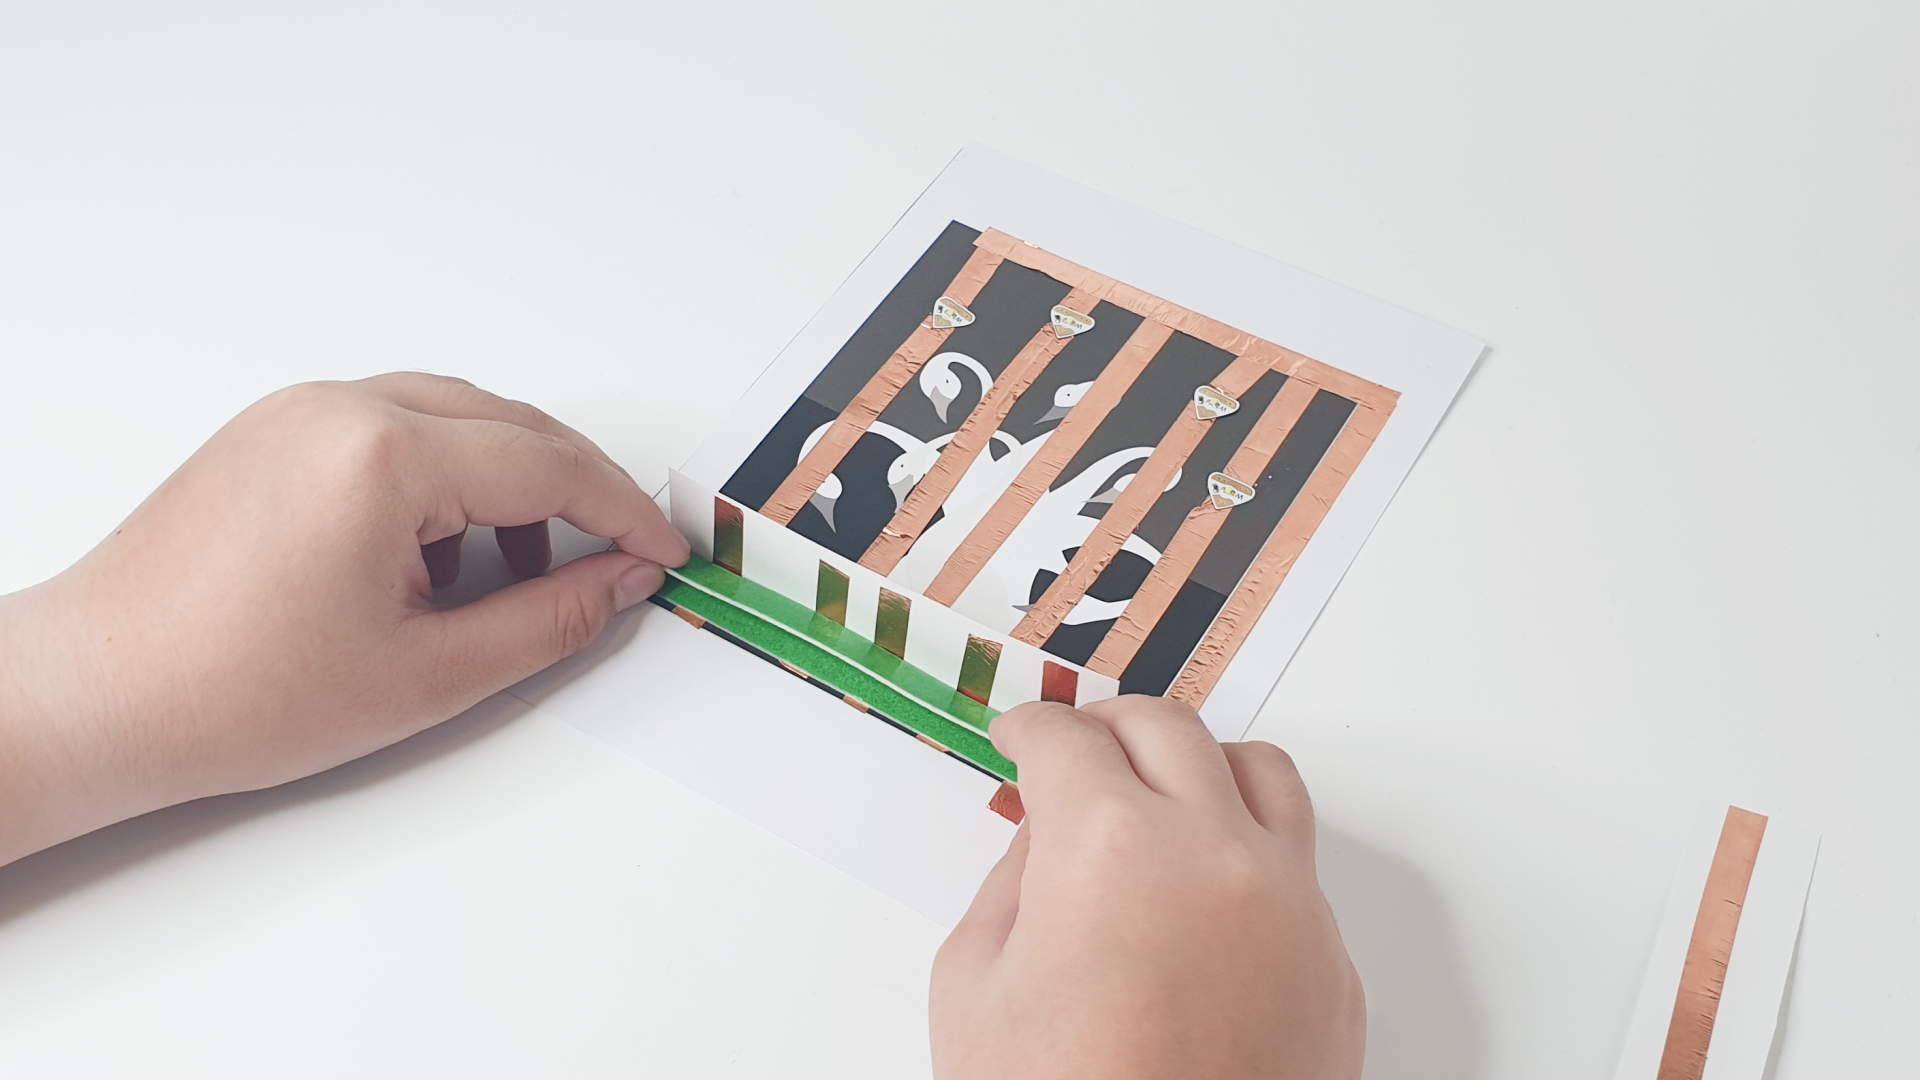
STEP 9
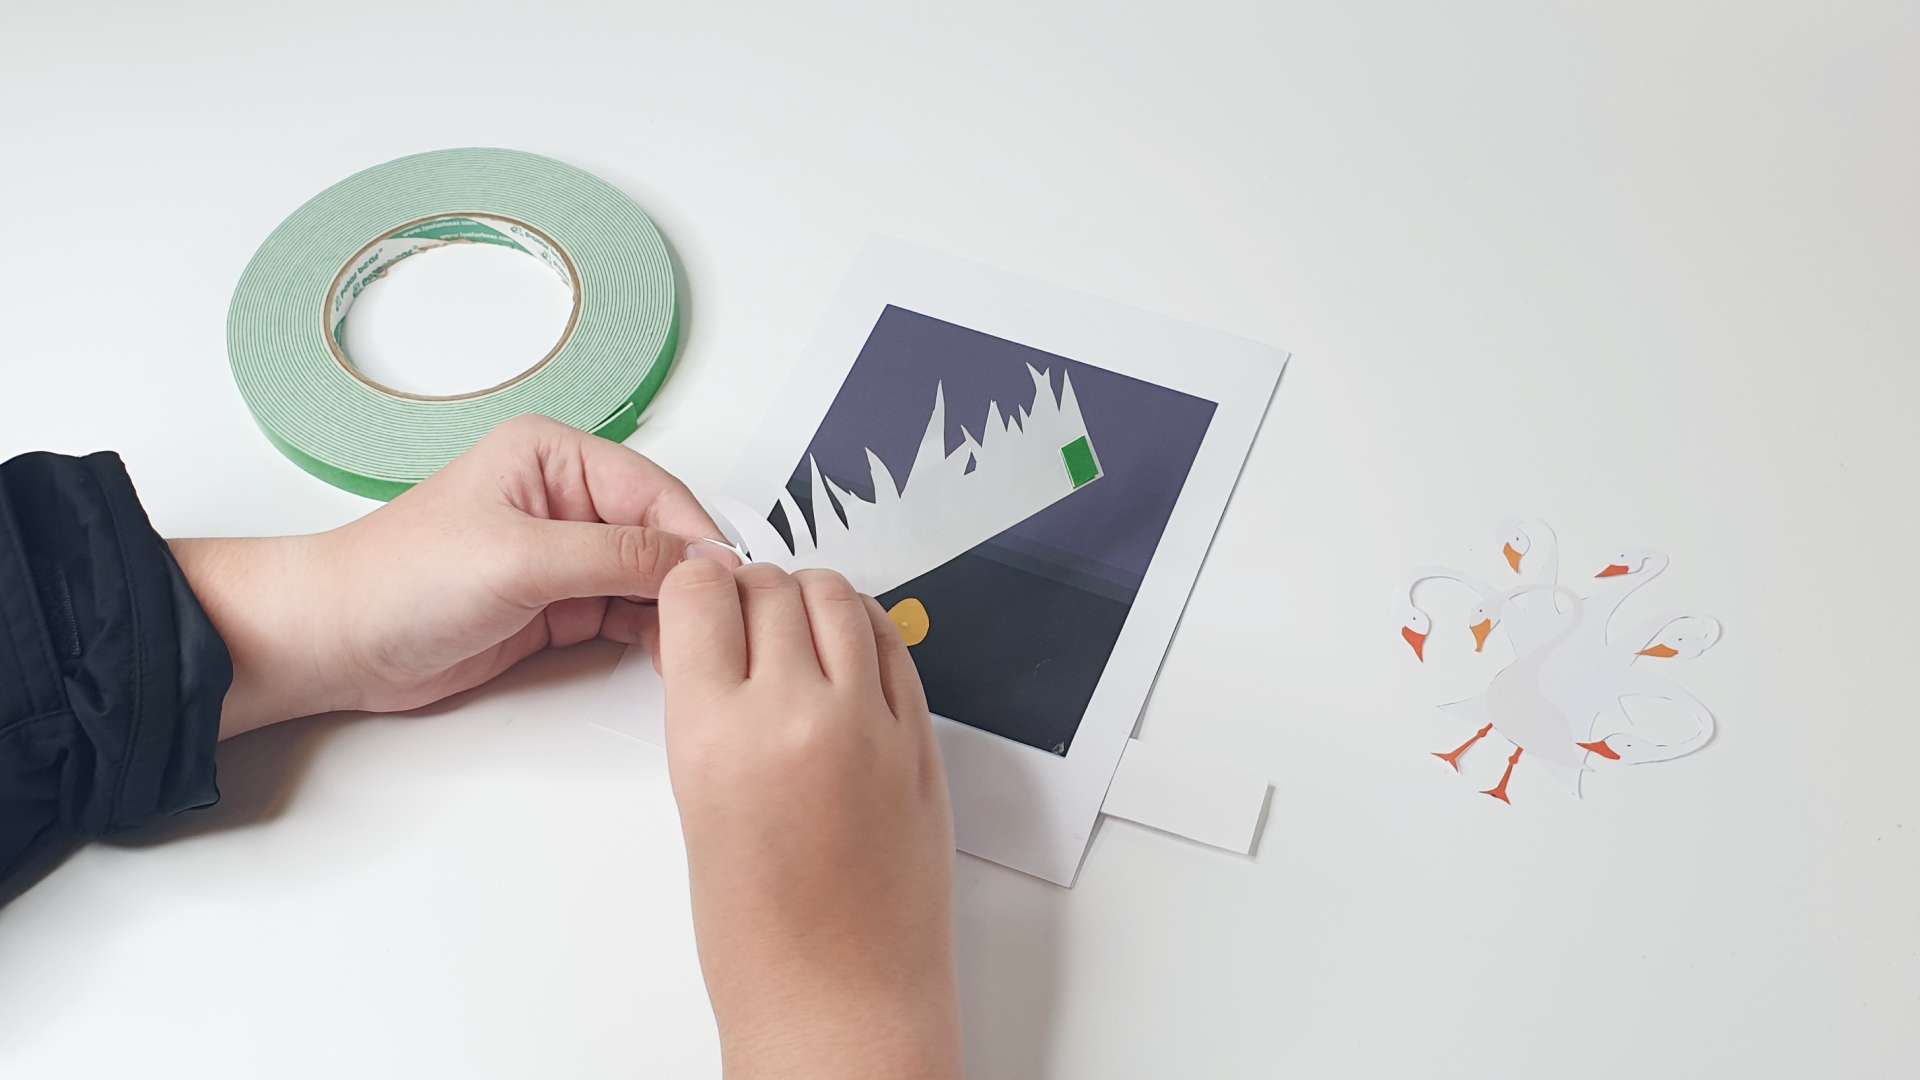
(a) Now we can start decorating! Secure the egg using double-sided tape above the yellow LED.
(b) Stick two layers of foam tape on the grass and secure it below the egg.
(c) Stick two layers of foam tape on the geese and secure it to the card.
STEP 10
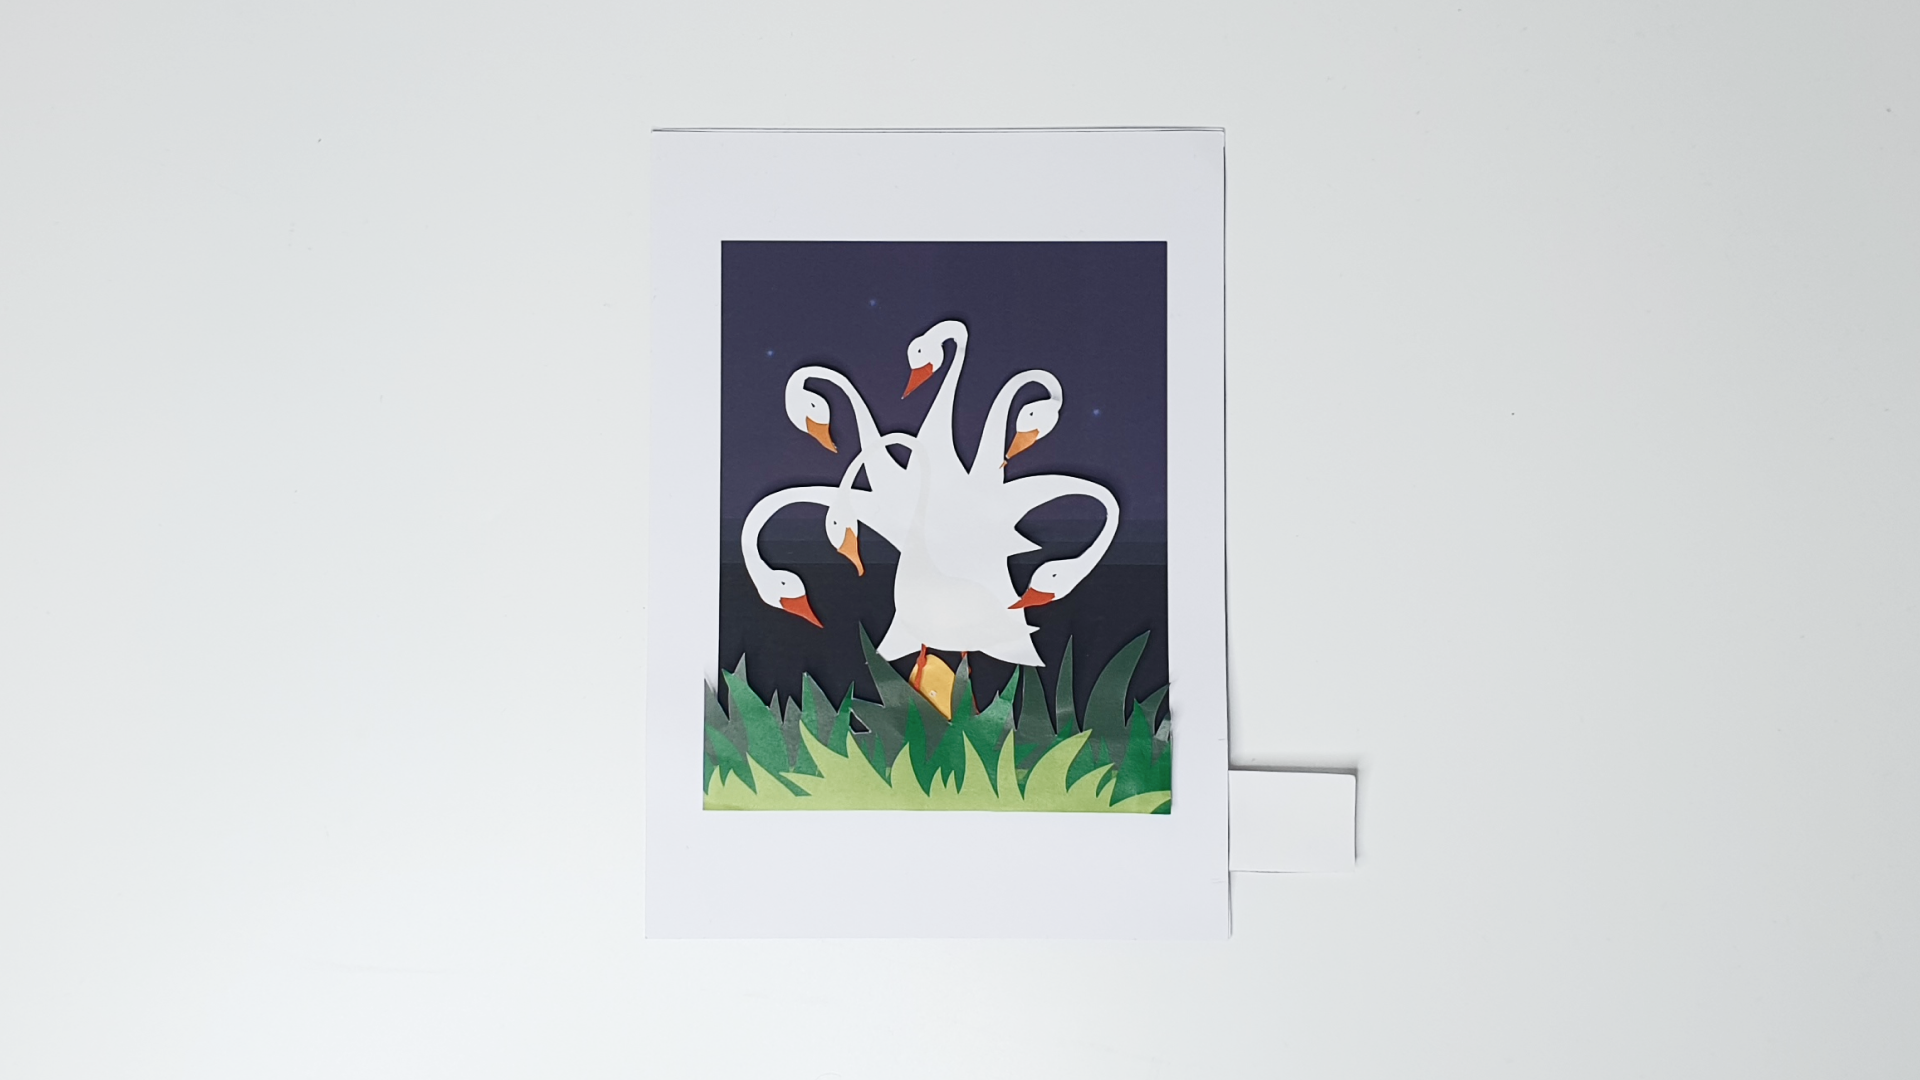
When you move the slider side-to-side, you should see the LEDs light up. Your project is now done! Enjoy!
Made this activity? Good Job! Now spread the word. Share a photo of your creation on social media with #letsgethacking #Sixgeesea-laying