Snake in micro:bit
Learn how to create Snake in micro:bit!

YOU WILL NEED
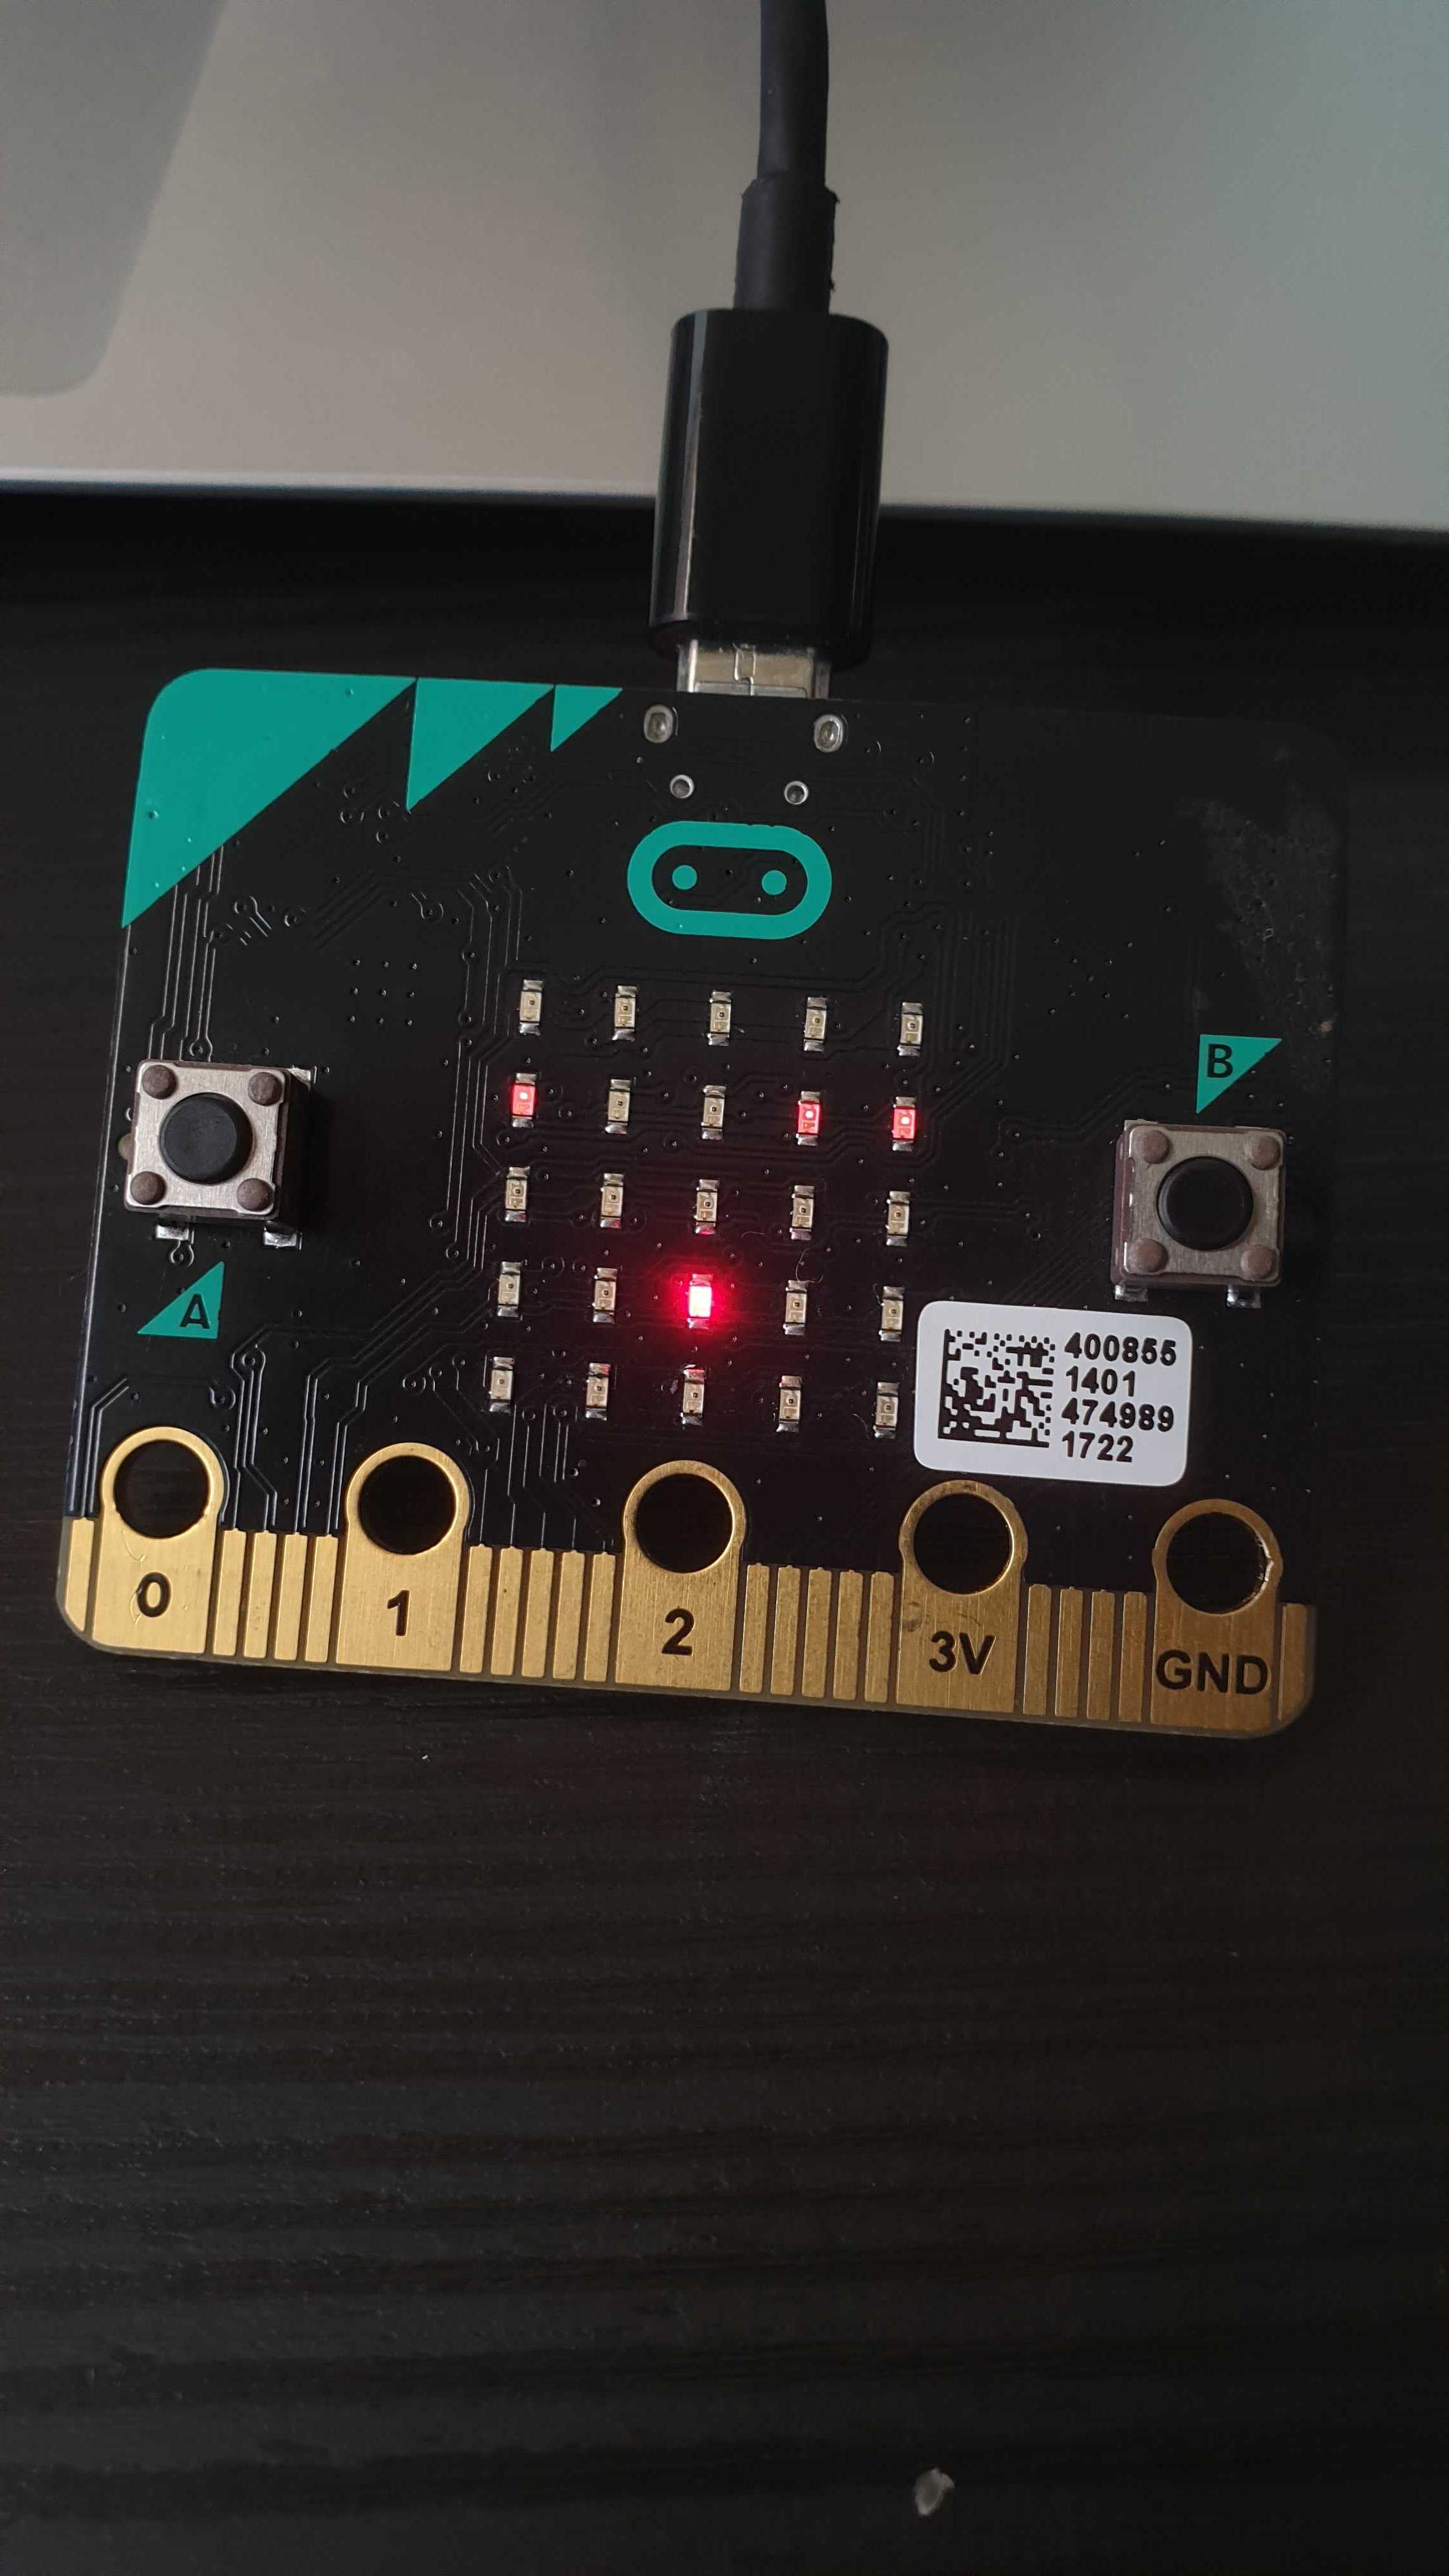
1 x micro:bit
1 x microUSB cable
Access to a Python editor (try Mu Code Editor)
STEP 1
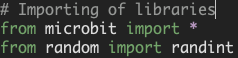
Import the libraries
into Python.
We'll use the microbit library for access to the microbit, and then random's randint to generate the food's location.
STEP 2

Initialise variables
for the snake, food and directions.
A point on the board is represented by a list [x, y] with x representing the column and y representing the row.
The snake is a list of these points (yes, a list of lists!) as it contains more than one point. It starts as a single pixel at the top left of the screen, denoted by [0,0]. After which, more points will get appended to the list.
The food is a single pixel positioned randomly somewhere else (not in the same row or column).
Each direction is represented by a list containing an increase/decrease in the column, or increase/decrease in the row (In essence, a vector). For example, right is represented by [1, 0] – an increase in the column by one, and no increase in the row.
The snake is moving right by default, which is the first option in the list of directions. For the snake to turn leftwards, we simply go to the next direction in the list (right -> up -> left -> down -> right). For the snake to turn rightwards, we go to the previous direction in the list.
STEP 3

Initialise the main loop
where the game will run
The code within the loop repeats an infinite number of times, or until the loop is broken. Remember, this is Python, so all subsequent lines will have to be indented.
STEP 4

Check if the buttons are pressed
and if so, change the snake's direction
Upon button presses, we either reset the direction or add 1 to it. Either way this turns the snake by 90 degrees in either direction, changing the way it moves.
STEP 5

Get the snake's position after moving
and make it longer if it eats food
new_block determines the next pixel the snake will move to. Based on the current location of the head of the snake and adding the direction (in terms of row and column), we can find the next pixel. By obtaining the modulo 5, we can wrap the snake around the edge of the board.
What happens if this next block is already occupied by the body of the snake? In this case, a collision happens and the game ends. Note that break stops the while: True loop from running.
The next block is now made the new head of the snake. Next, we check if a piece of food has been eaten. If so, then a new piece of food should be generated. If not, the tail of the snake should removed so that the snake is moving, not simply growing longer.
STEP 6

Update the display
with the snake's new location
First, we clear the display of anything that was previously drawn, so that we start with a blank slate. Next, we draw the food particle as a bright light on the display. After that, we loop through the snake list and draw every single pixel at medium brightness. Then, the program pauses for 0.4 seconds before redrawing the screen again.
STEP 7

Winning the game
by setting up conditions
This code should be placed on top of the display code, but below the movement code. (See completed code for reference). What it does it continually check if the snake contains a set amount of pixels, which you can customise. If that is the case, the player wins!
STEP 8

And we're done!
You now have a functioning micro:bit snake game.
Code and References
Made this activity? Good Job! Now spread the word. Share a photo of your creation on social media with #letsgethacking #Snakeinmicro:bit