Viewing Remote Data
Let’s send messages to a cloud server with the micro:bit!
YOU WILL NEED
Electronics
• 2 x BBC Micro:bit
• IoT:bit breakout board
STEP 1
Create an account
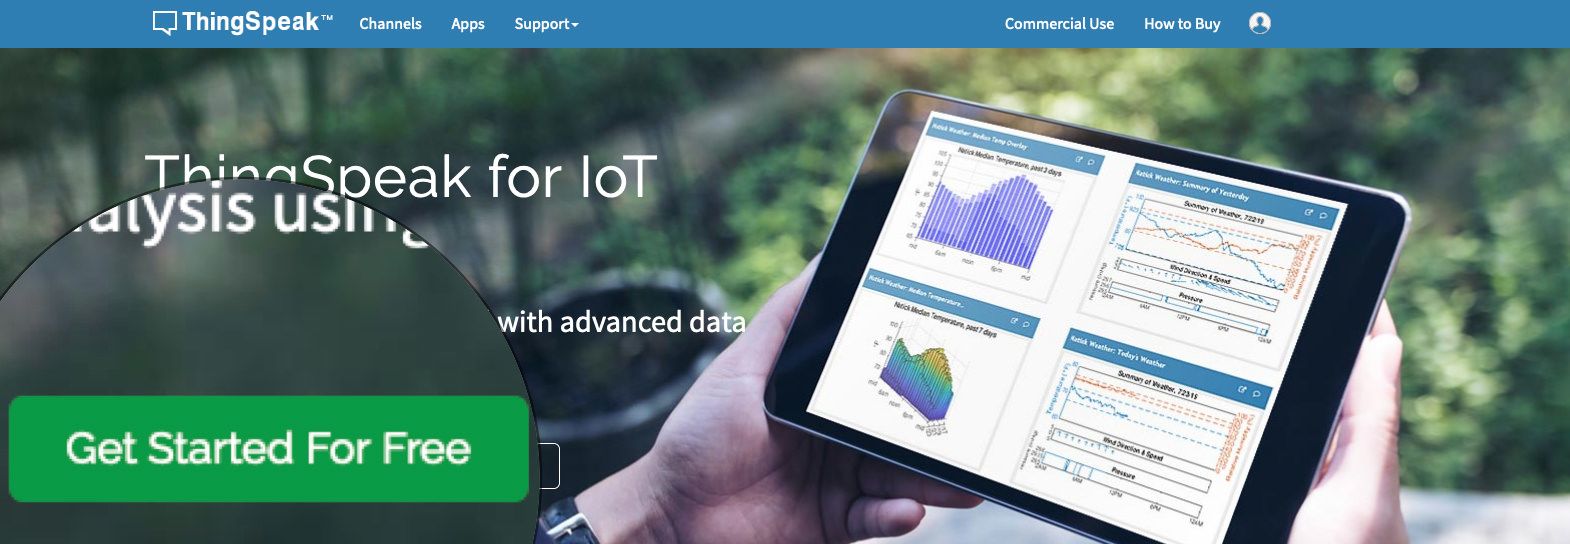
Go to https://thingspeak.com, and click Get Started for Free button. The sitewill walk you through the sign-up process, where you’ll be asked for your email and a password.
STEP 2
Create a ThingSpeak channel
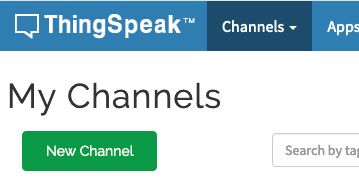
Once you’ve completed the signup process and you’re all logged in, you’ll need to create a Channel to store your data. ThingSpeak lets you collect data from many sources at once, so you need to create a different channel for each of them. First, click on “New Channel”.
STEP 3
Describe the channel
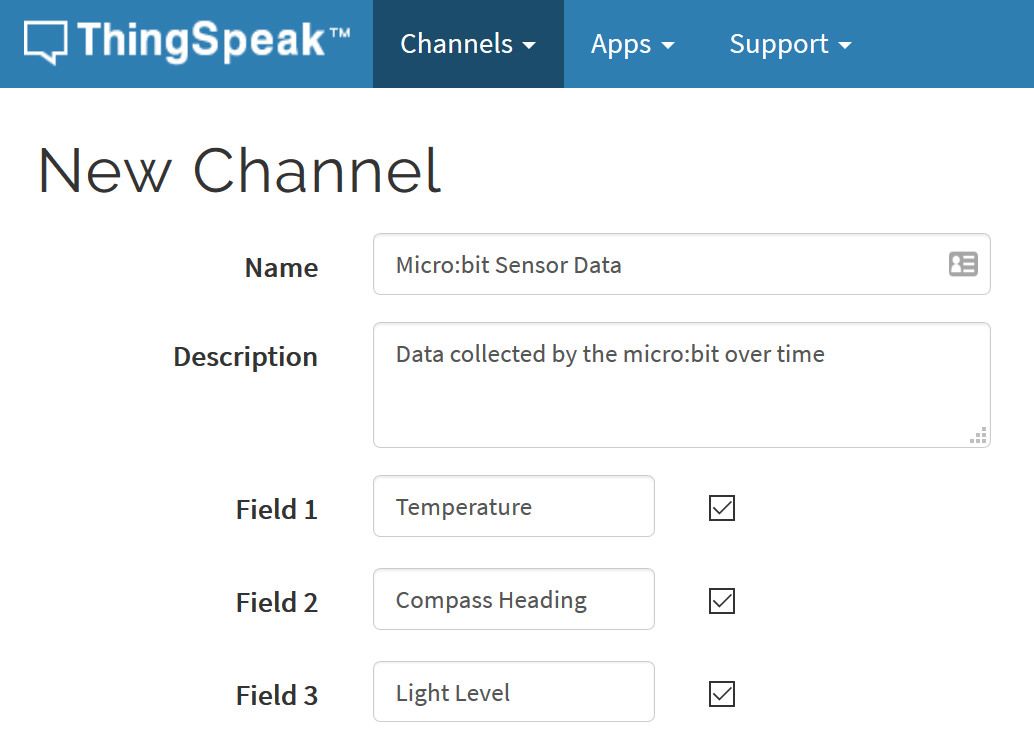
You’ll need to specify what data you want to store. Let’s start by creating three fields to store the temperature, compass heading, and light level detected by the micro:bit.
STEP 4
Save channel
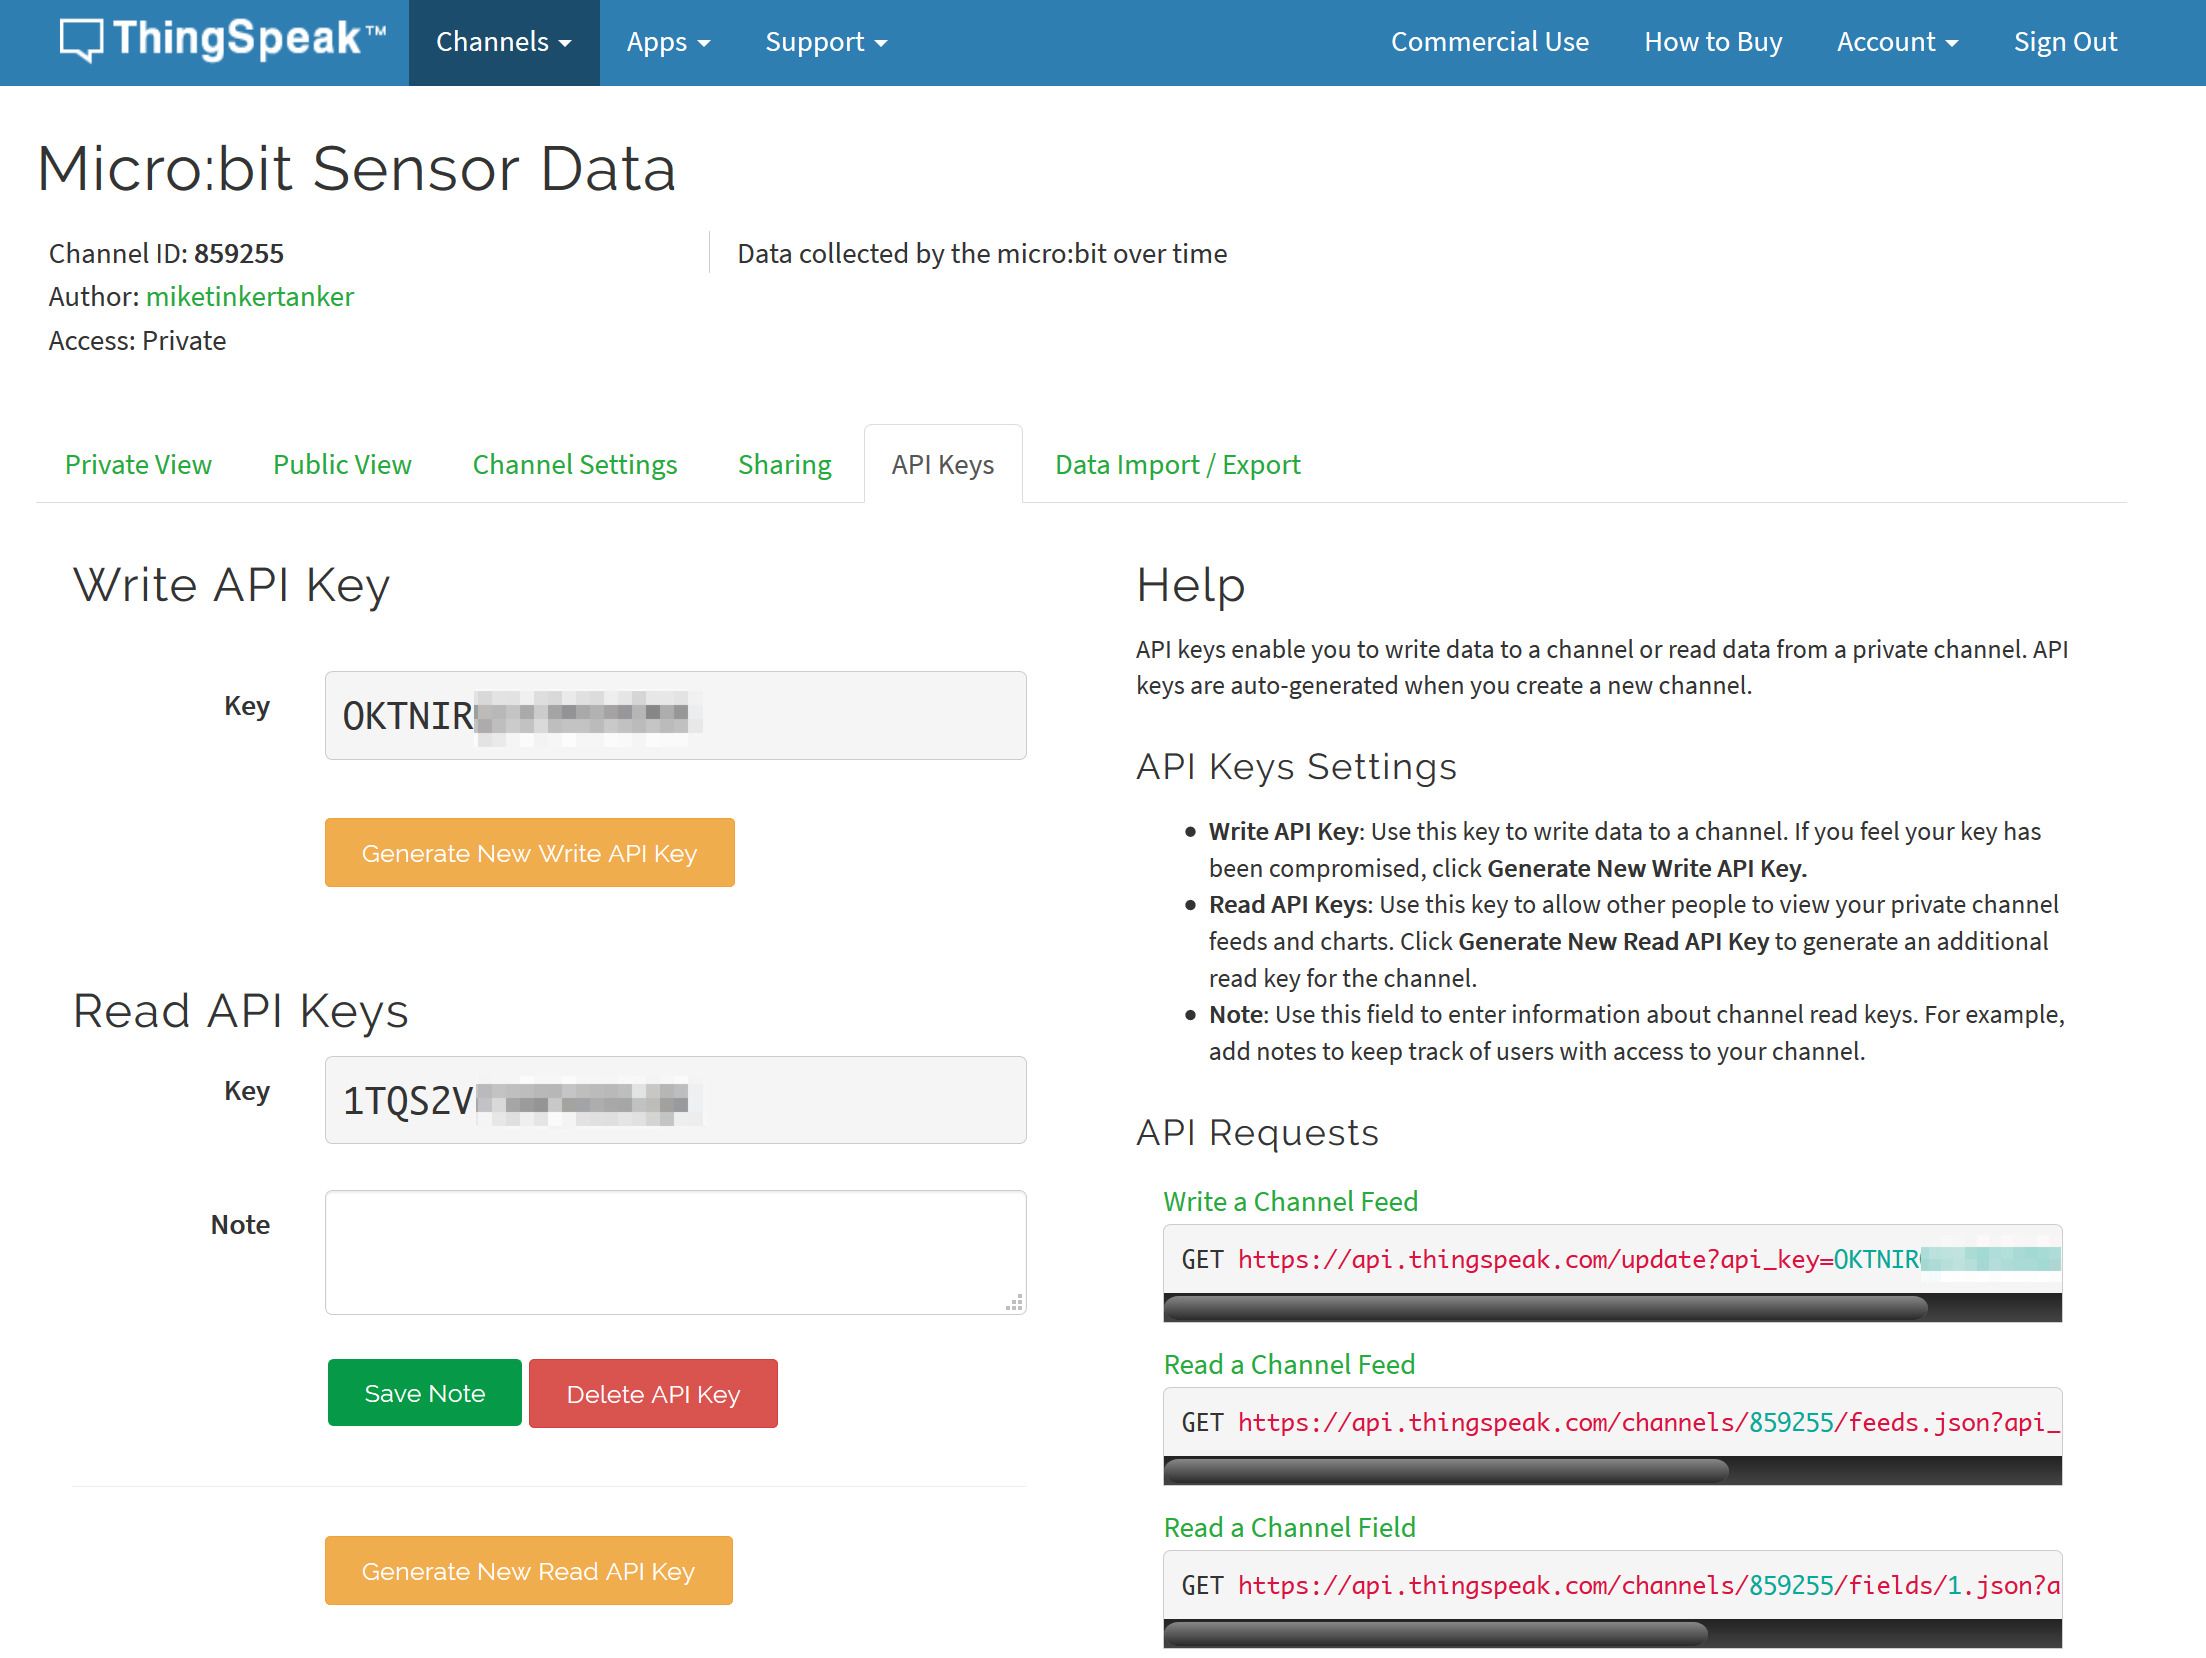
Click “Save Channel” to create your channel! Once you do, take note of the “API Keys” tab. The “Write API Key” is like a passcode that lets your device upload data to your channel (we won’t use the “Read API Key, which is for receiving data from your channel). Make a note of where to find it - you’ll need it shortly!
You can generate new API keys as needed by using the “Generate” buttons on the “API Keys” tab.
STEP 5
Connecting the IoT:bit
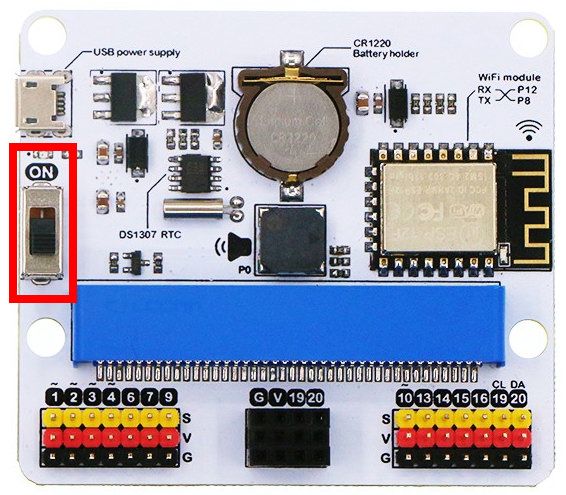
In order to power the IoT:bit, you’ll need to connect a micro-USB cable to the IoT:bit - not just to the micro:bit!
The USB power supply connector is in the upper left hand corner of the IoT:bit. Don’t forget to turn on the power switch on the left, too.
STEP 6

Code it!
Import the iot-environment-kit extension, which contains code blocks for working with the ESP8266 WiFi module. A few new drawers will appear. We’ll be using the ESP8266_IoT drawer, and its ThingSpeak sub-drawer. Don’t remember what Extensions are? Check out page 88 of Chapter 6 for how to search for, and add, MakeCode Extensions.
Code it up and try it out!
STEP 7
View Data!
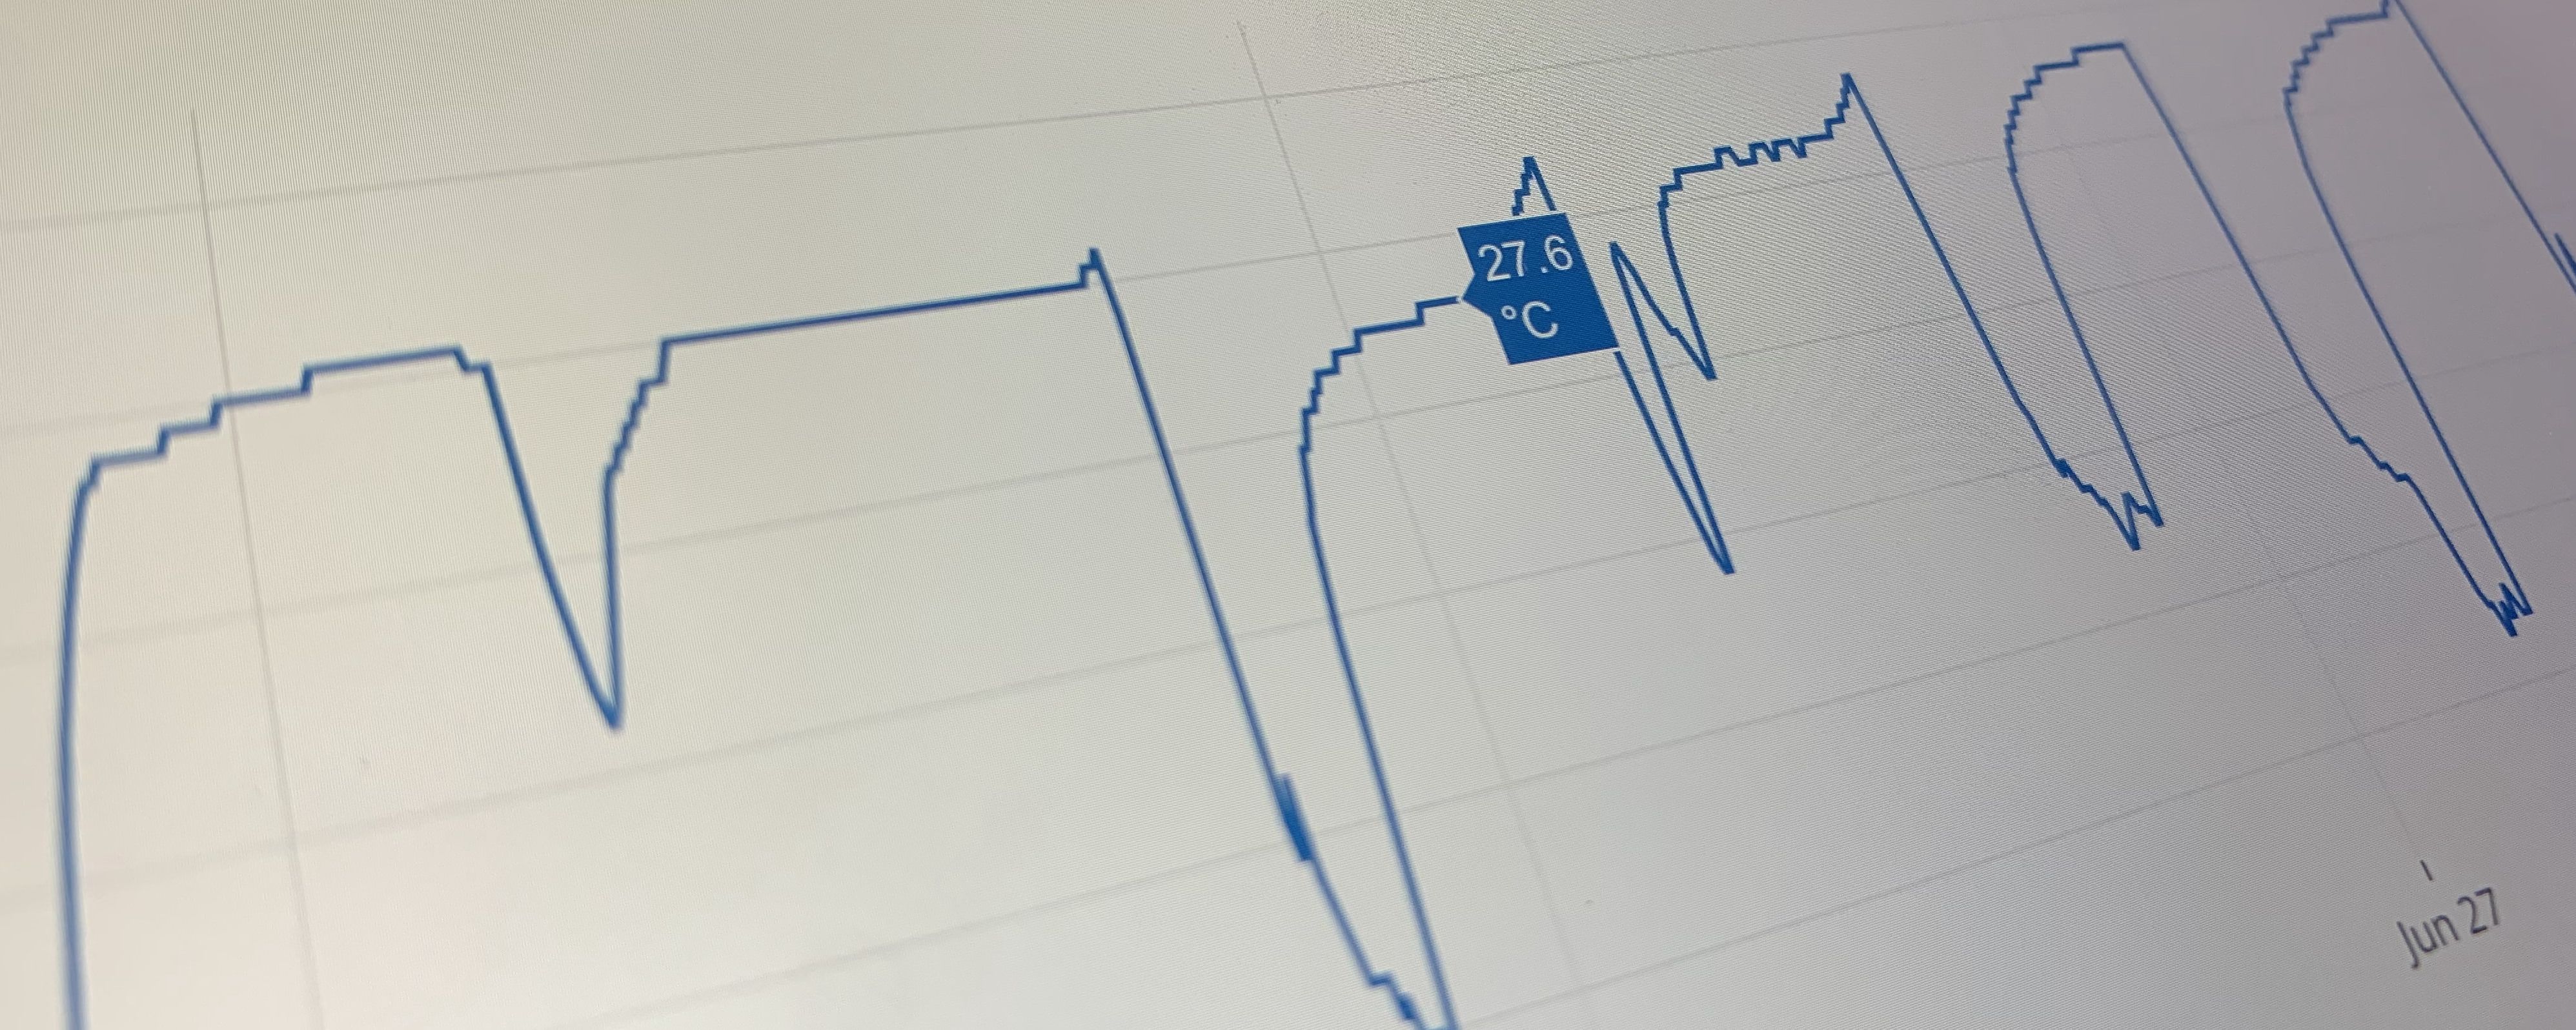
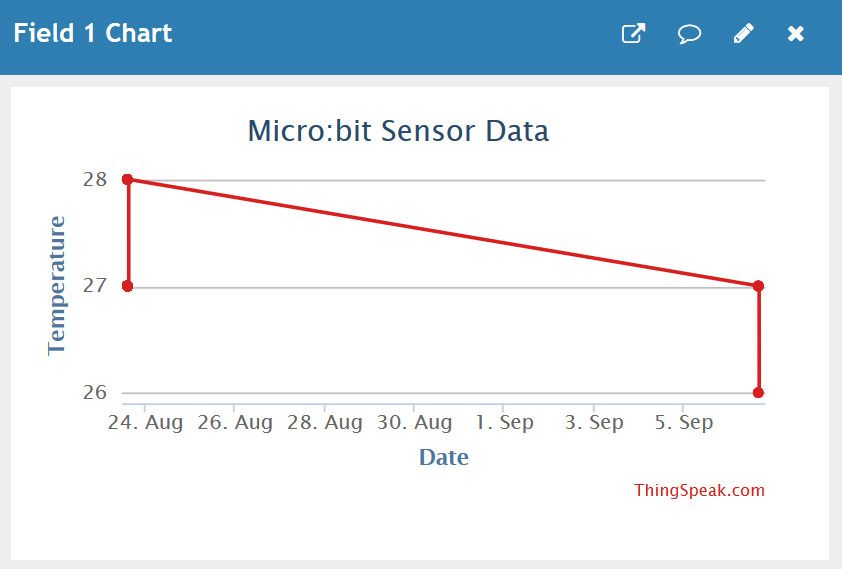
Once you’ve downloaded your code to the micro:bit, you can view your data online on ThingSpeak! Under the Private View tab, ThingSpeak automatically creates simple visualisations for your data.
Code and References
Made this activity? Good Job! Now spread the word. Share a photo of your creation on social media with #letsgethacking #ViewingRemoteData
